Do you dream of a beautiful pedicure, but you don't know where to start? Together with NEONAIL discover how simple, easy and fast it is! We will guide you step by step through each pedicure method - hybrid pedicure, 3in1 SIMPLE and classic nail polishes. Get to know the necessary products and accessories, choose your method and start your pedicure adventure at home.
CHOOSE YOUR PERFECT PEDICUREStart by choosing paints.
- Classic plant-based wonder polishes - the easiest to remove, durability up to 5 days. Vegan classic polishes with ingredients of natural origin. The composition of these varnishes is rich in ingredients such as calcium and magnesium . You don't need a lamp to make styling with them. You remove them with a remover. Perfect for people who like to change pedicures often, who like classic polishes.
- SIMPLE 3in1 hybrid polishes - durability up to 14 days, two layers are enough, ready in 20 minutes. SIMPLE 3in1 hybrid nail polishes are a comprehensive product thanks to which you will create a perfect pedicure - base, color and top coat in one, additionally enriched with proteins. You paint, cure and you're done! You can remove the styling with cotton pads soaked in Acetone or a nail file. SIMPLE varnishes require curing in a UV/Led lamp. Perfect if you appreciate quick nail polish application and a long-lasting effect on your nails.
- NEONAIL hybrid polishes - durability up to 21 days, over 400 colors of varnishes. These are products that combine the properties of traditional nail polishes and flexible UV gels. Of all three methods, they provide the longest durability, with their help you can make decorations, and with a properly selected hybrid base you can fill in cavities or build nails. Fall in love with the infinite possibilities offered by a hybrid pedicure. Hybrid polishes require the use of a base and top coat. You can remove them with a milling machine or a cotton swab soaked in acetone. Perfect for people who want a long-lasting effect.
Before you start painting, take care of preparing the skin of your feet.
1. Prepare yourself an aromatic bath or a bowl of warm water, a towel, wooden sticks and a 100/180 file, a 100/180 polisher, cuticle clippers, a silicone brush, a waterproof electric heel file, sugar foot scrub, vitamin oil and cream feet with urea 5%.
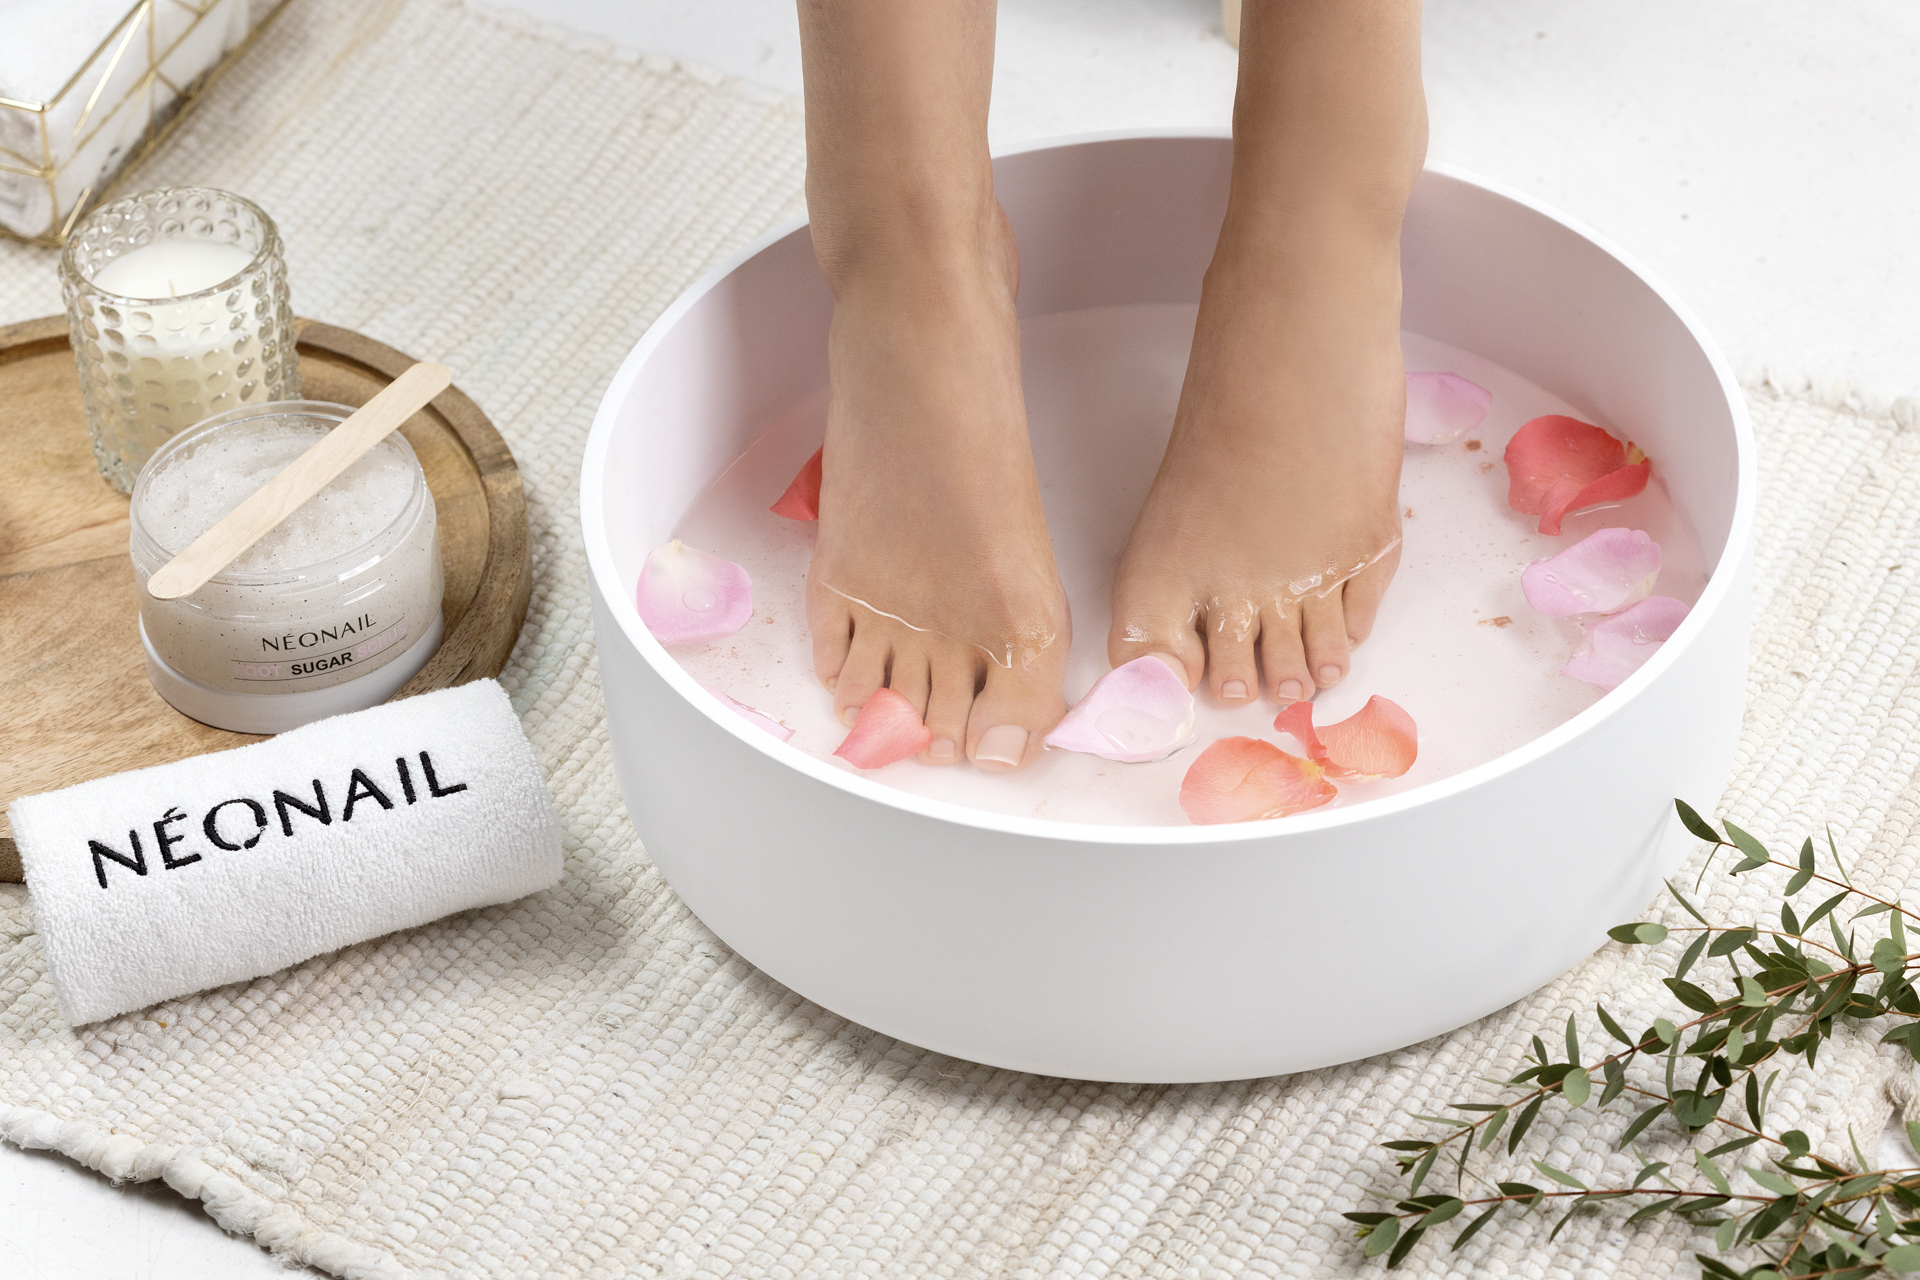
2. Soaking your feet before pedicure is a very important step. Soak your feet in warm water for 15-20 minutes. Then dry them with a towel - you can reach for terry towels from NEONAIL.
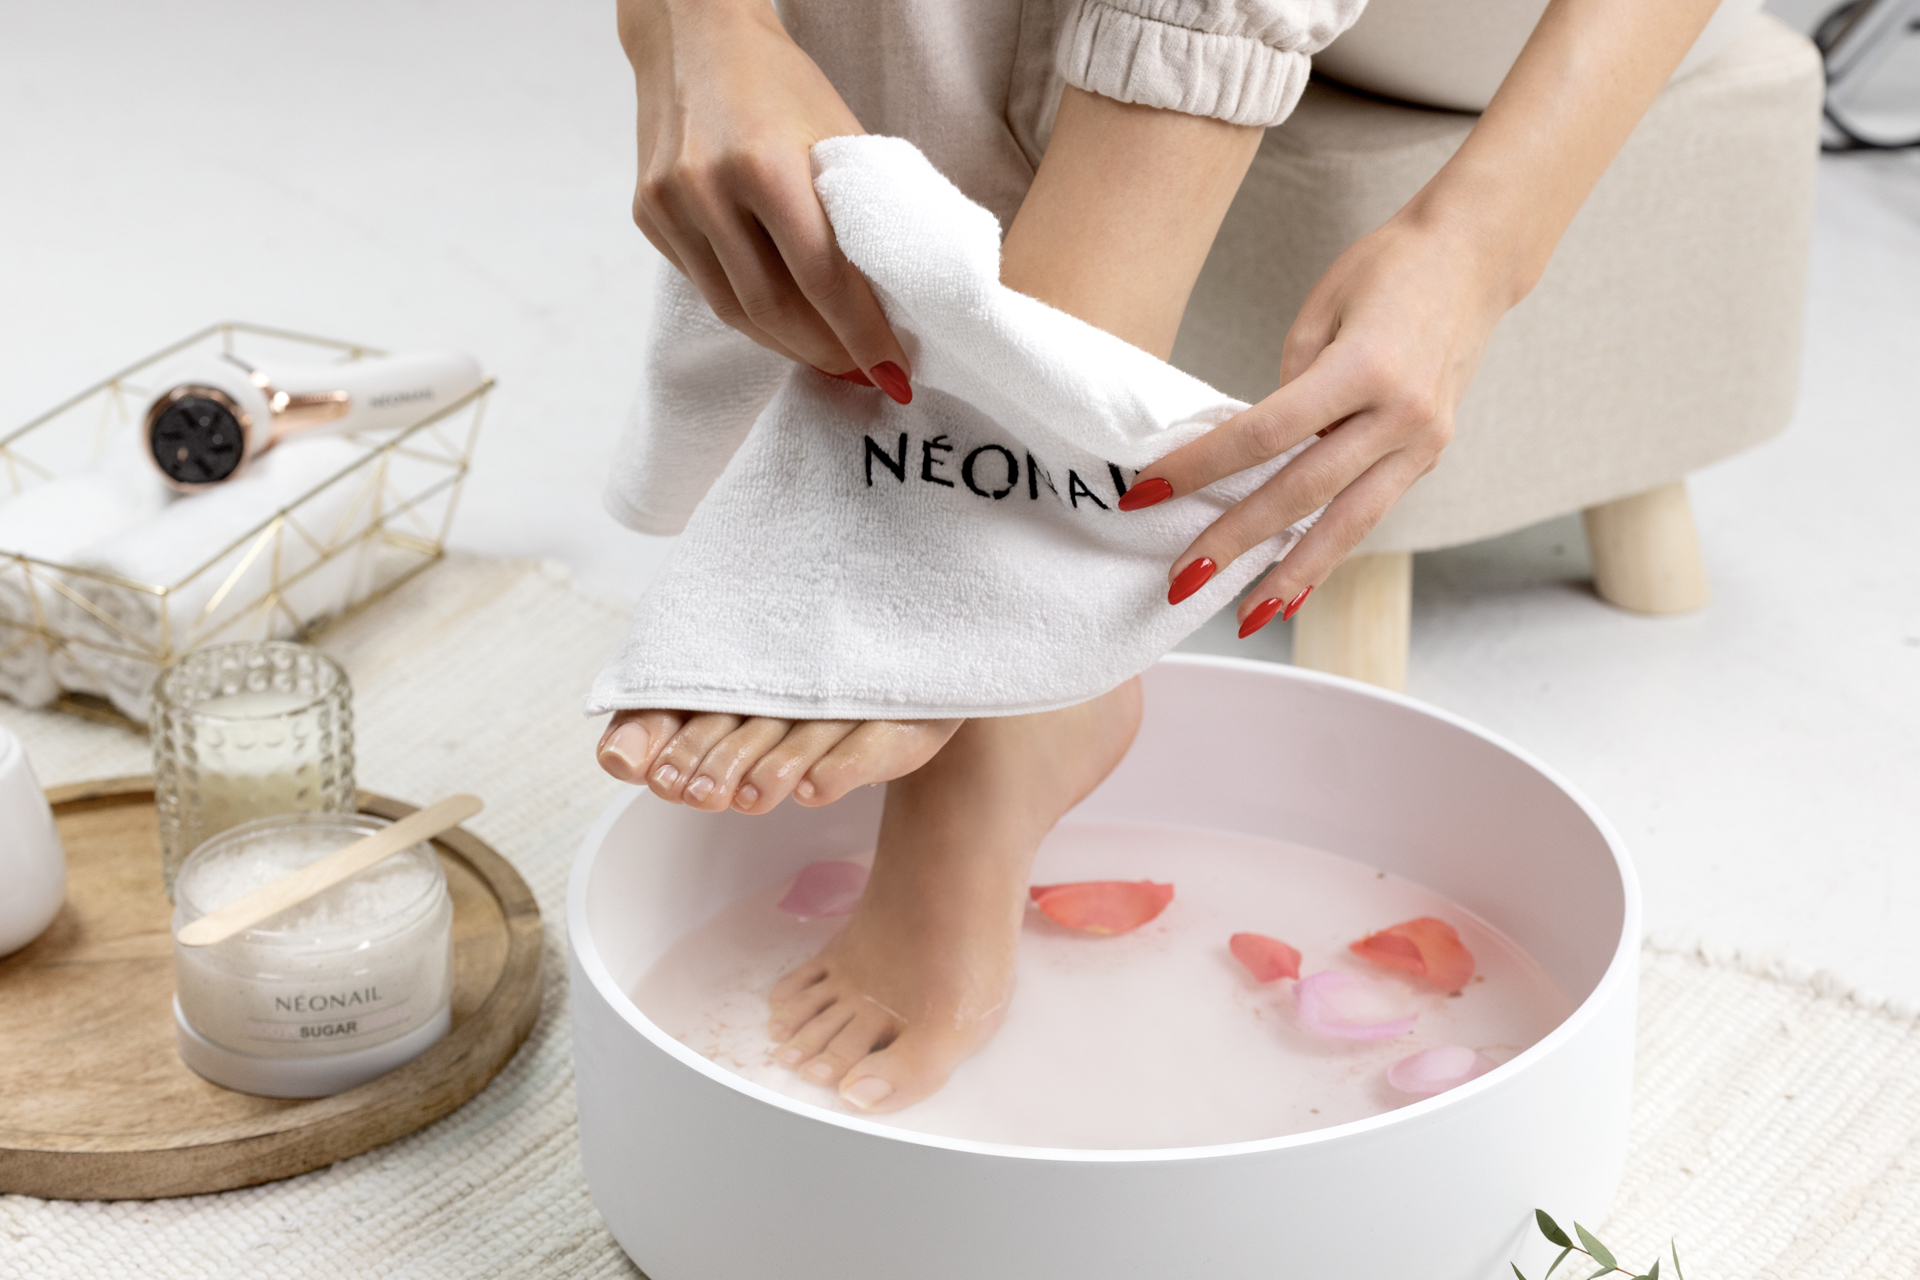
3. Prepare the cuticles around the nails - gently remove the cuticles with a wooden stick and cut their excess using 3mm clippers, if necessary.
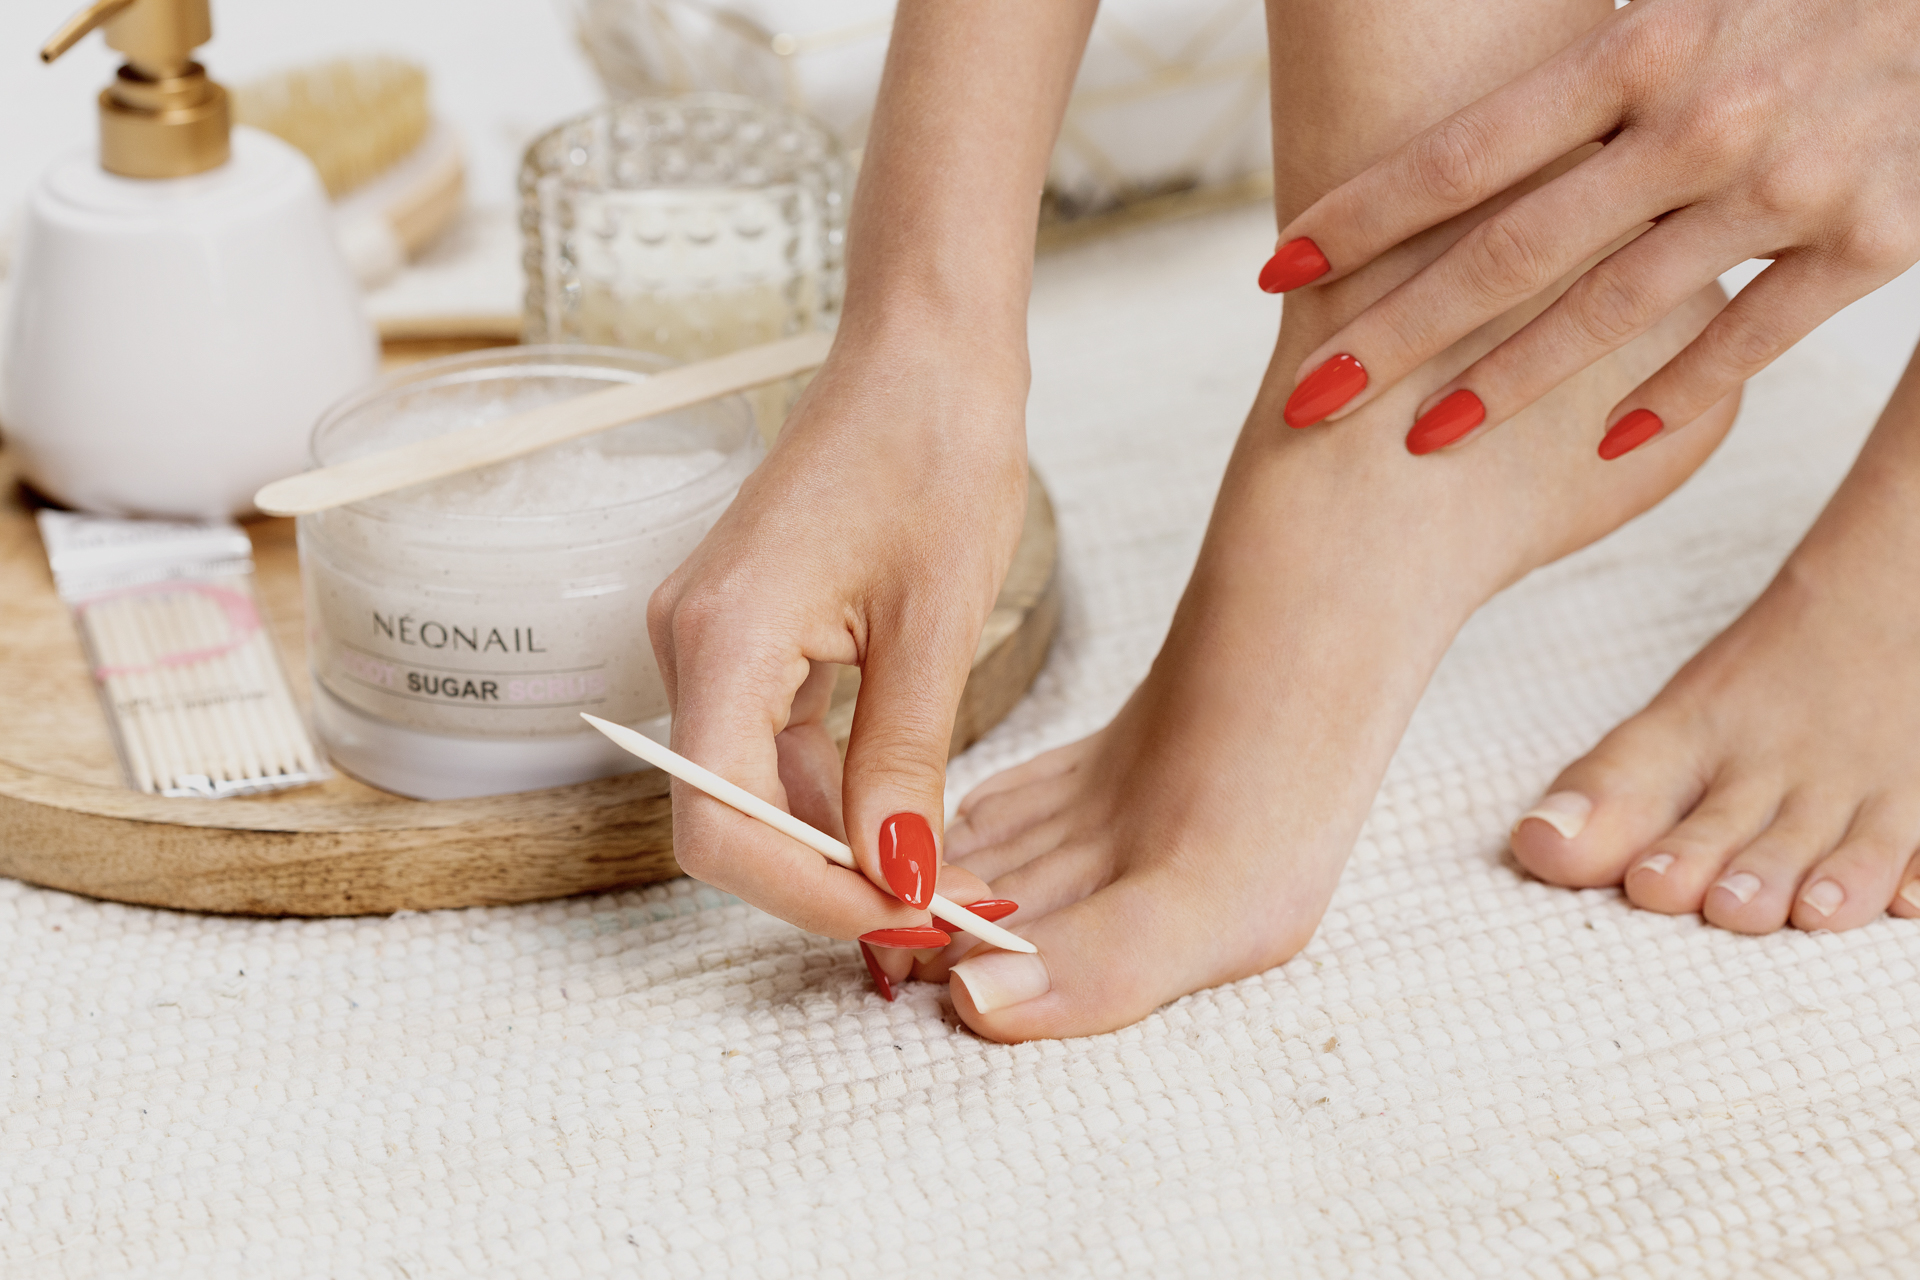
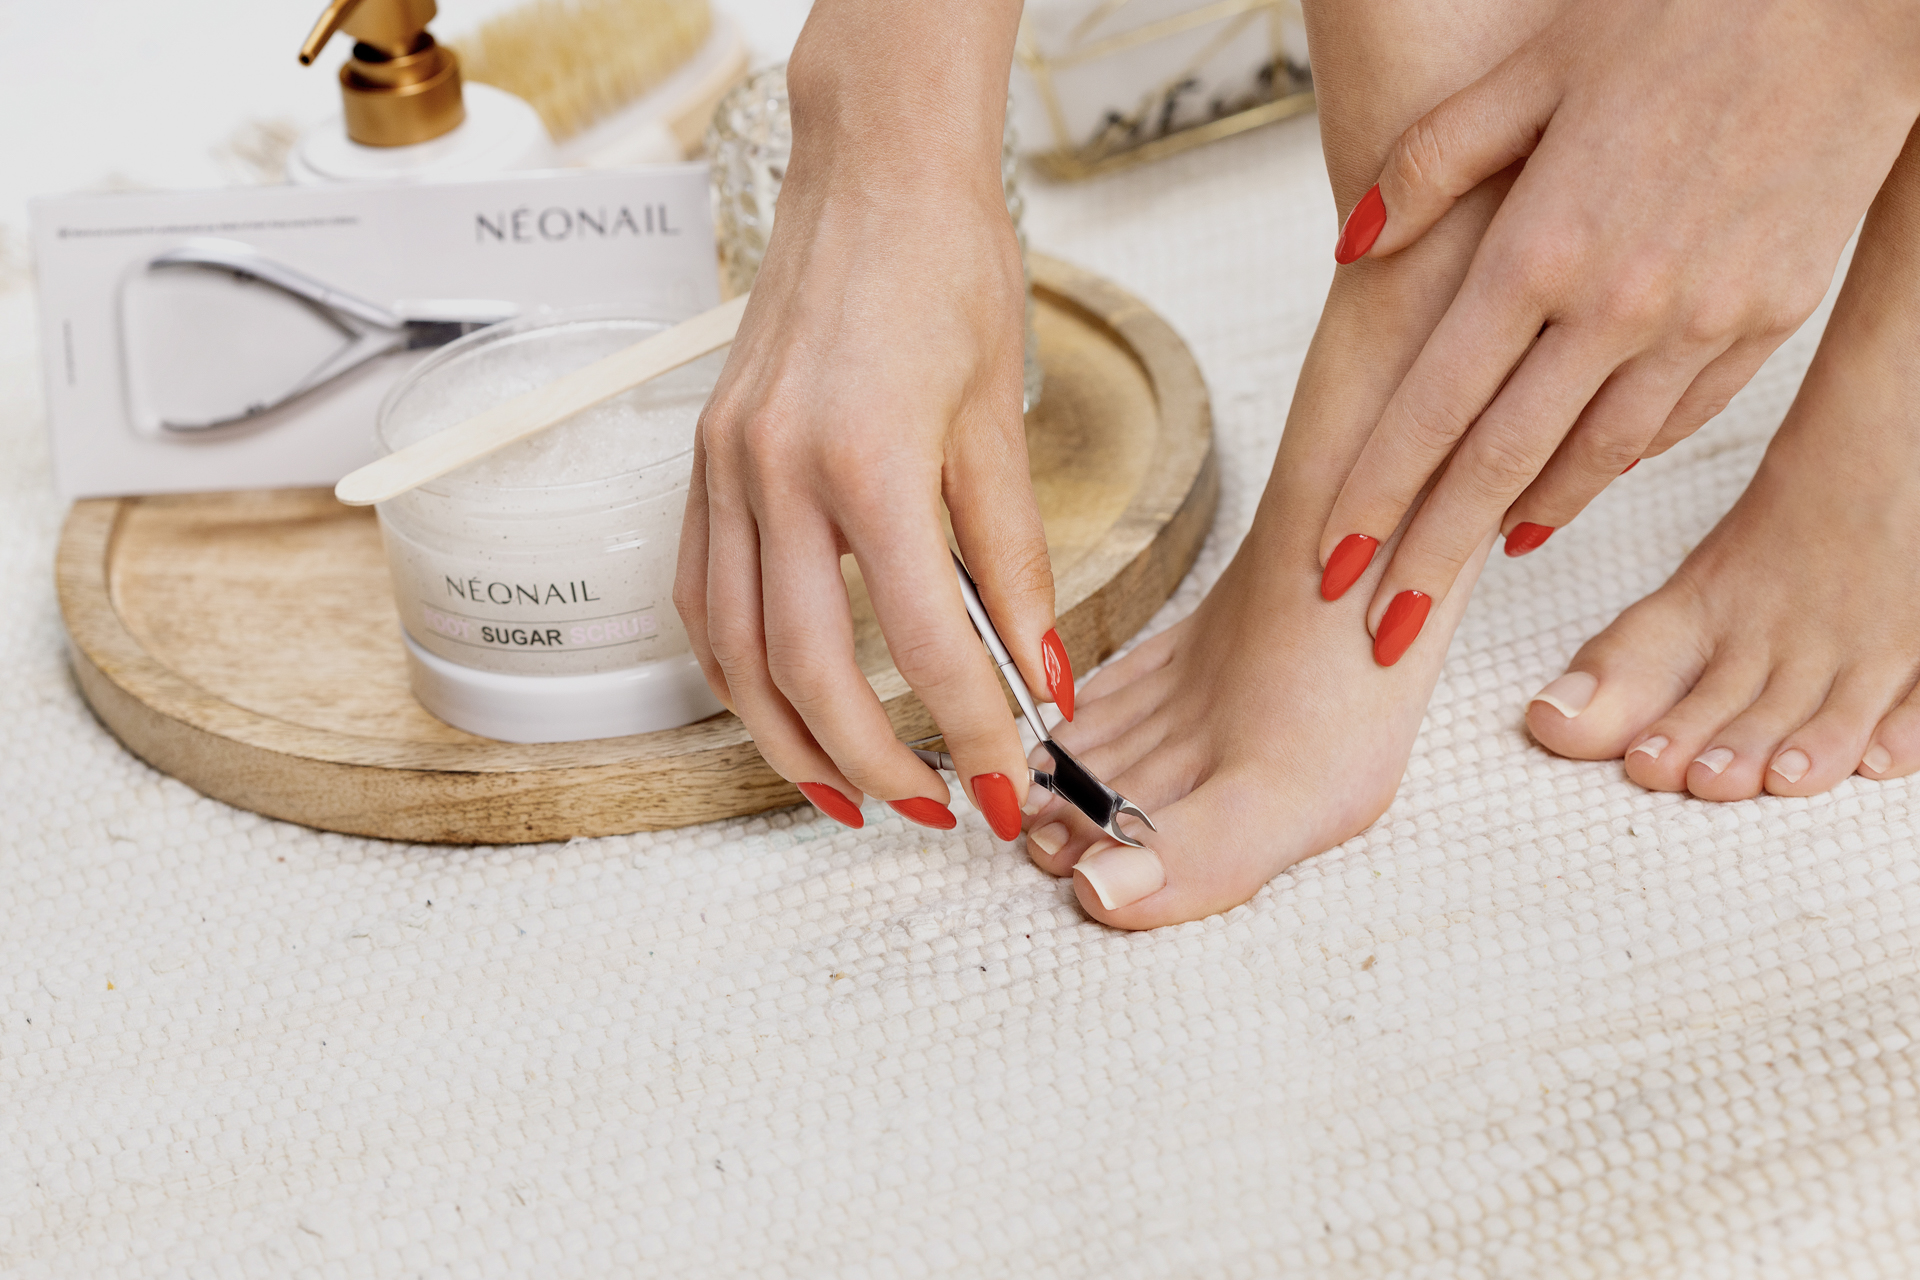
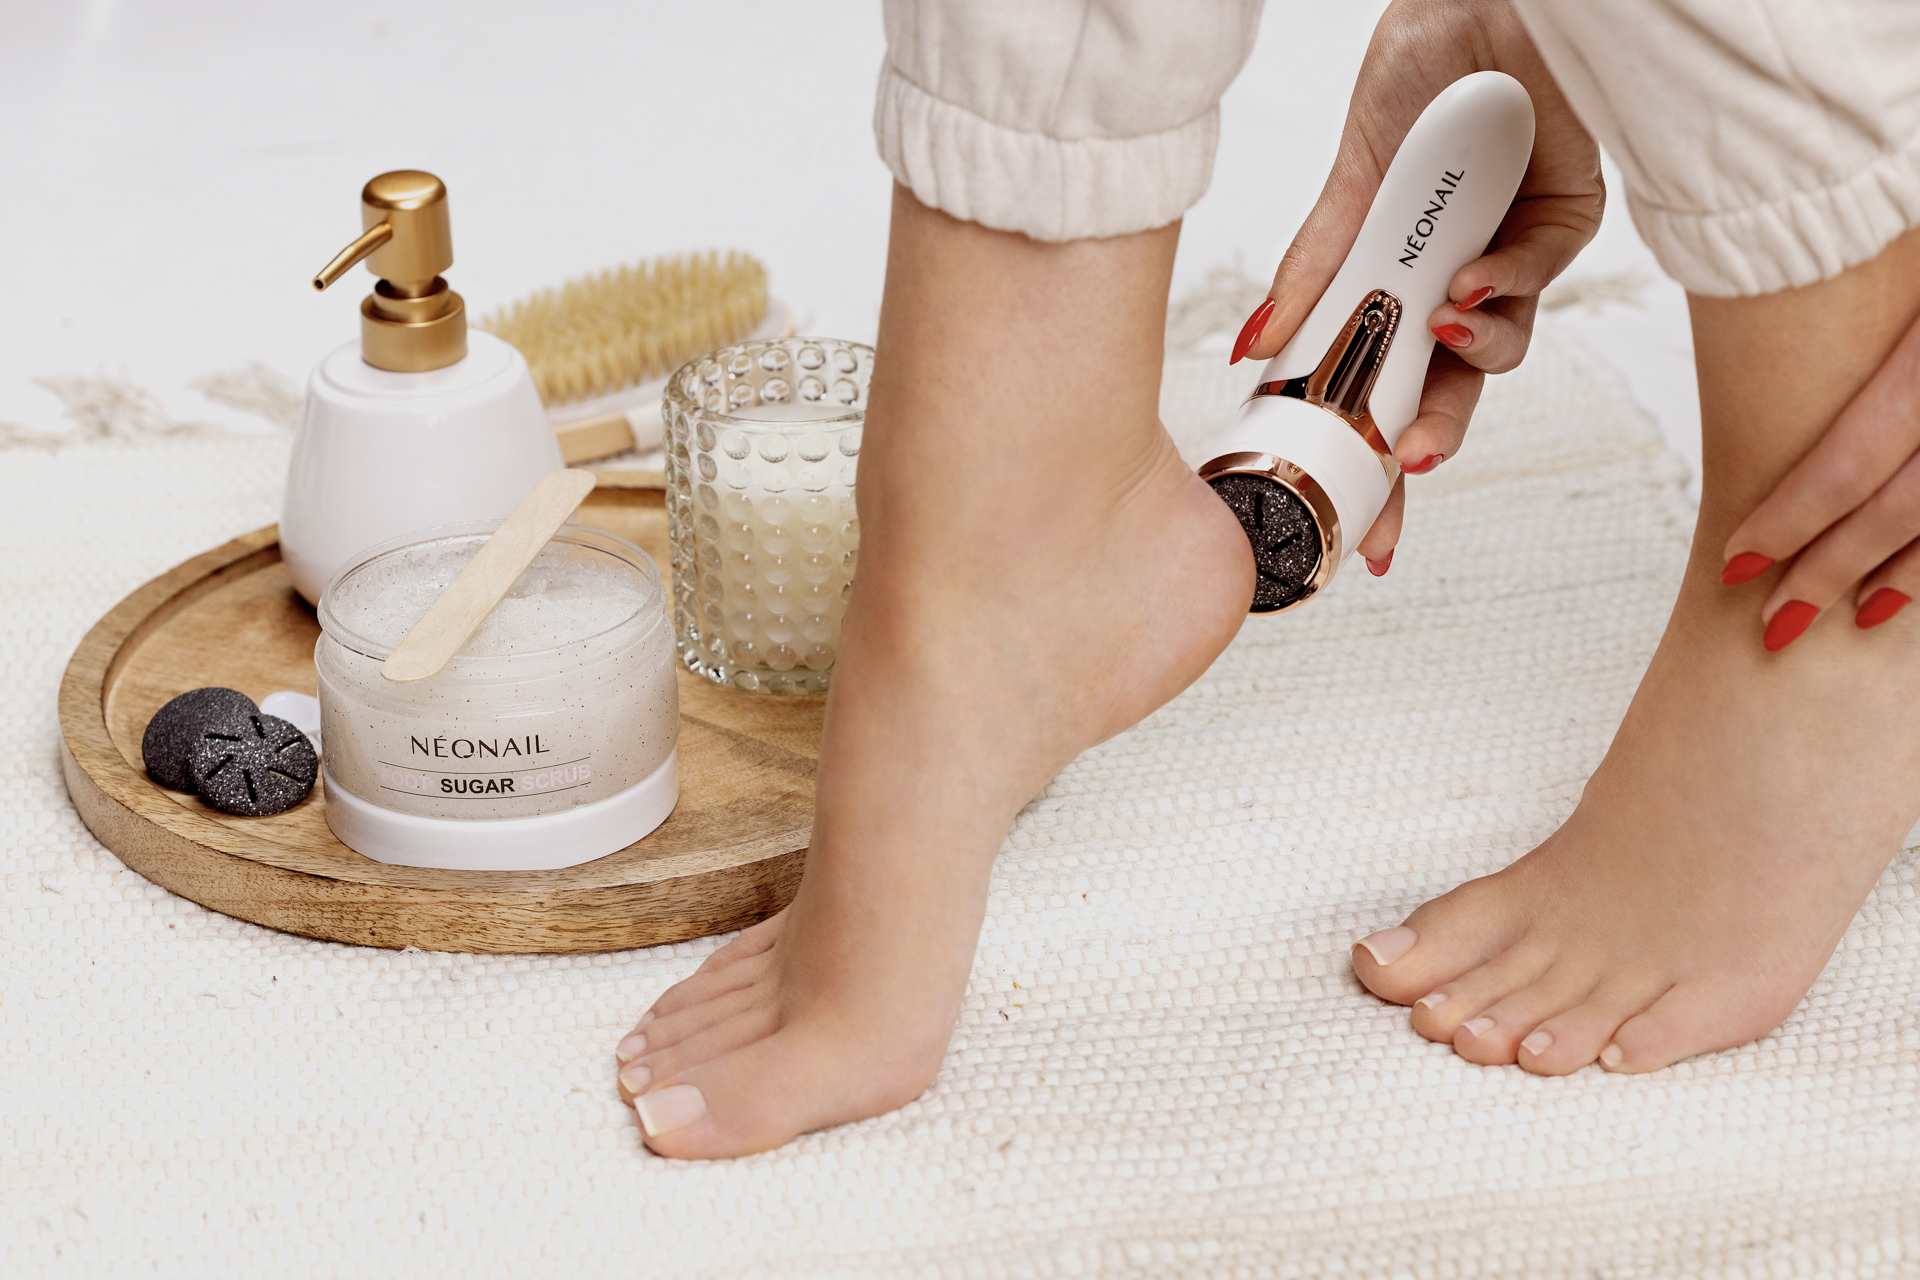
4. Clean the bottom of the feet - quickly and easily remove dead skin from the sole of the foot using the NEONAIL electric file.
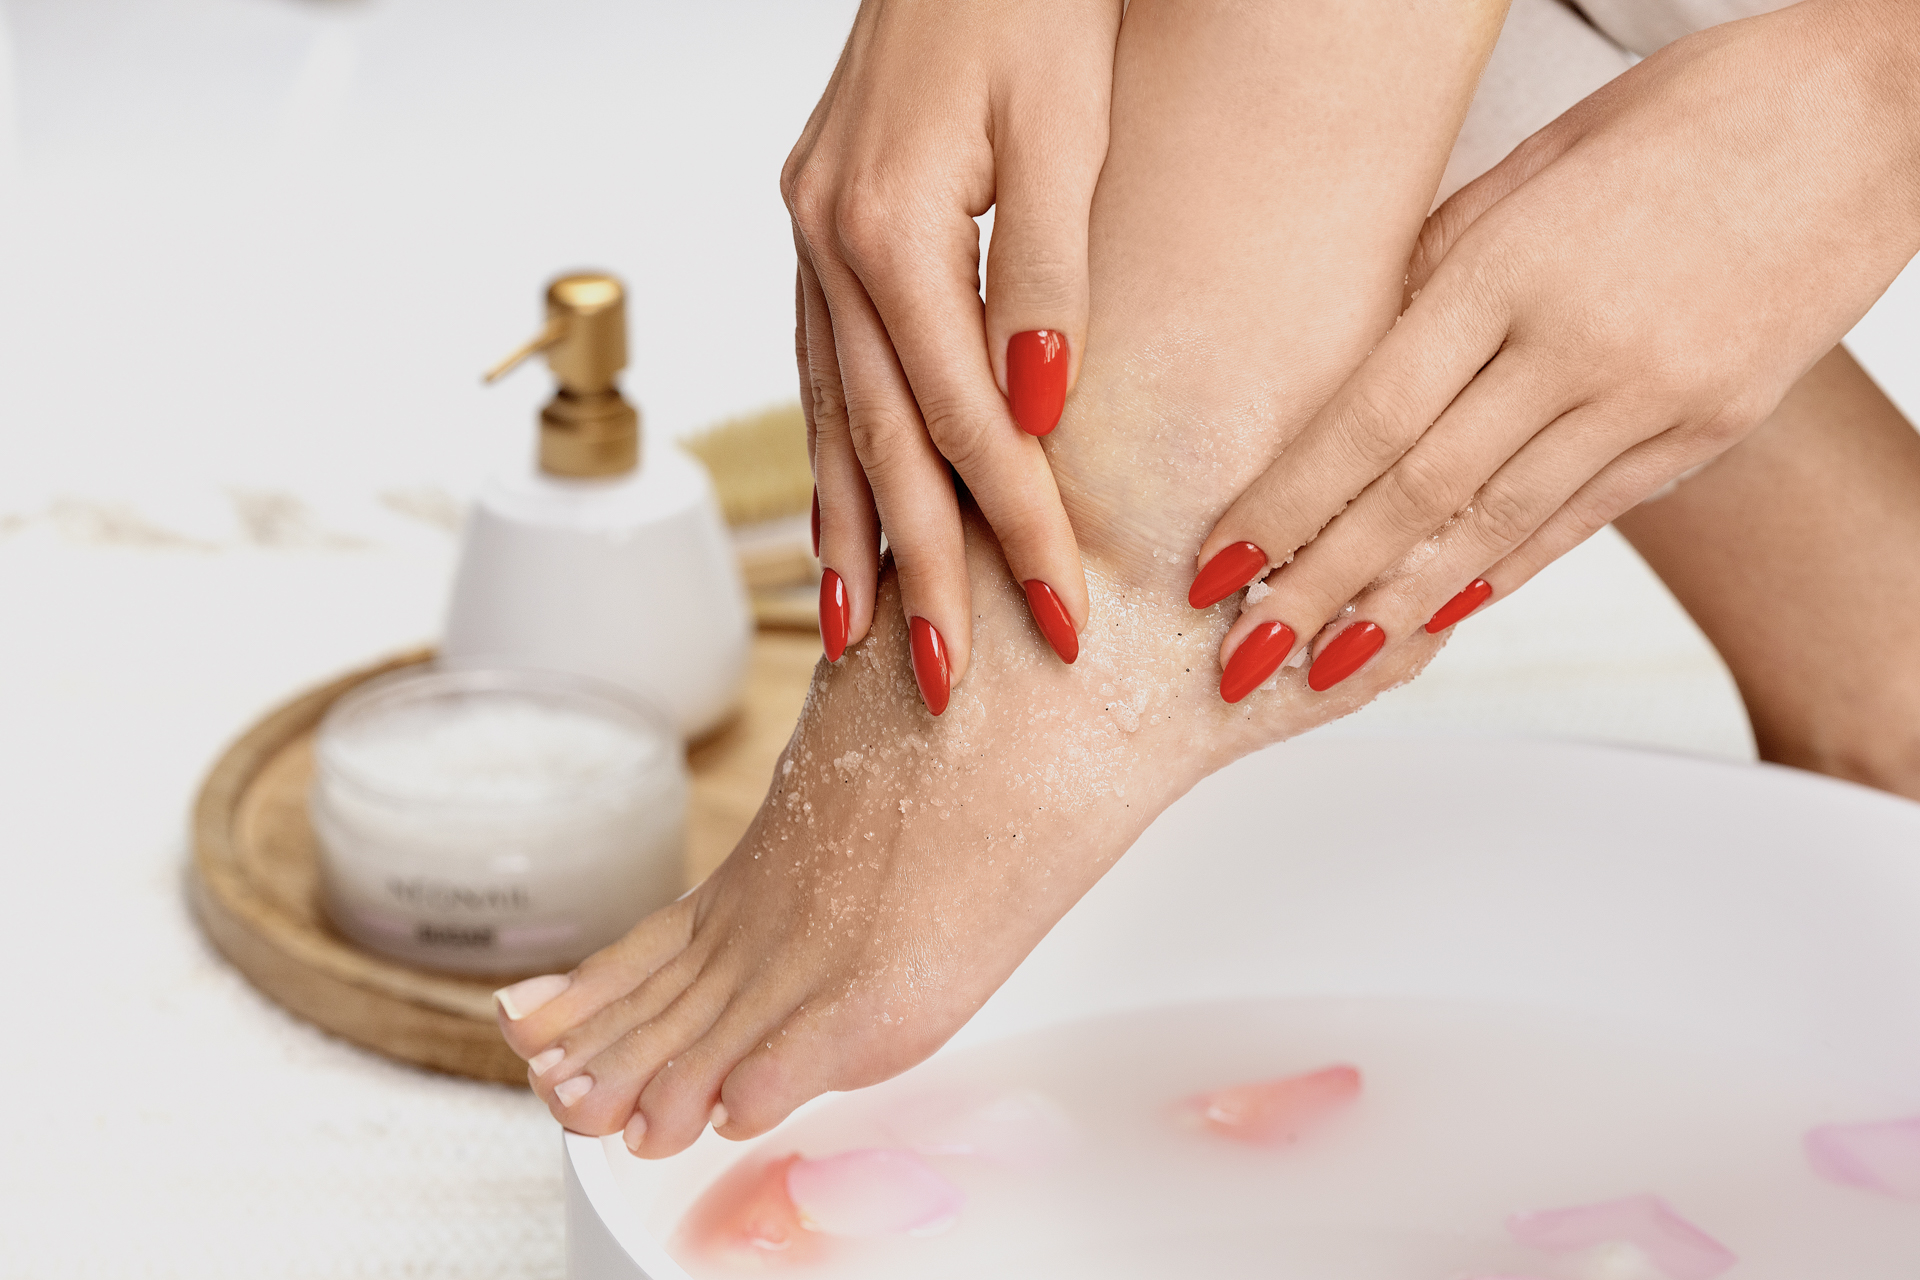
5. Make a scrub - for a better effect of smoothness, perform a sugar scrub by massaging the entire foot.
6. Shorten and shape the nails - reach for a 100/180 file and file the nails "straight" while shortening them.
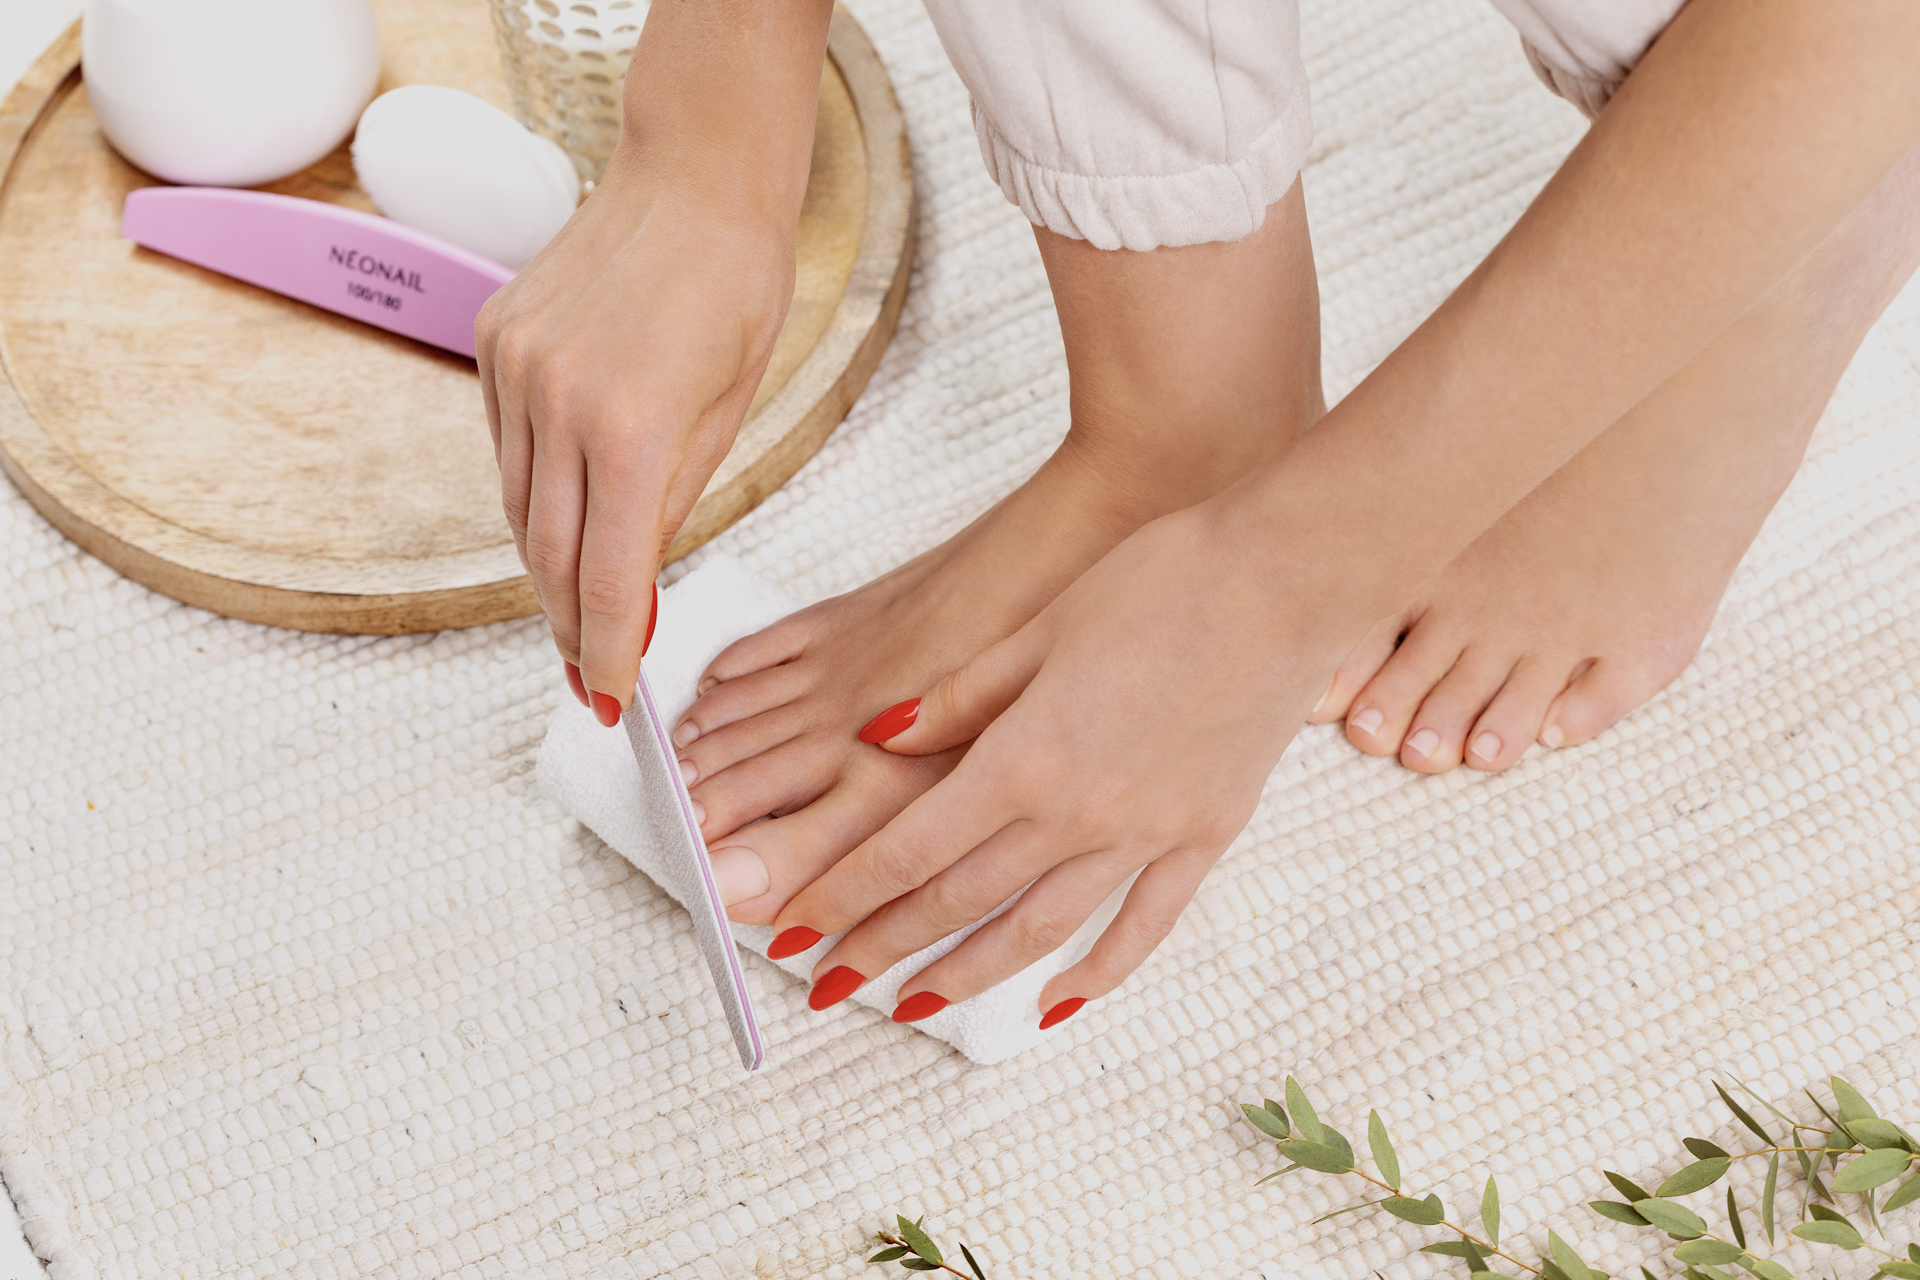
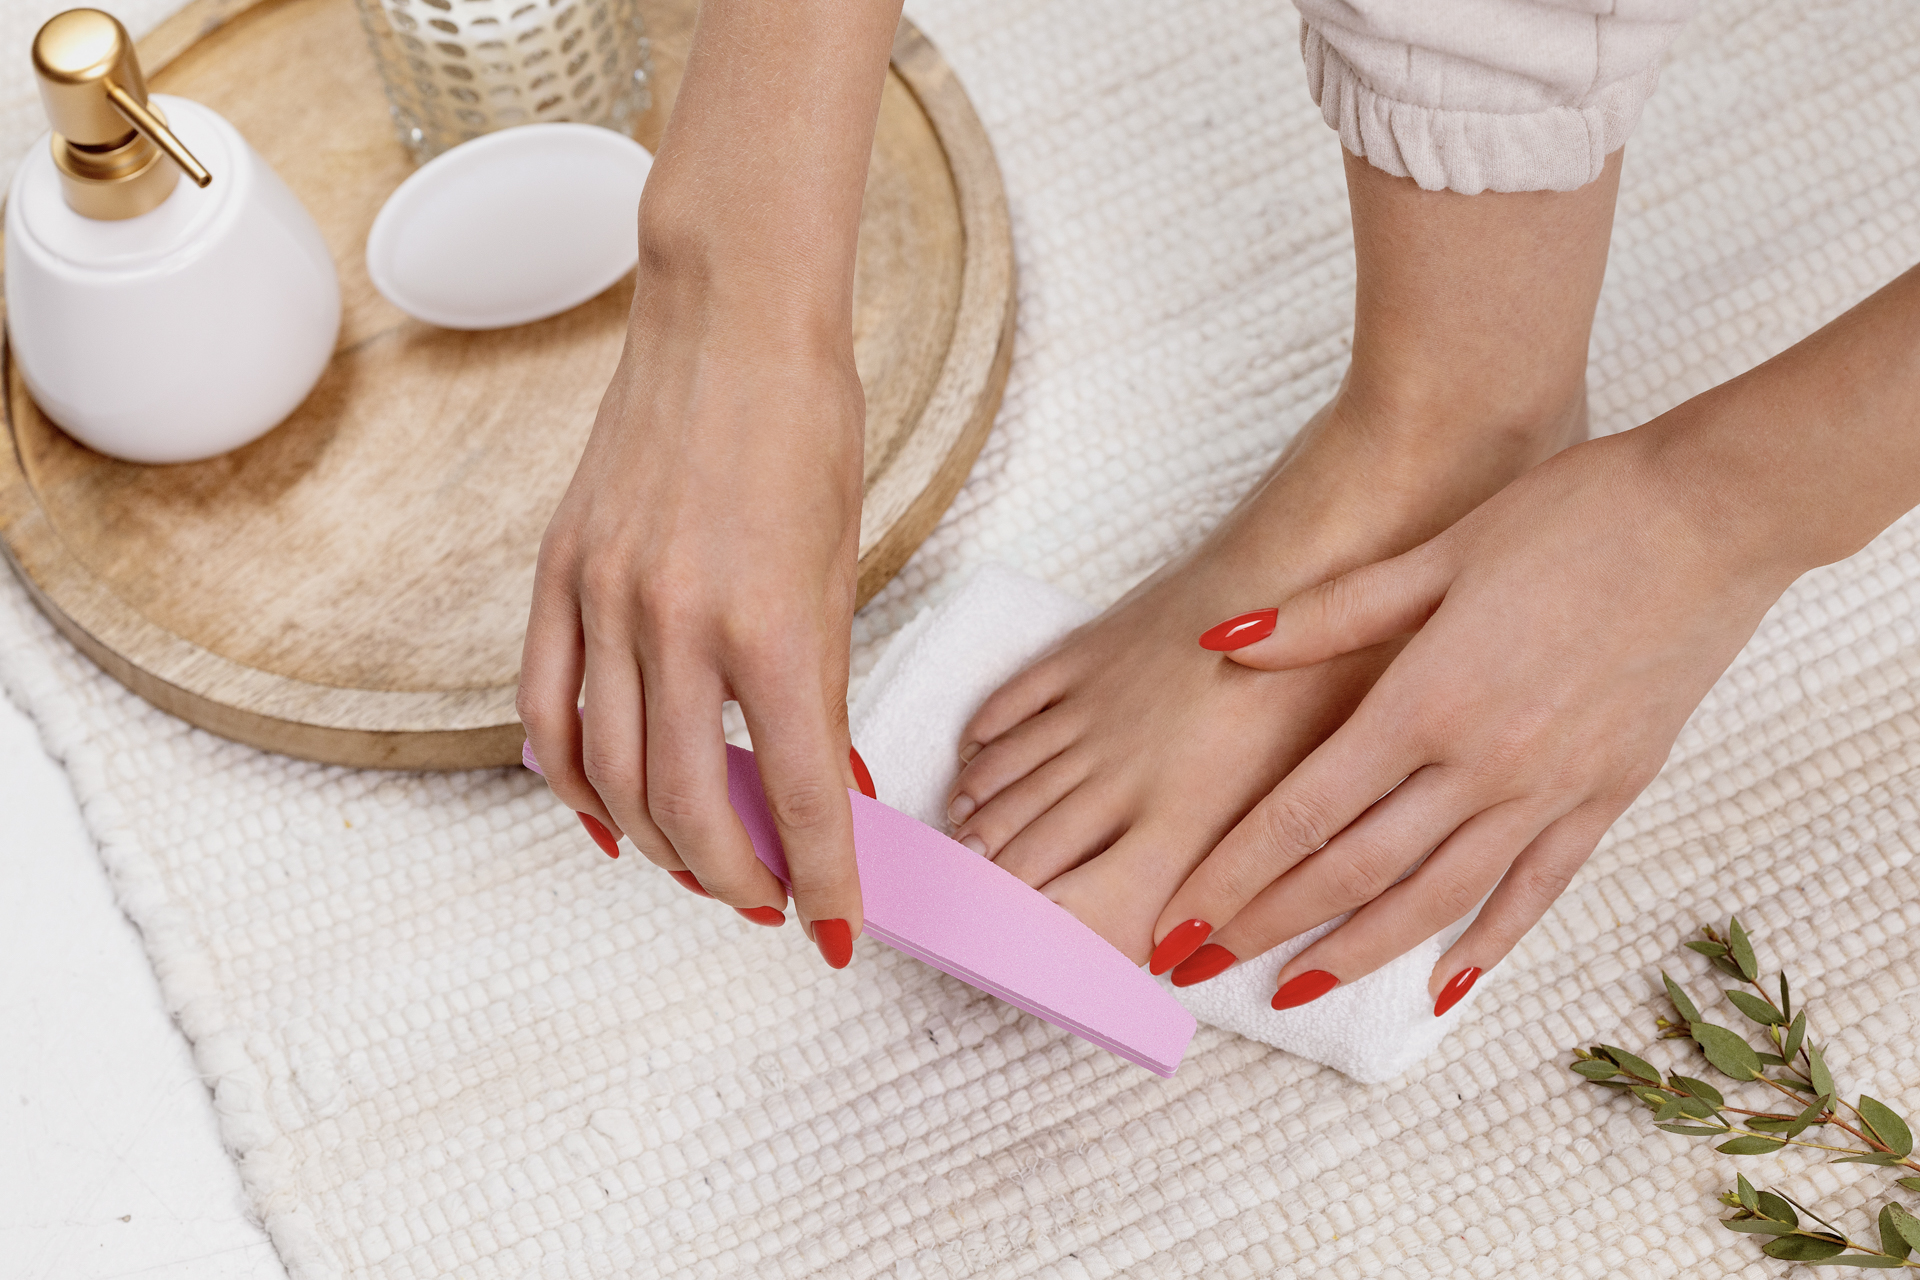
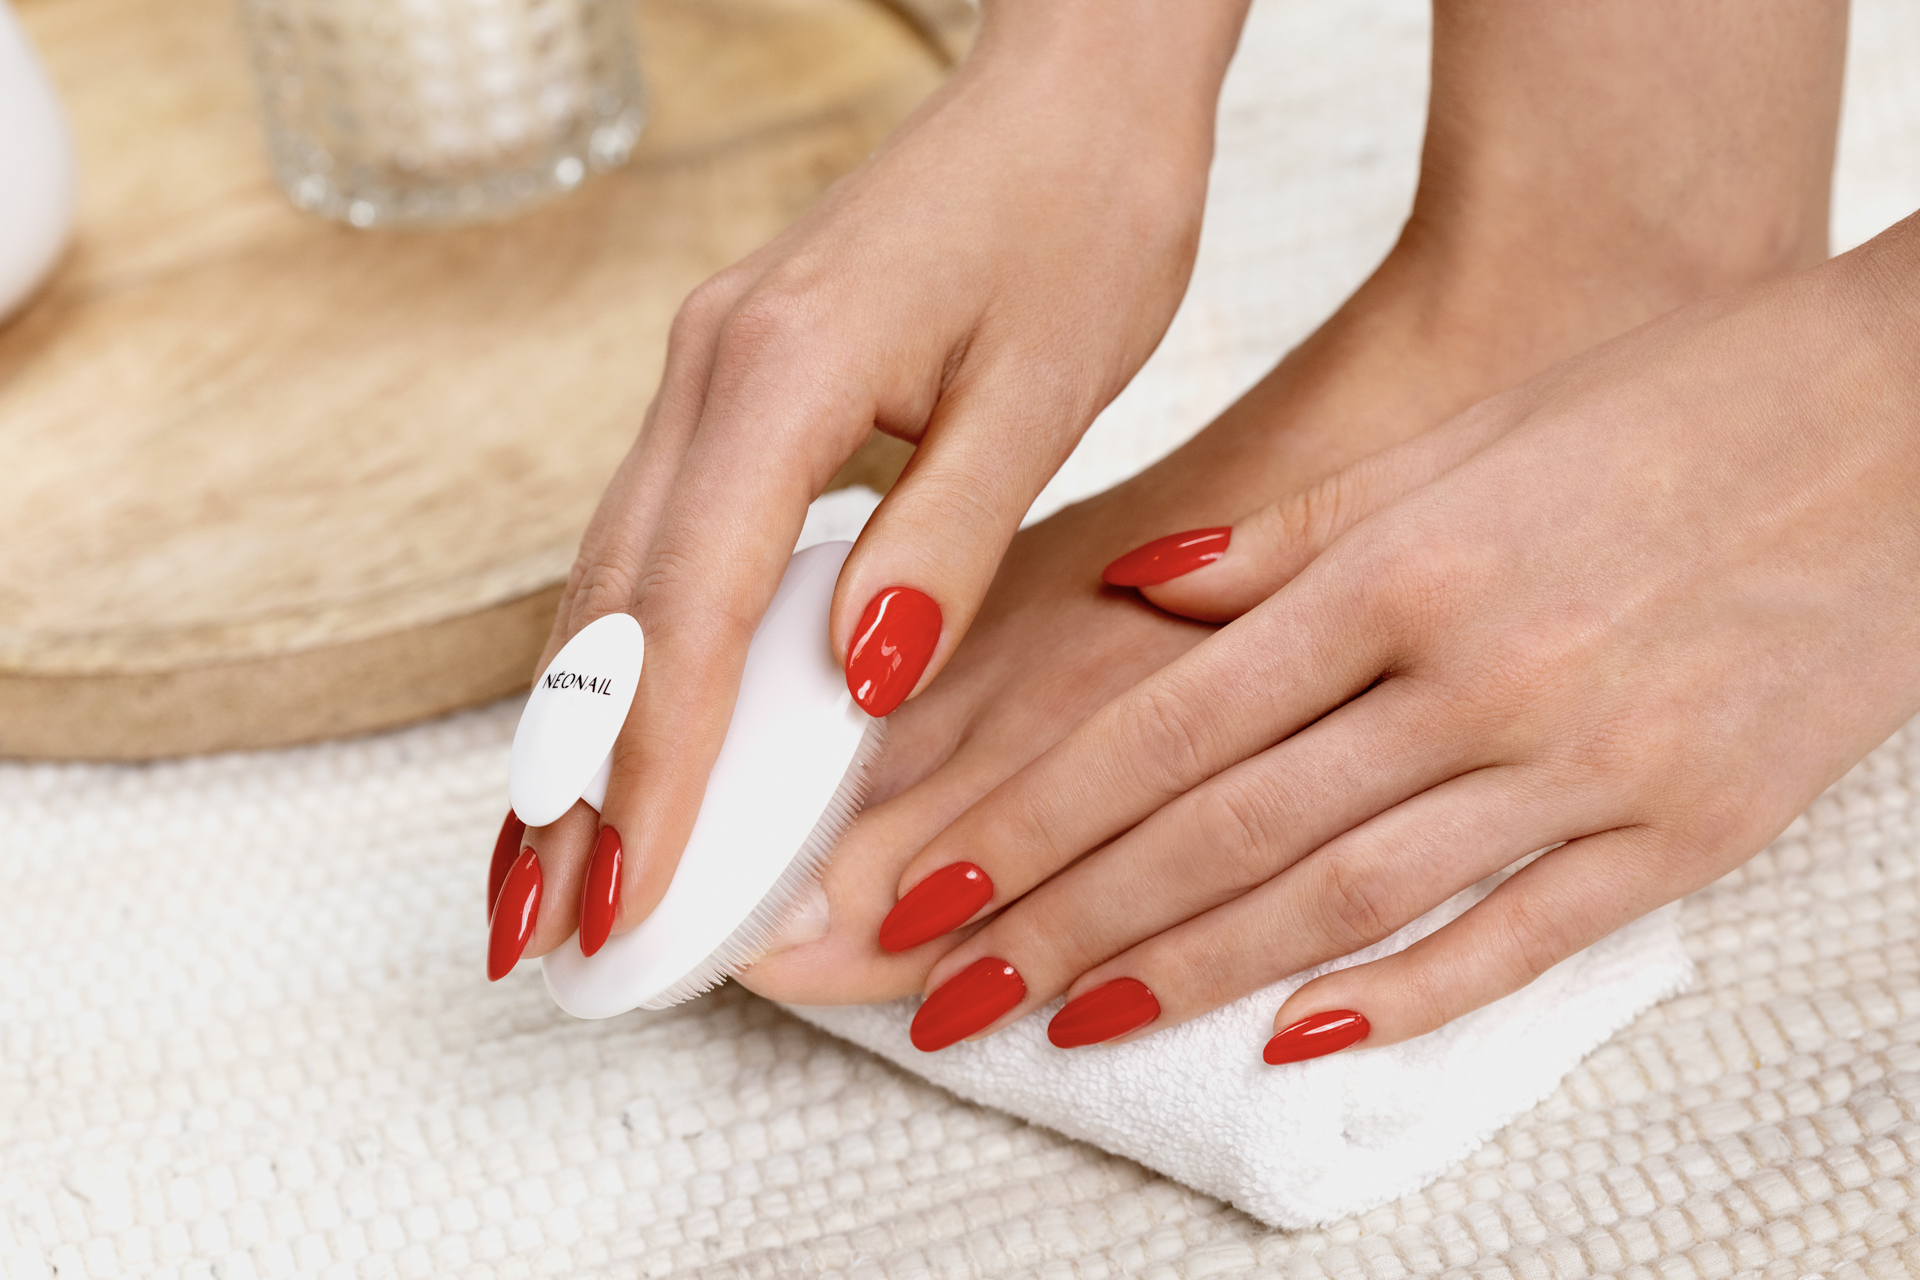
7. Smooth the surface of the nails - smooth the nails with a 100/180 grit polisher . Remove the resulting dust with the NEONAIL silicone brush.
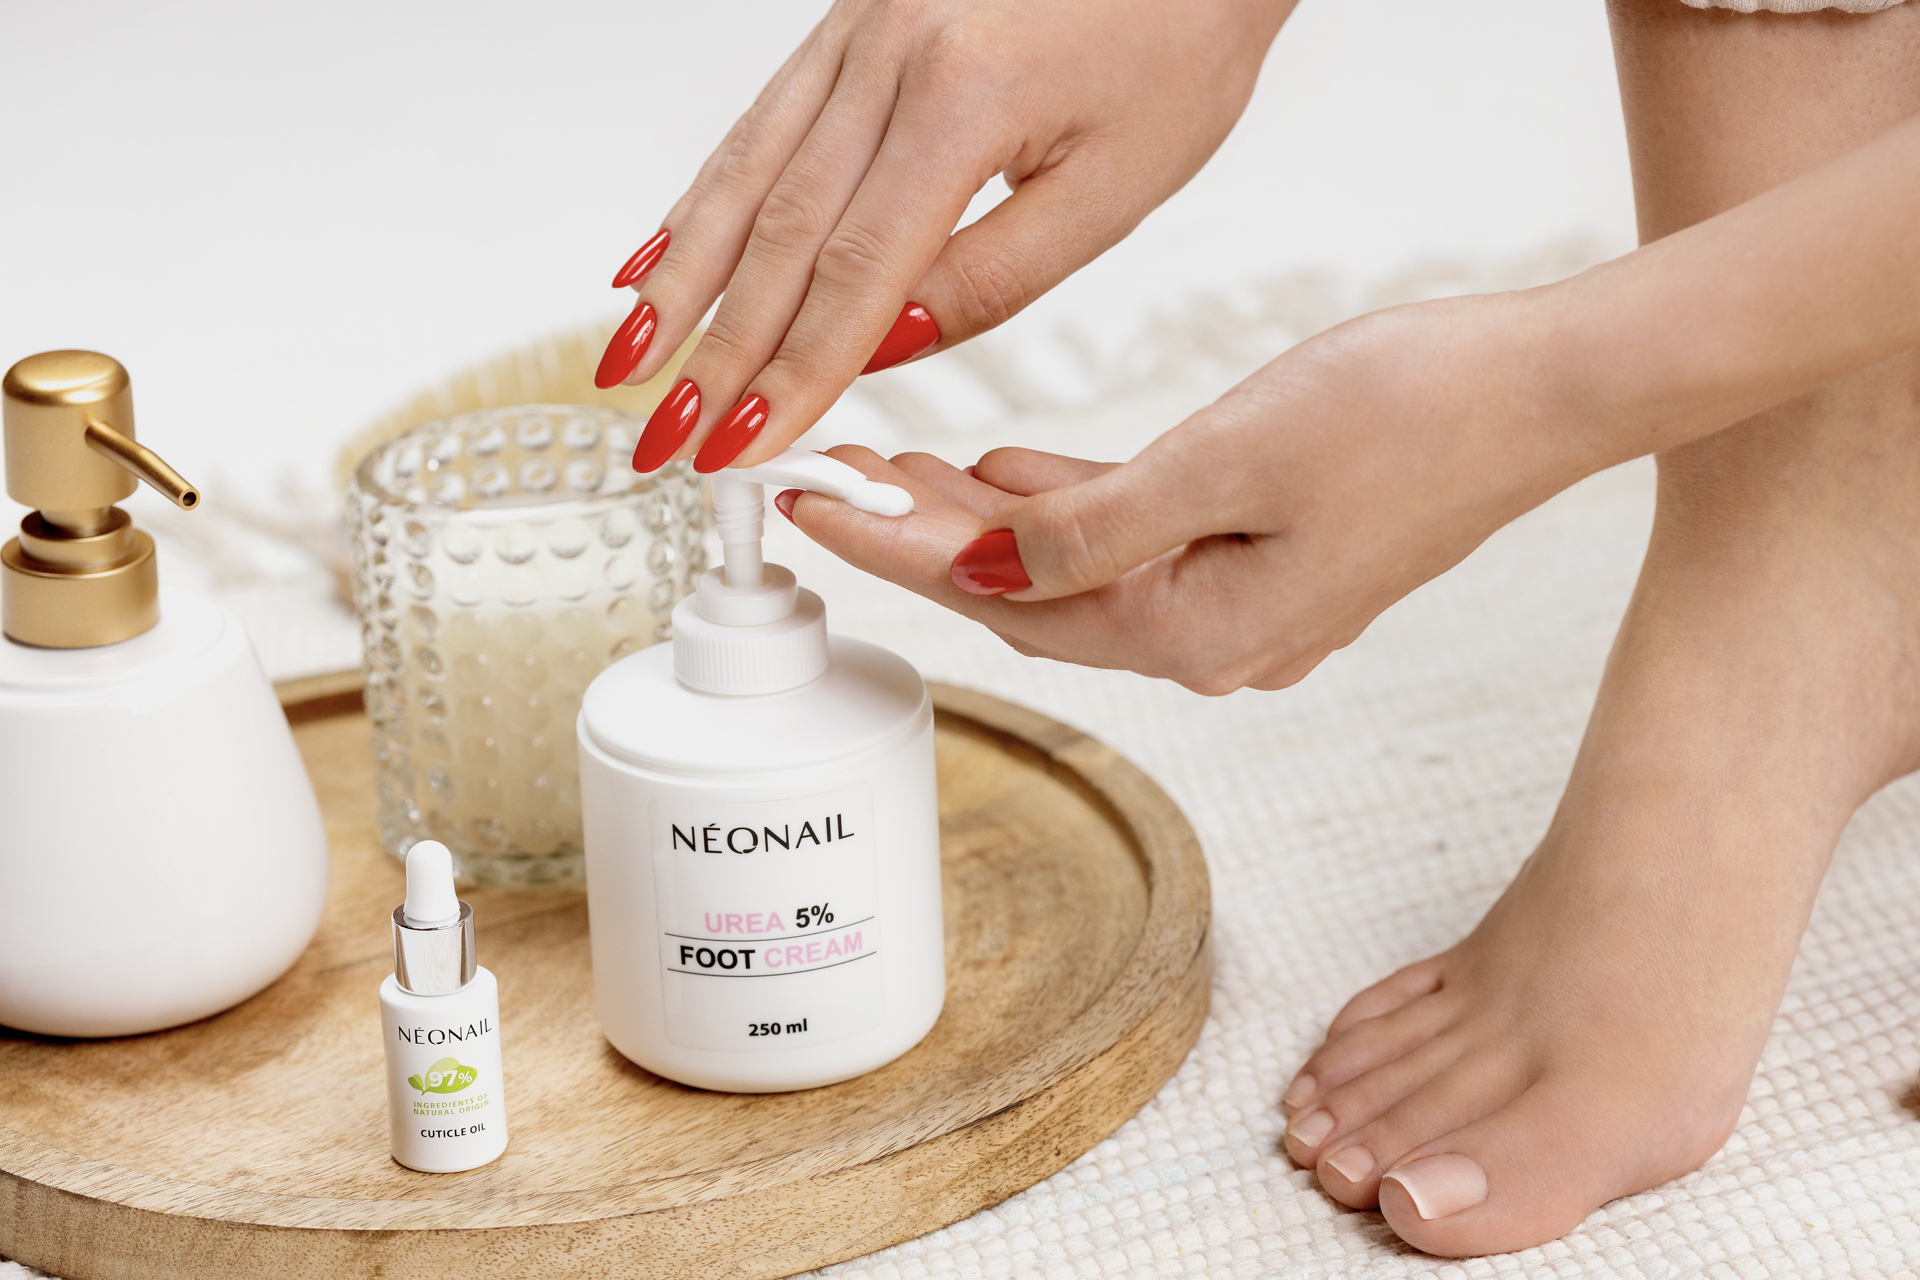
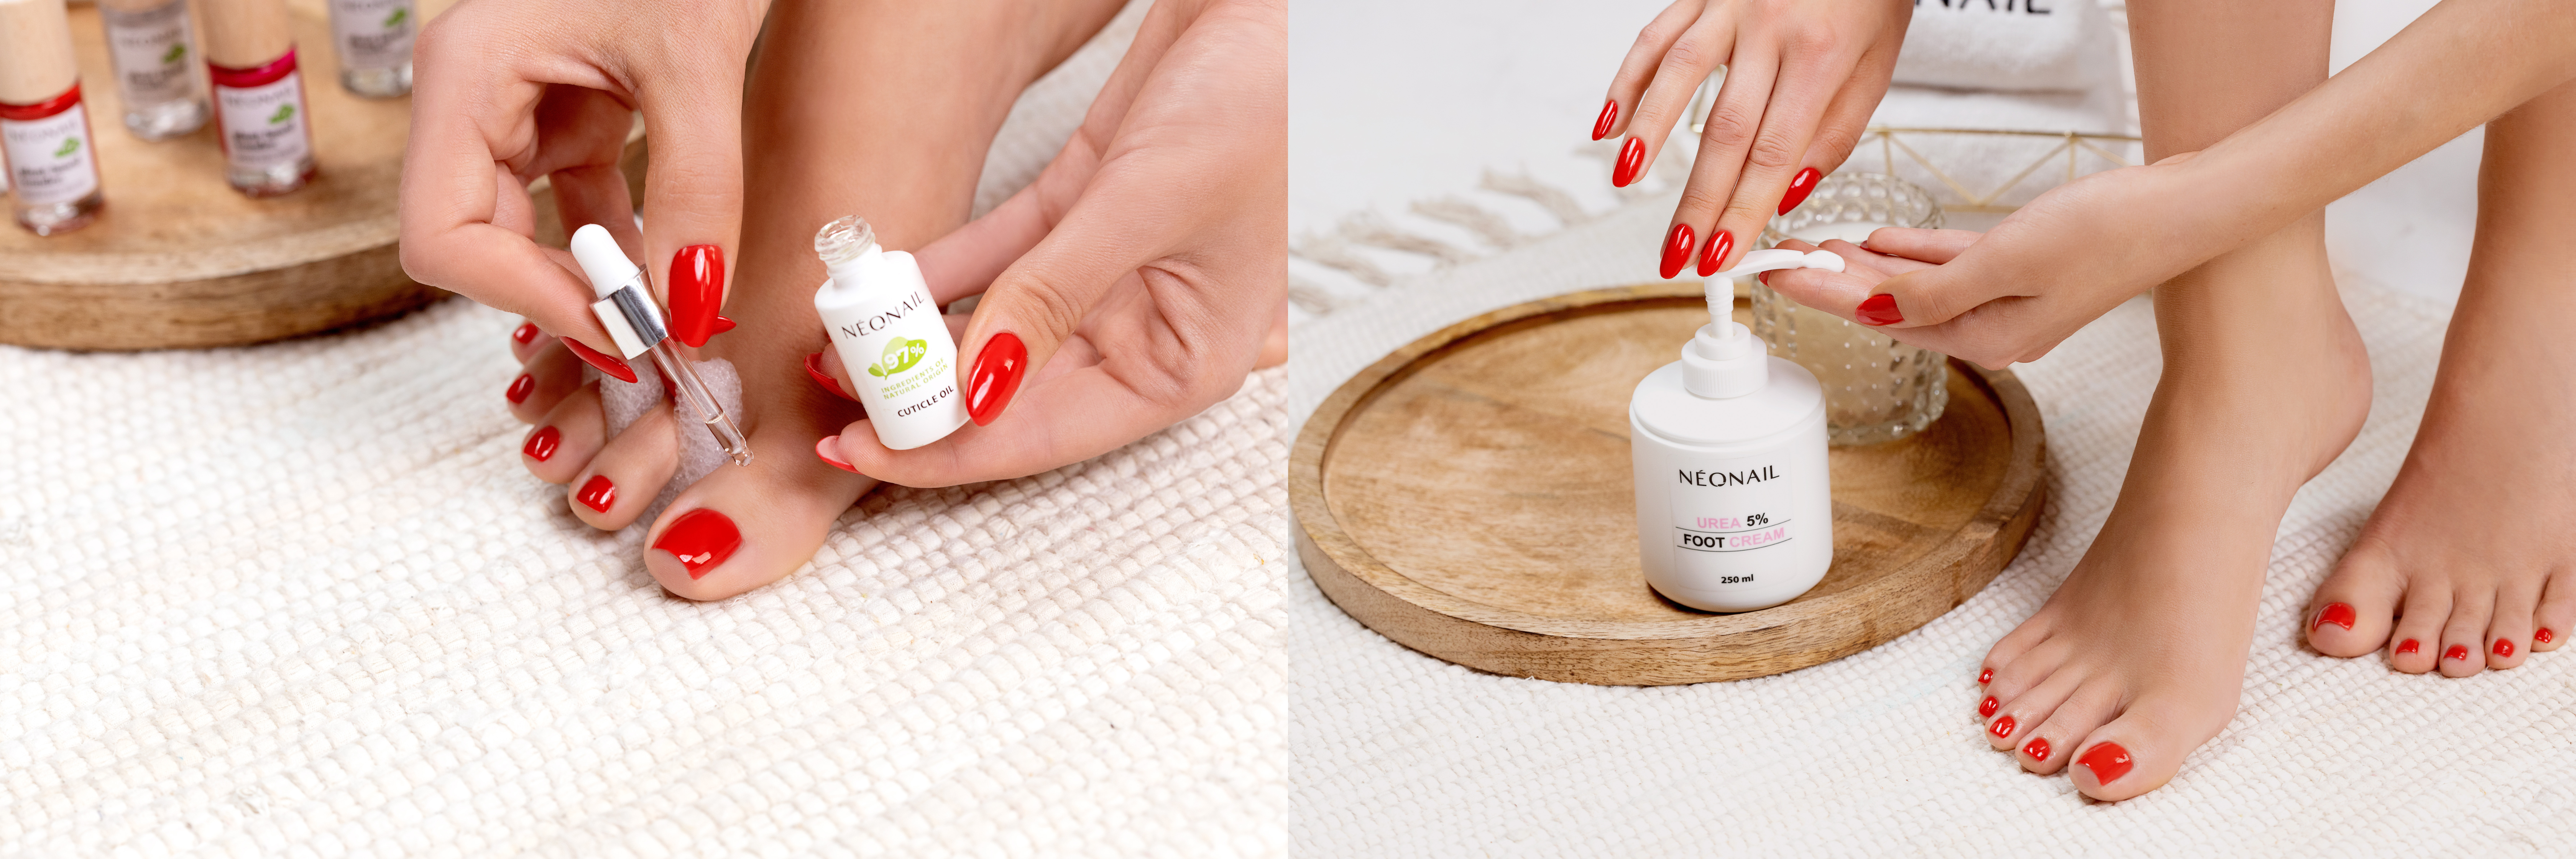
8. If you want to finish at this stage, apply vitamin olive oil - Vitamin Cuticle Oil and NEONAIL foot cream with 5% urea.
PEDICURE WITH NEONAIL HYBRID VARNISHES
1. Prepare your nails - put on separators and wash your nails with a cotton pad soaked in Cleaner.
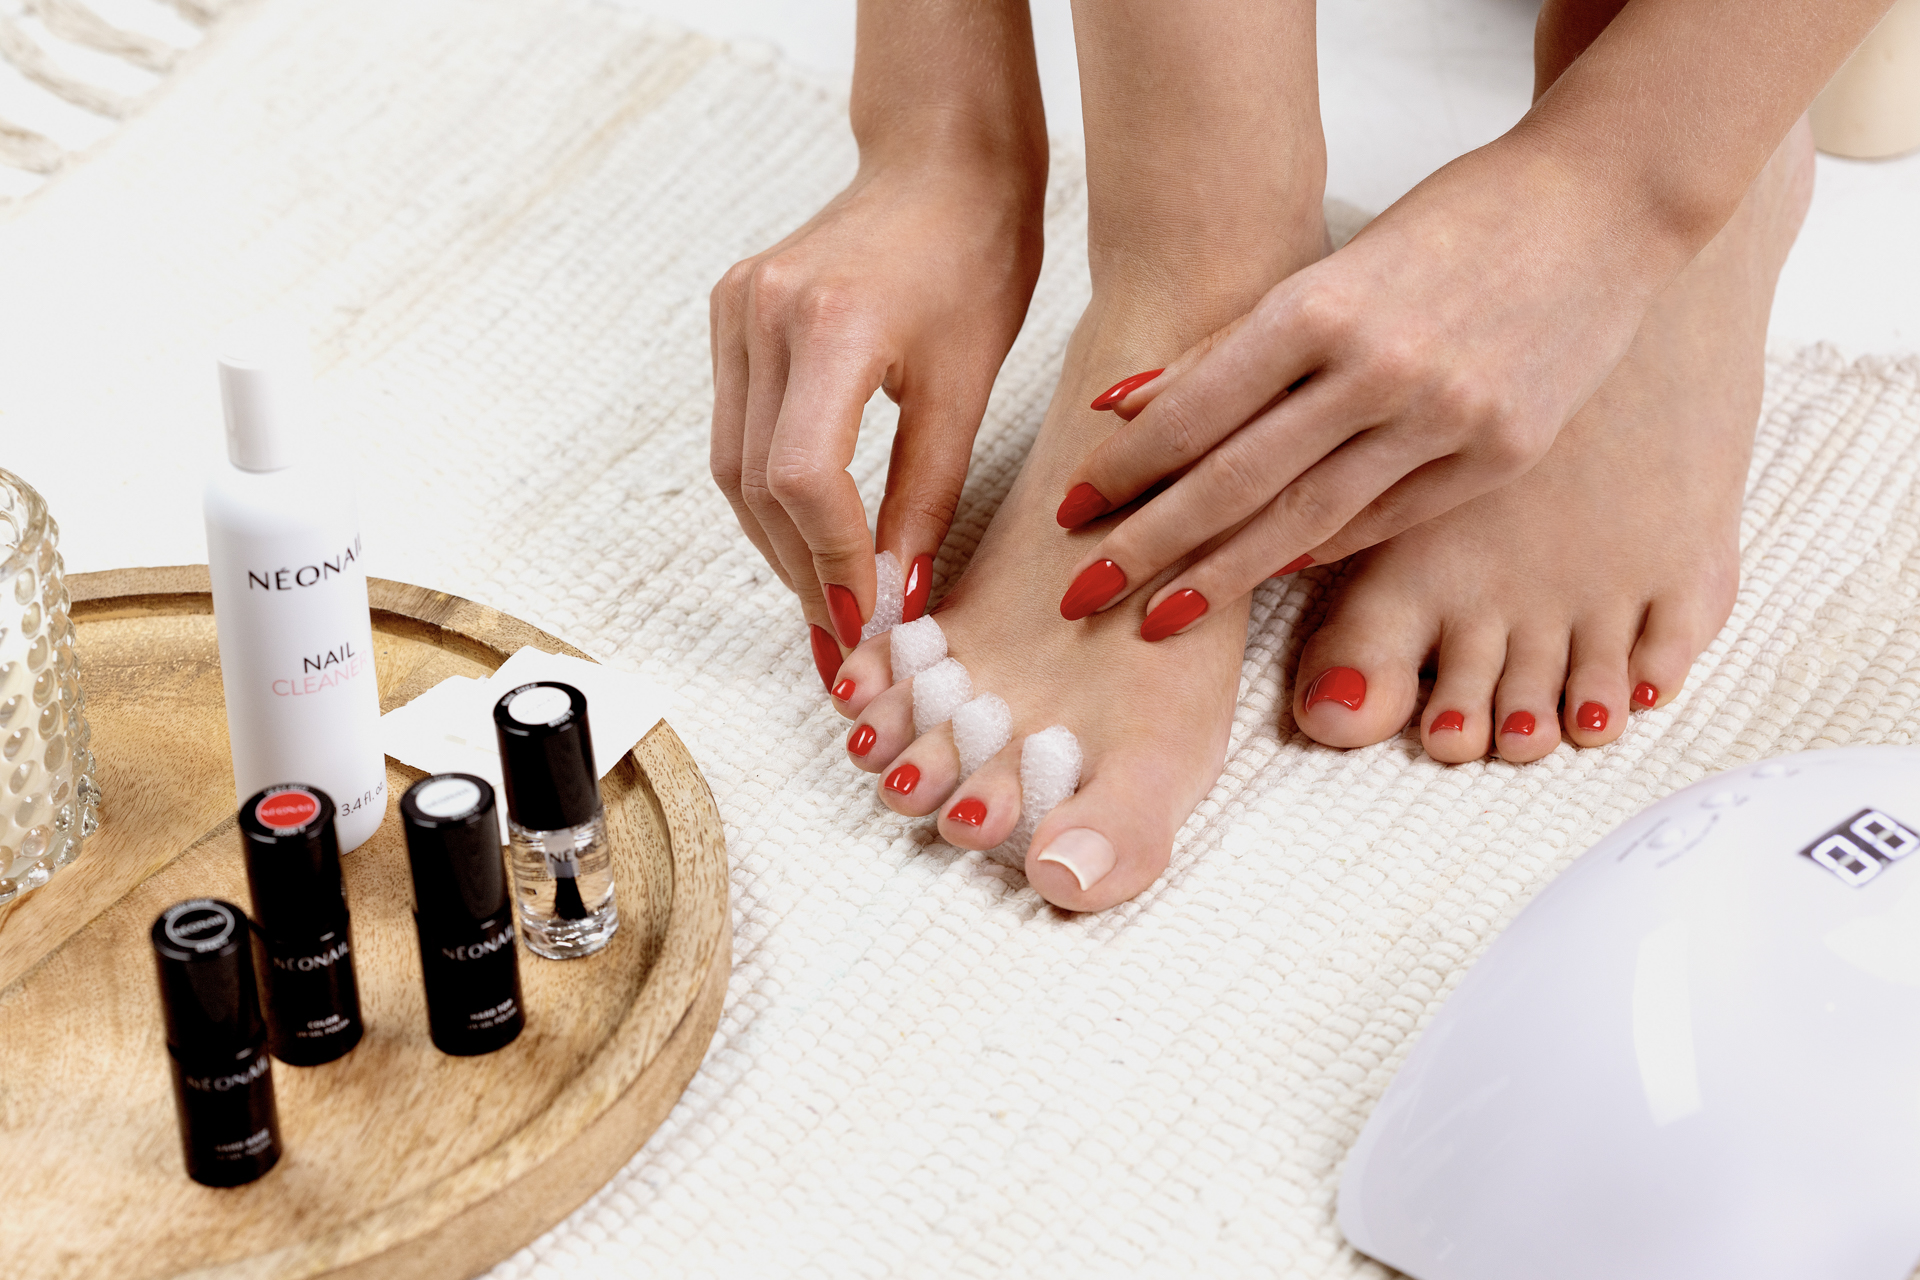
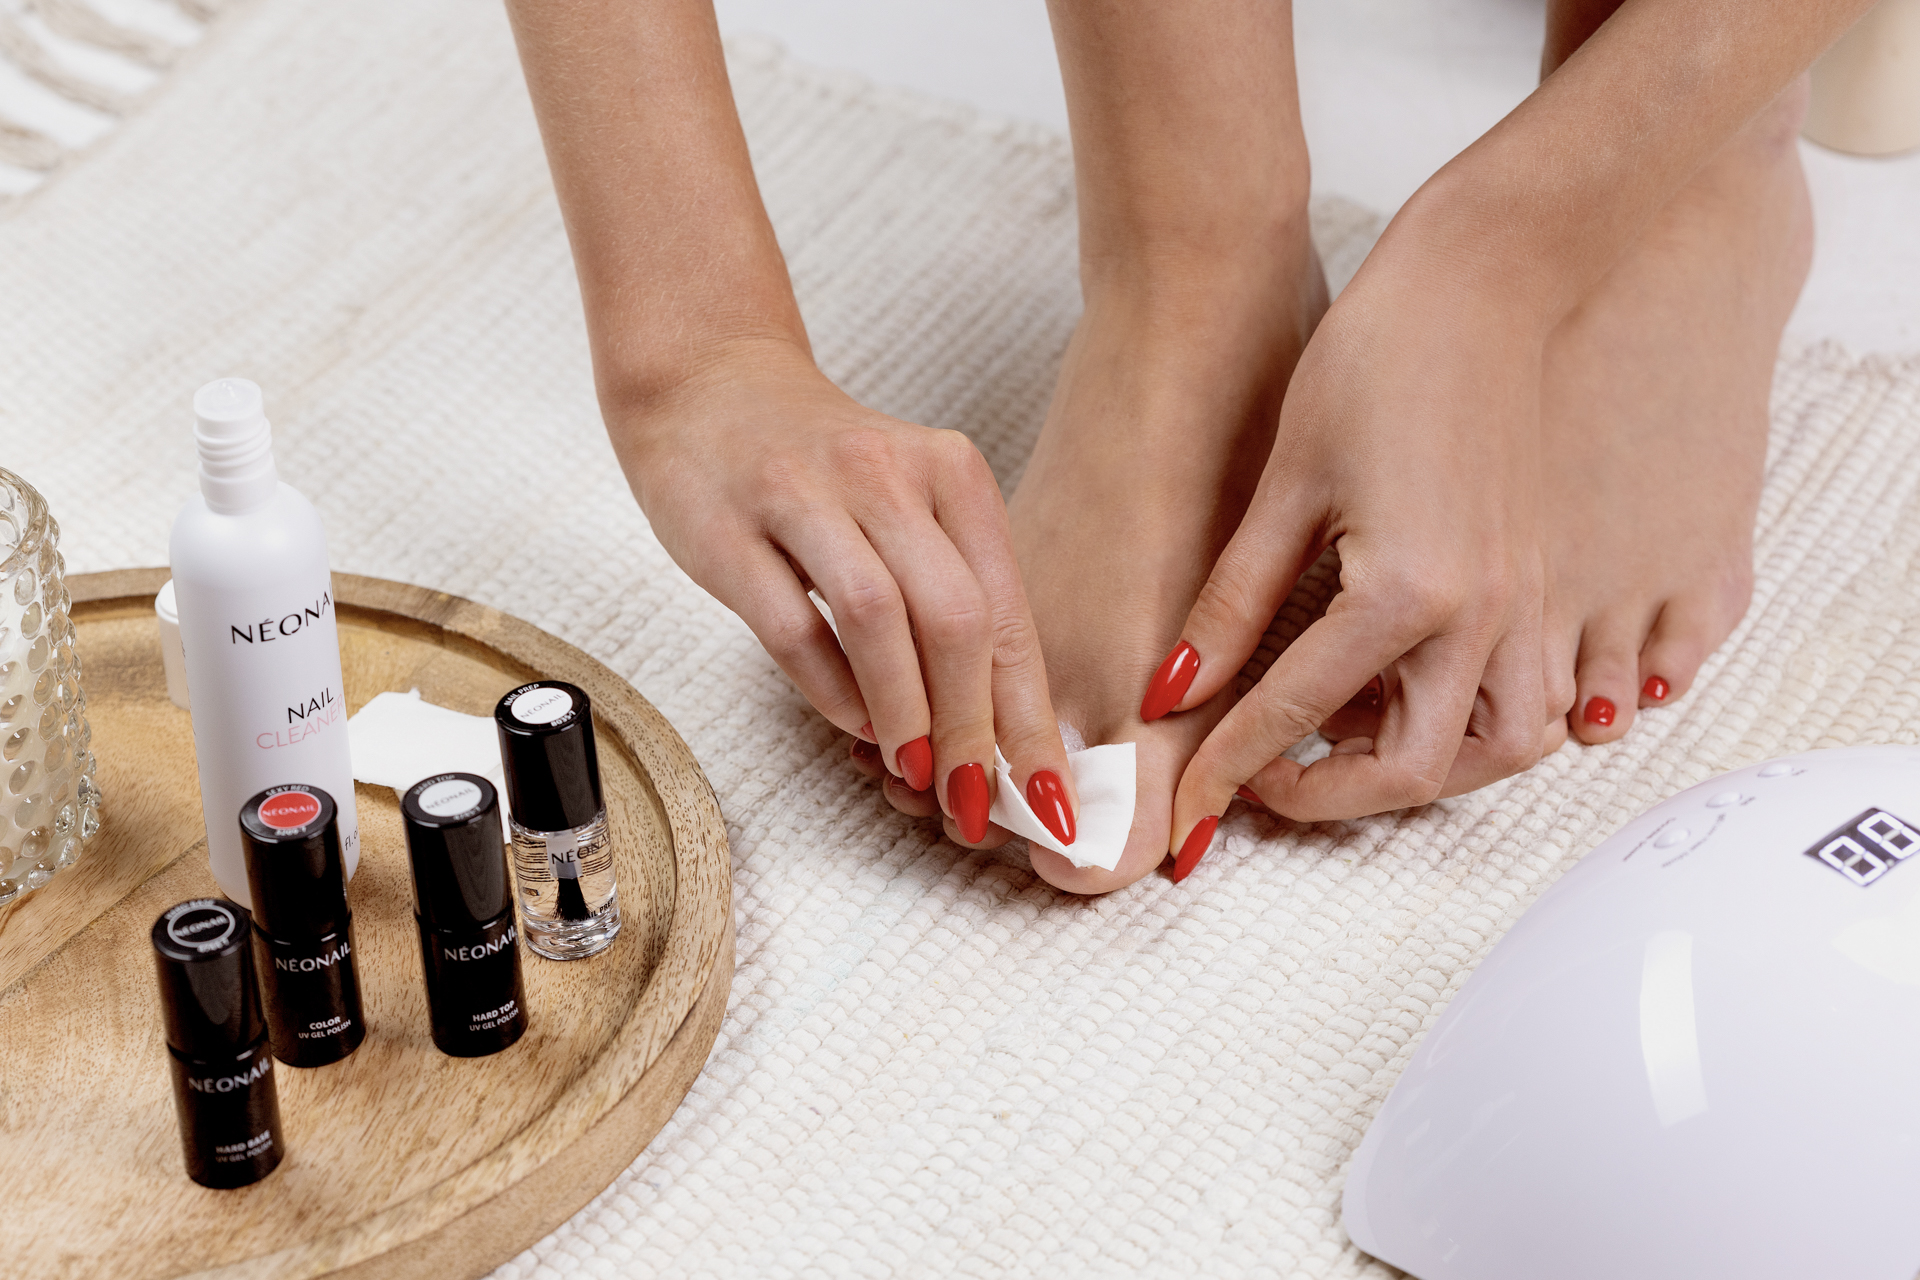
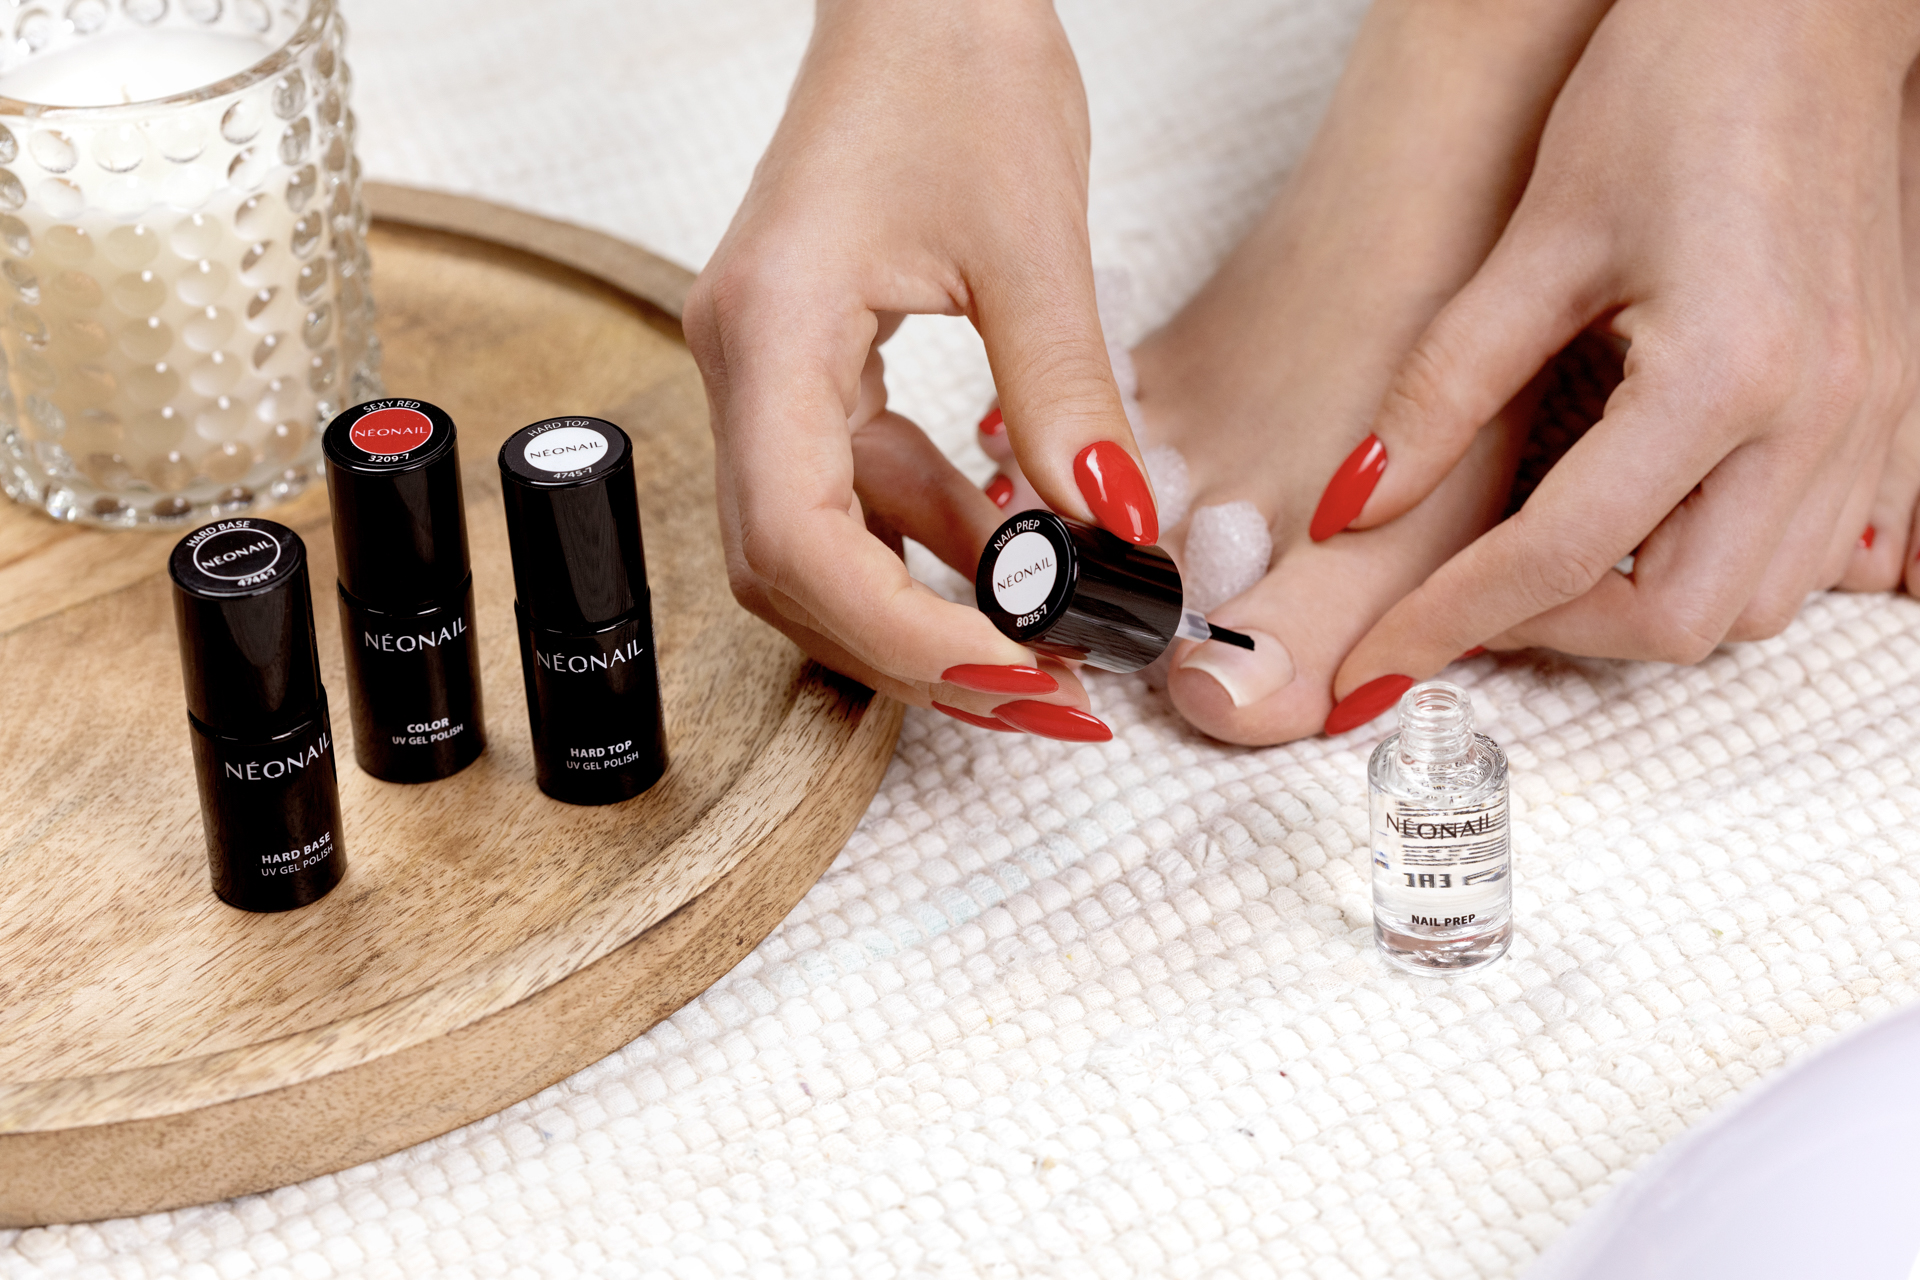
2. Degrease nails using Nail Prep - wait a moment for the product to evaporate.
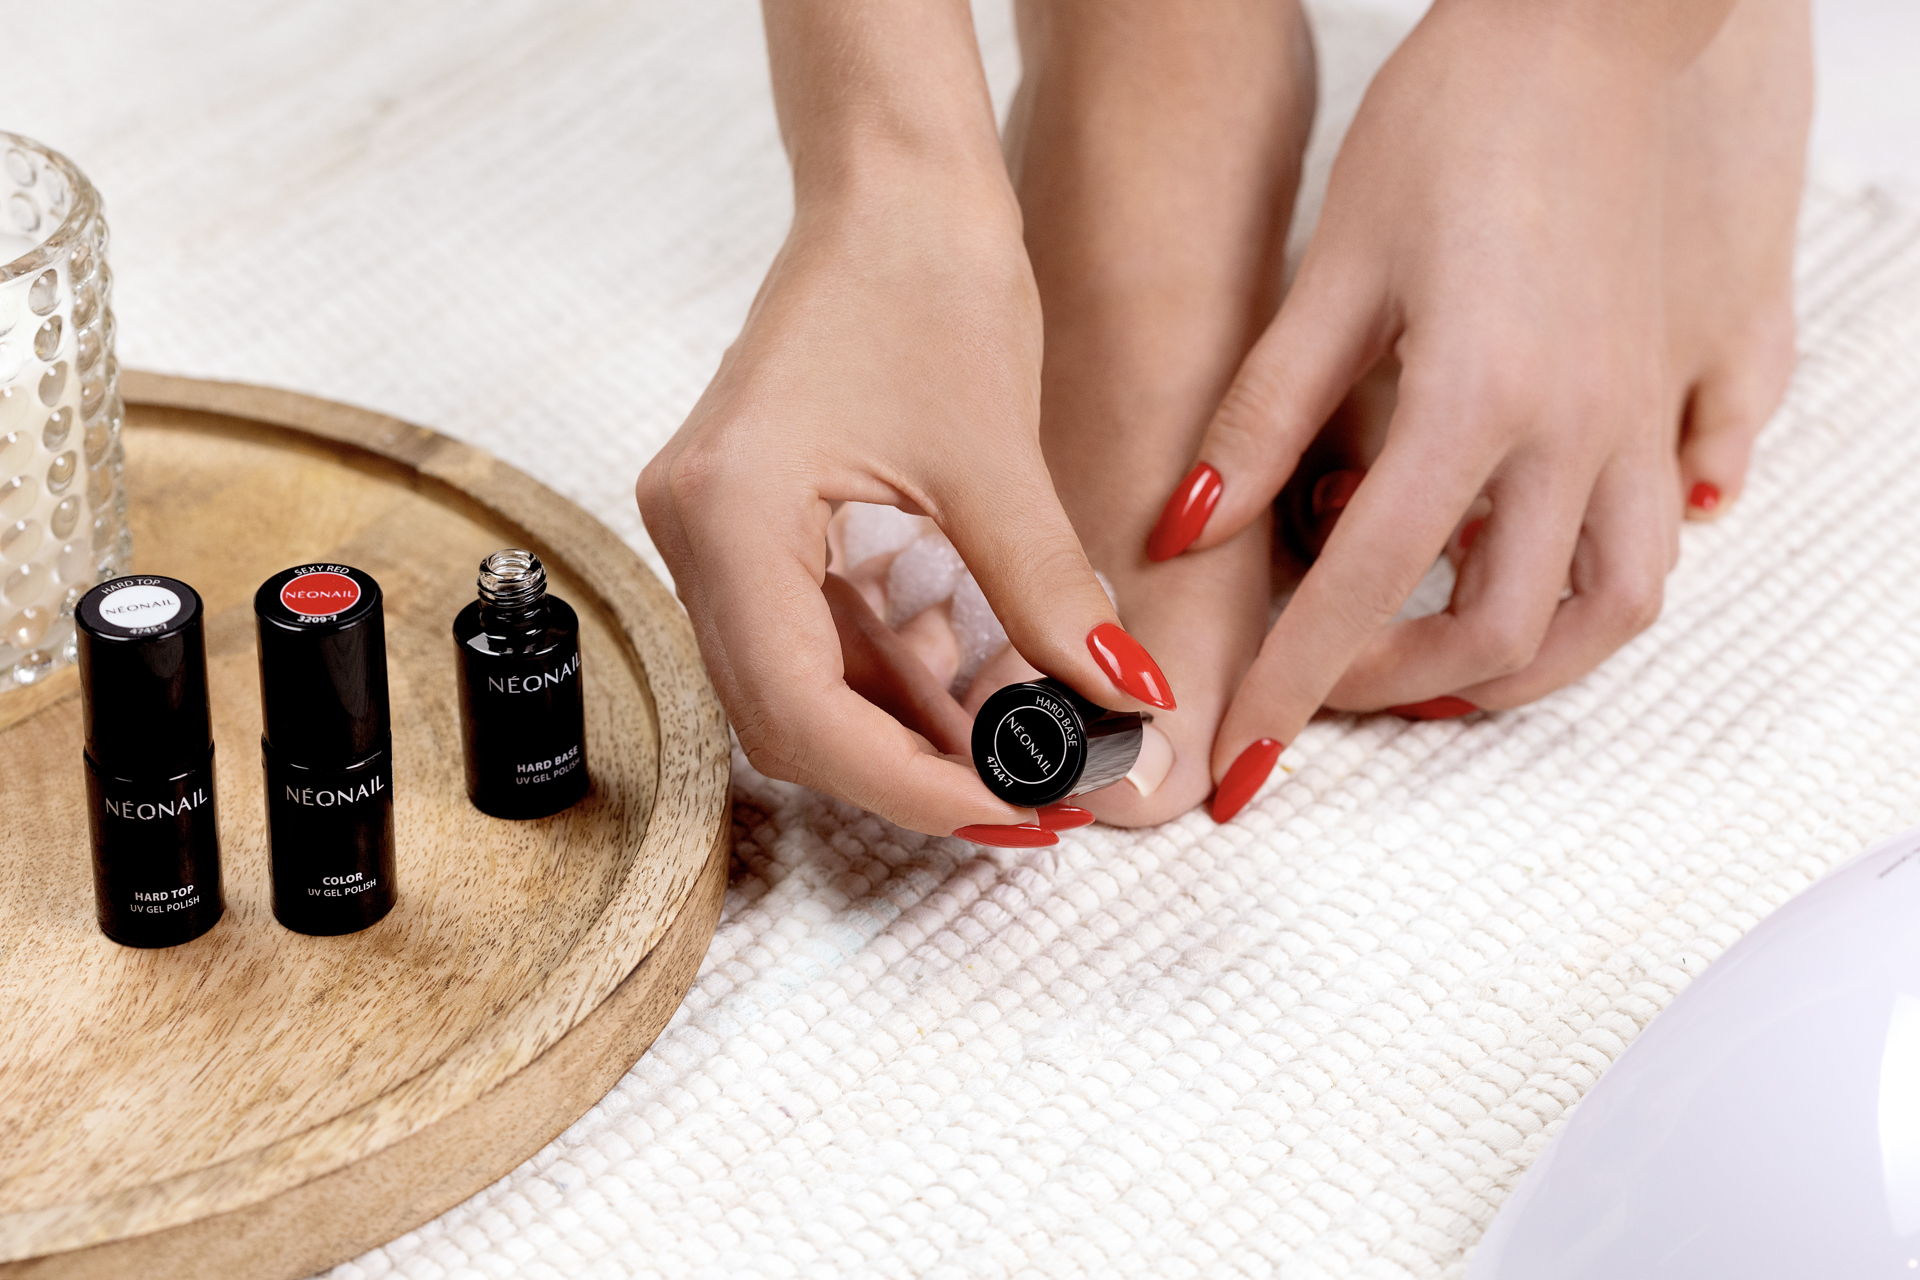
3. Apply a thin layer Hard Base and cure in the lamp according to the curing table.
4. Apply a thin layer of your favorite hybrid varnish and cure in the lamp according to the curing table.
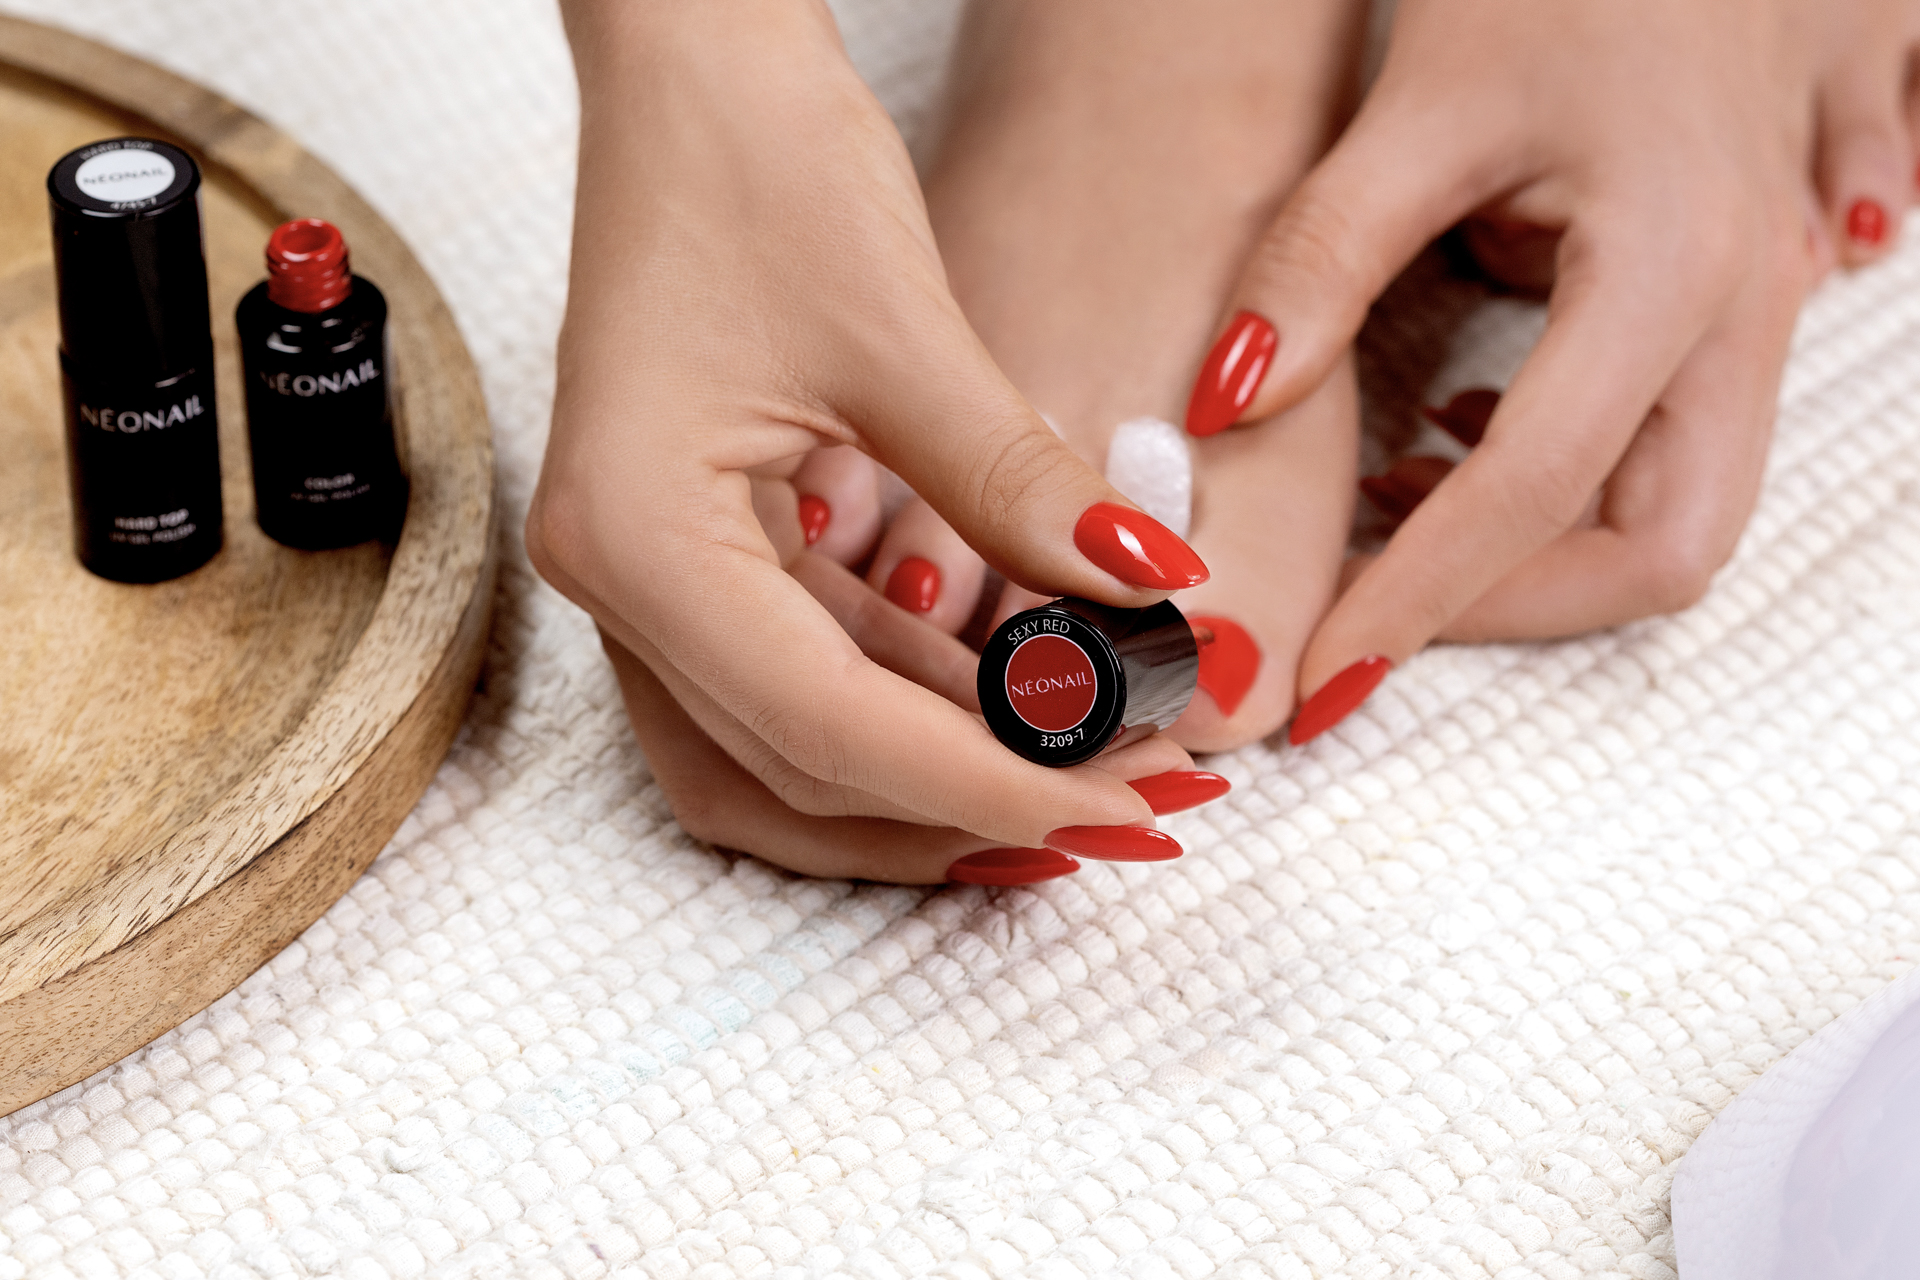
5. Apply a second layer of your favorite color and cure.
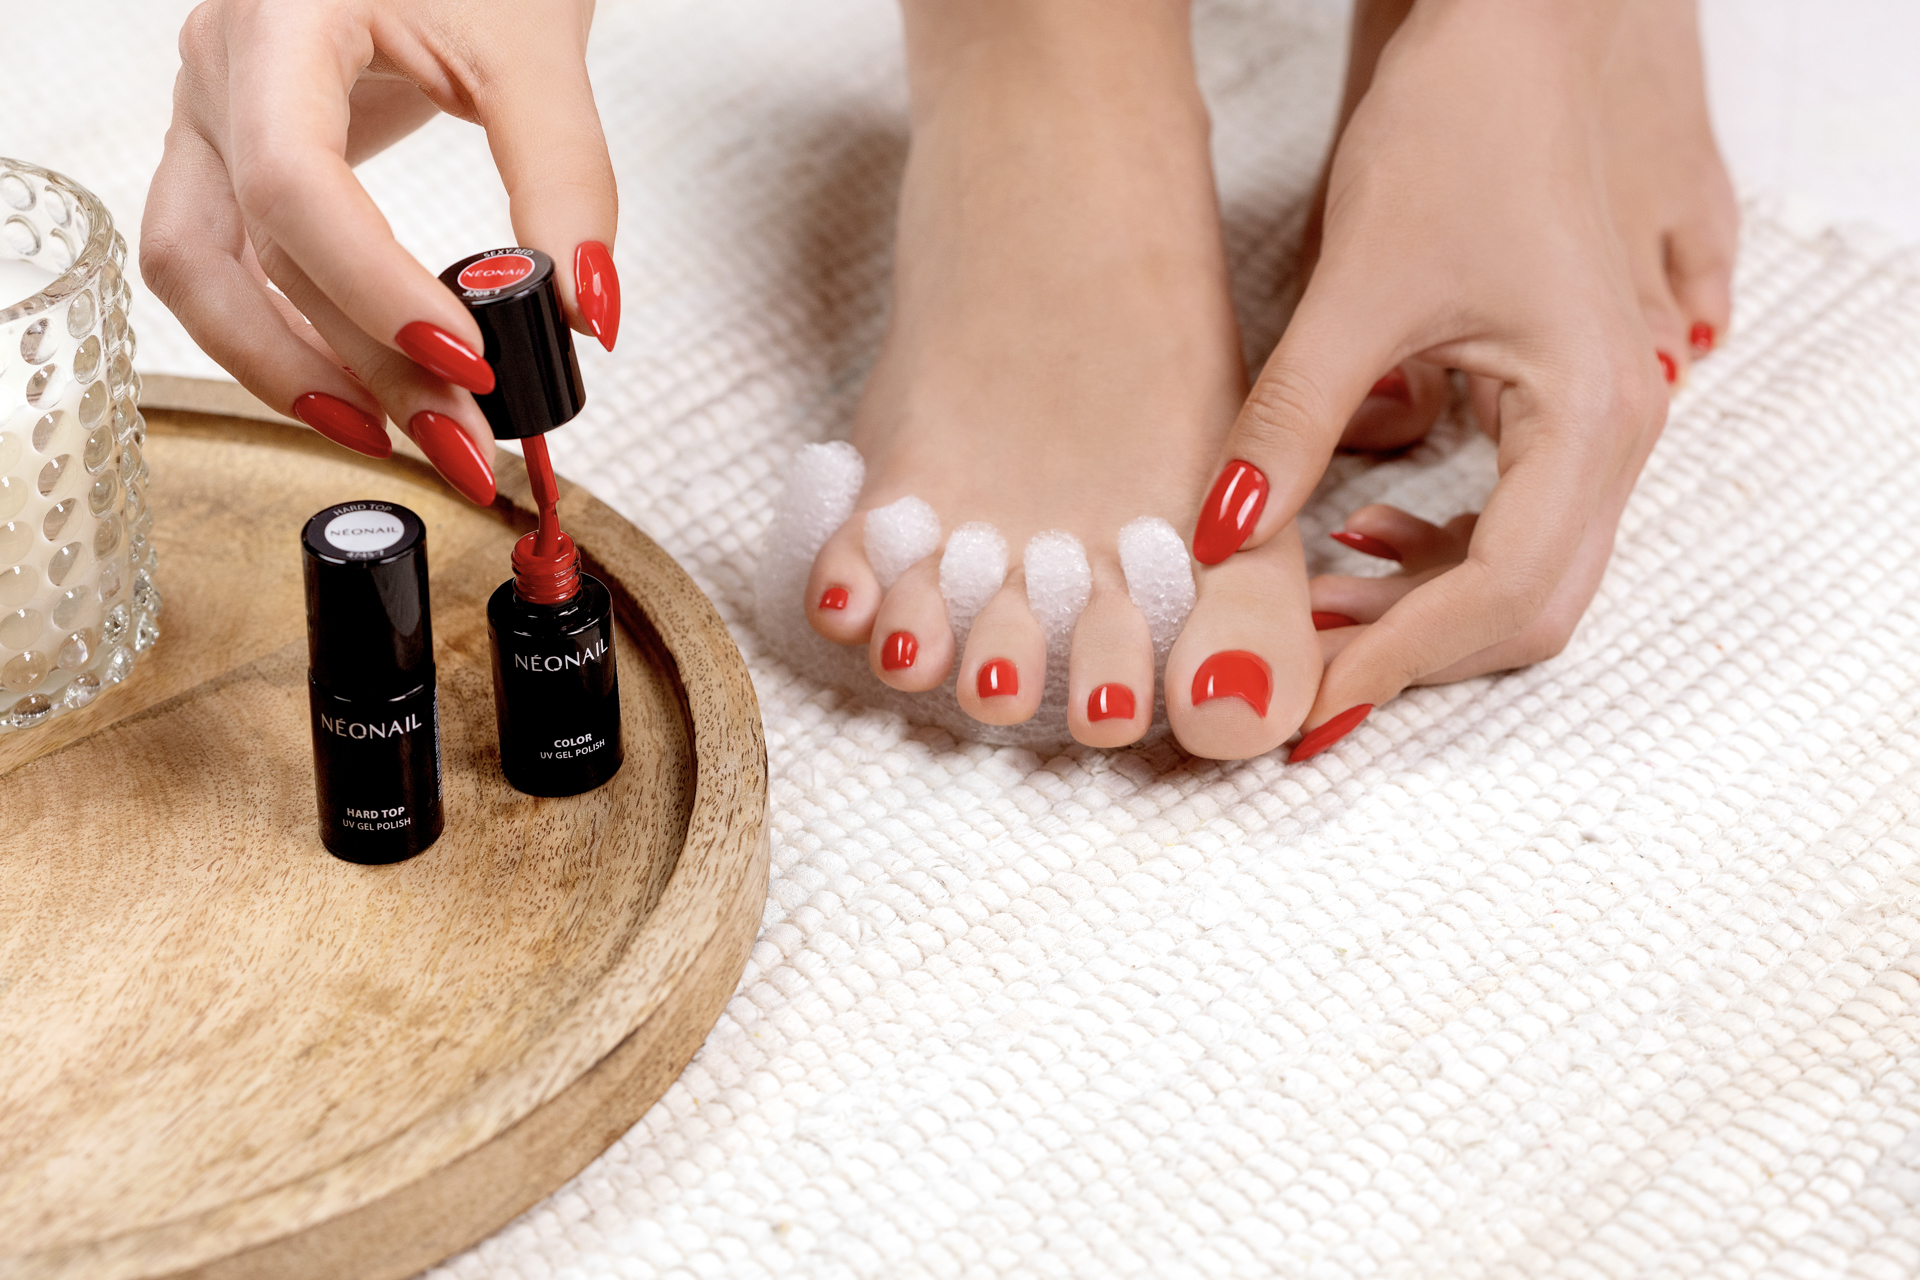
6. Secure the styling with Hard Top and cure in the lamp. After curing, wait 1 minute and wash your nails with Cleaner.
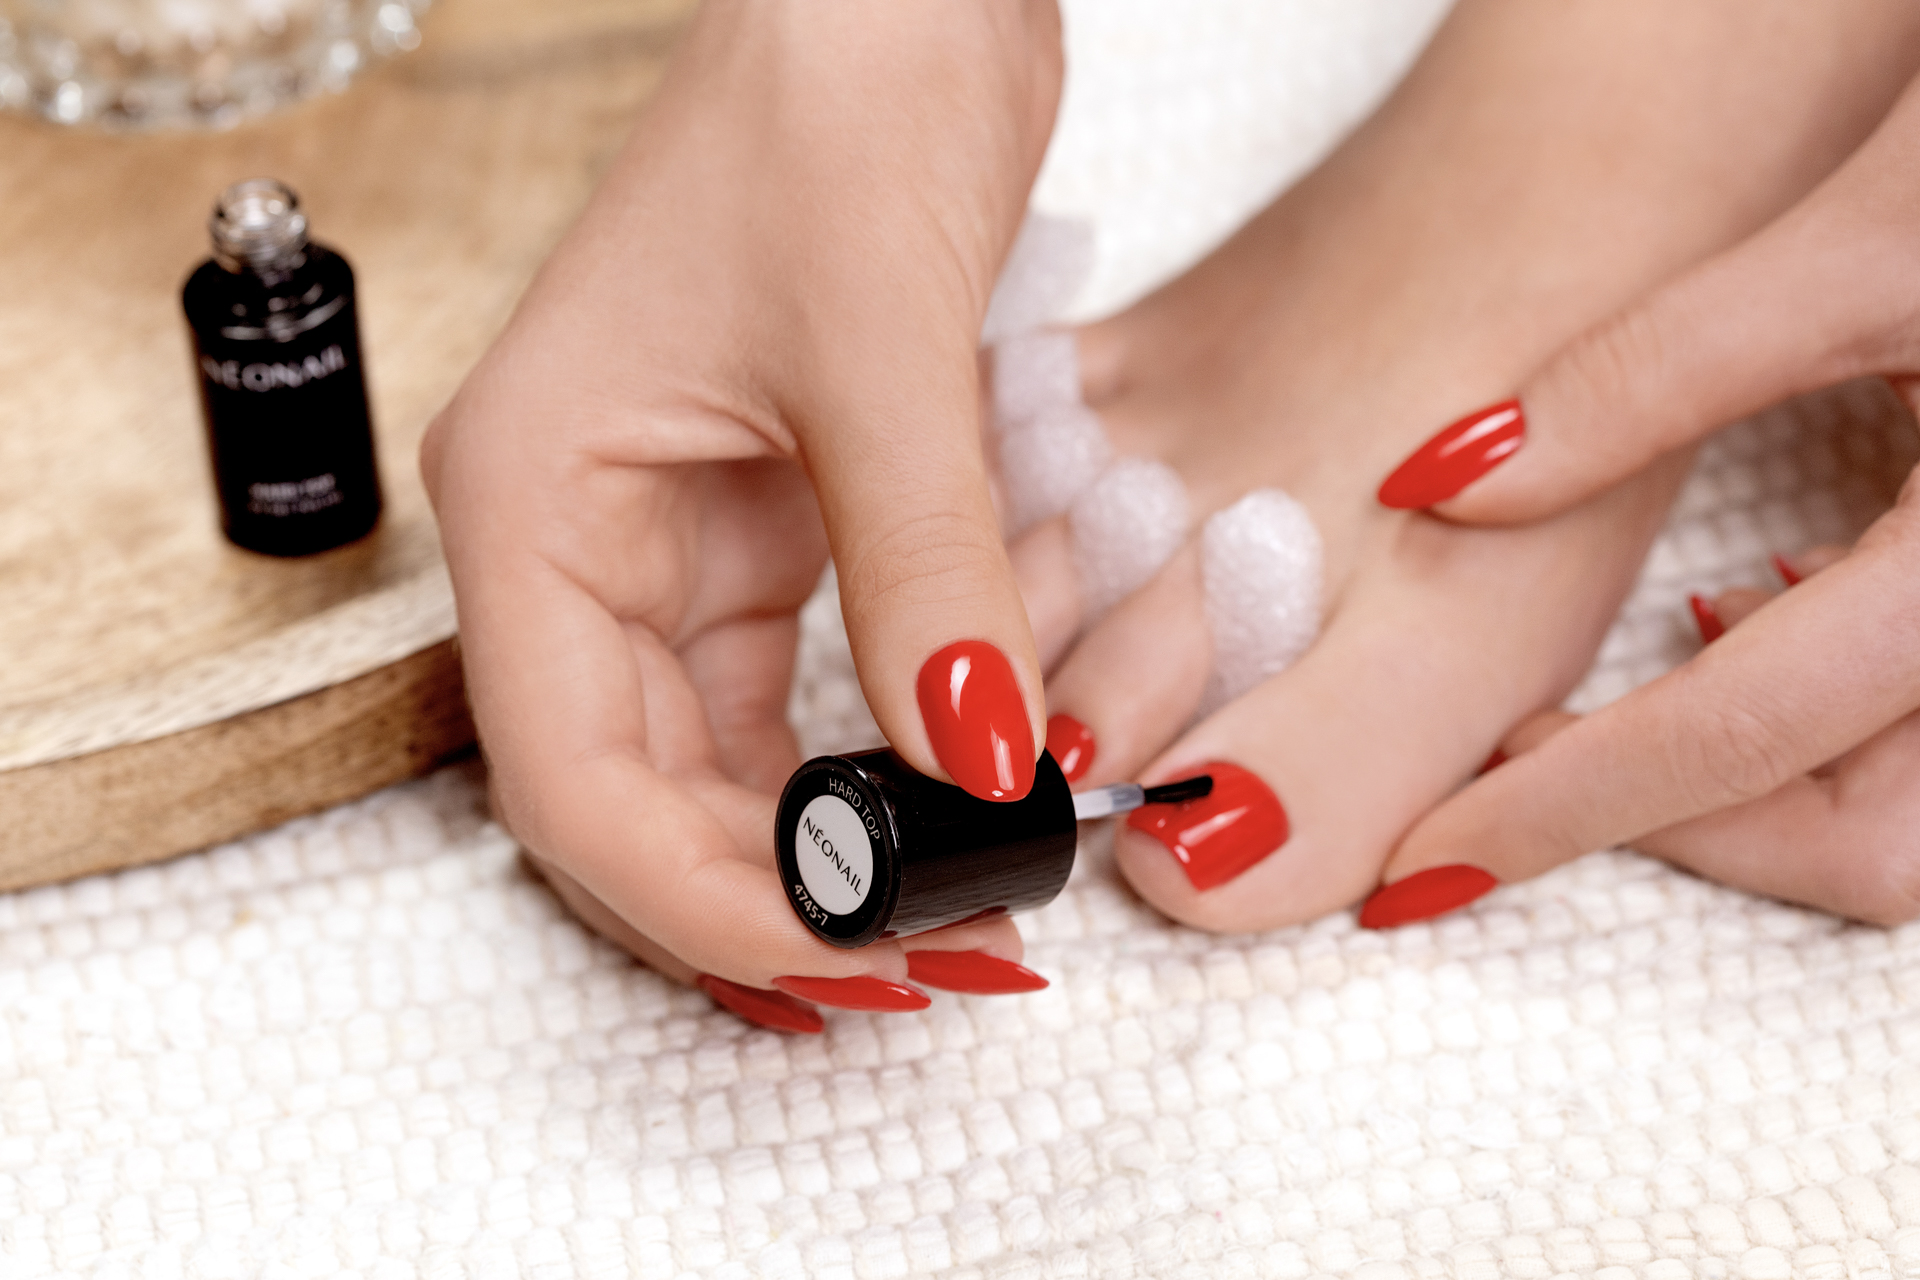
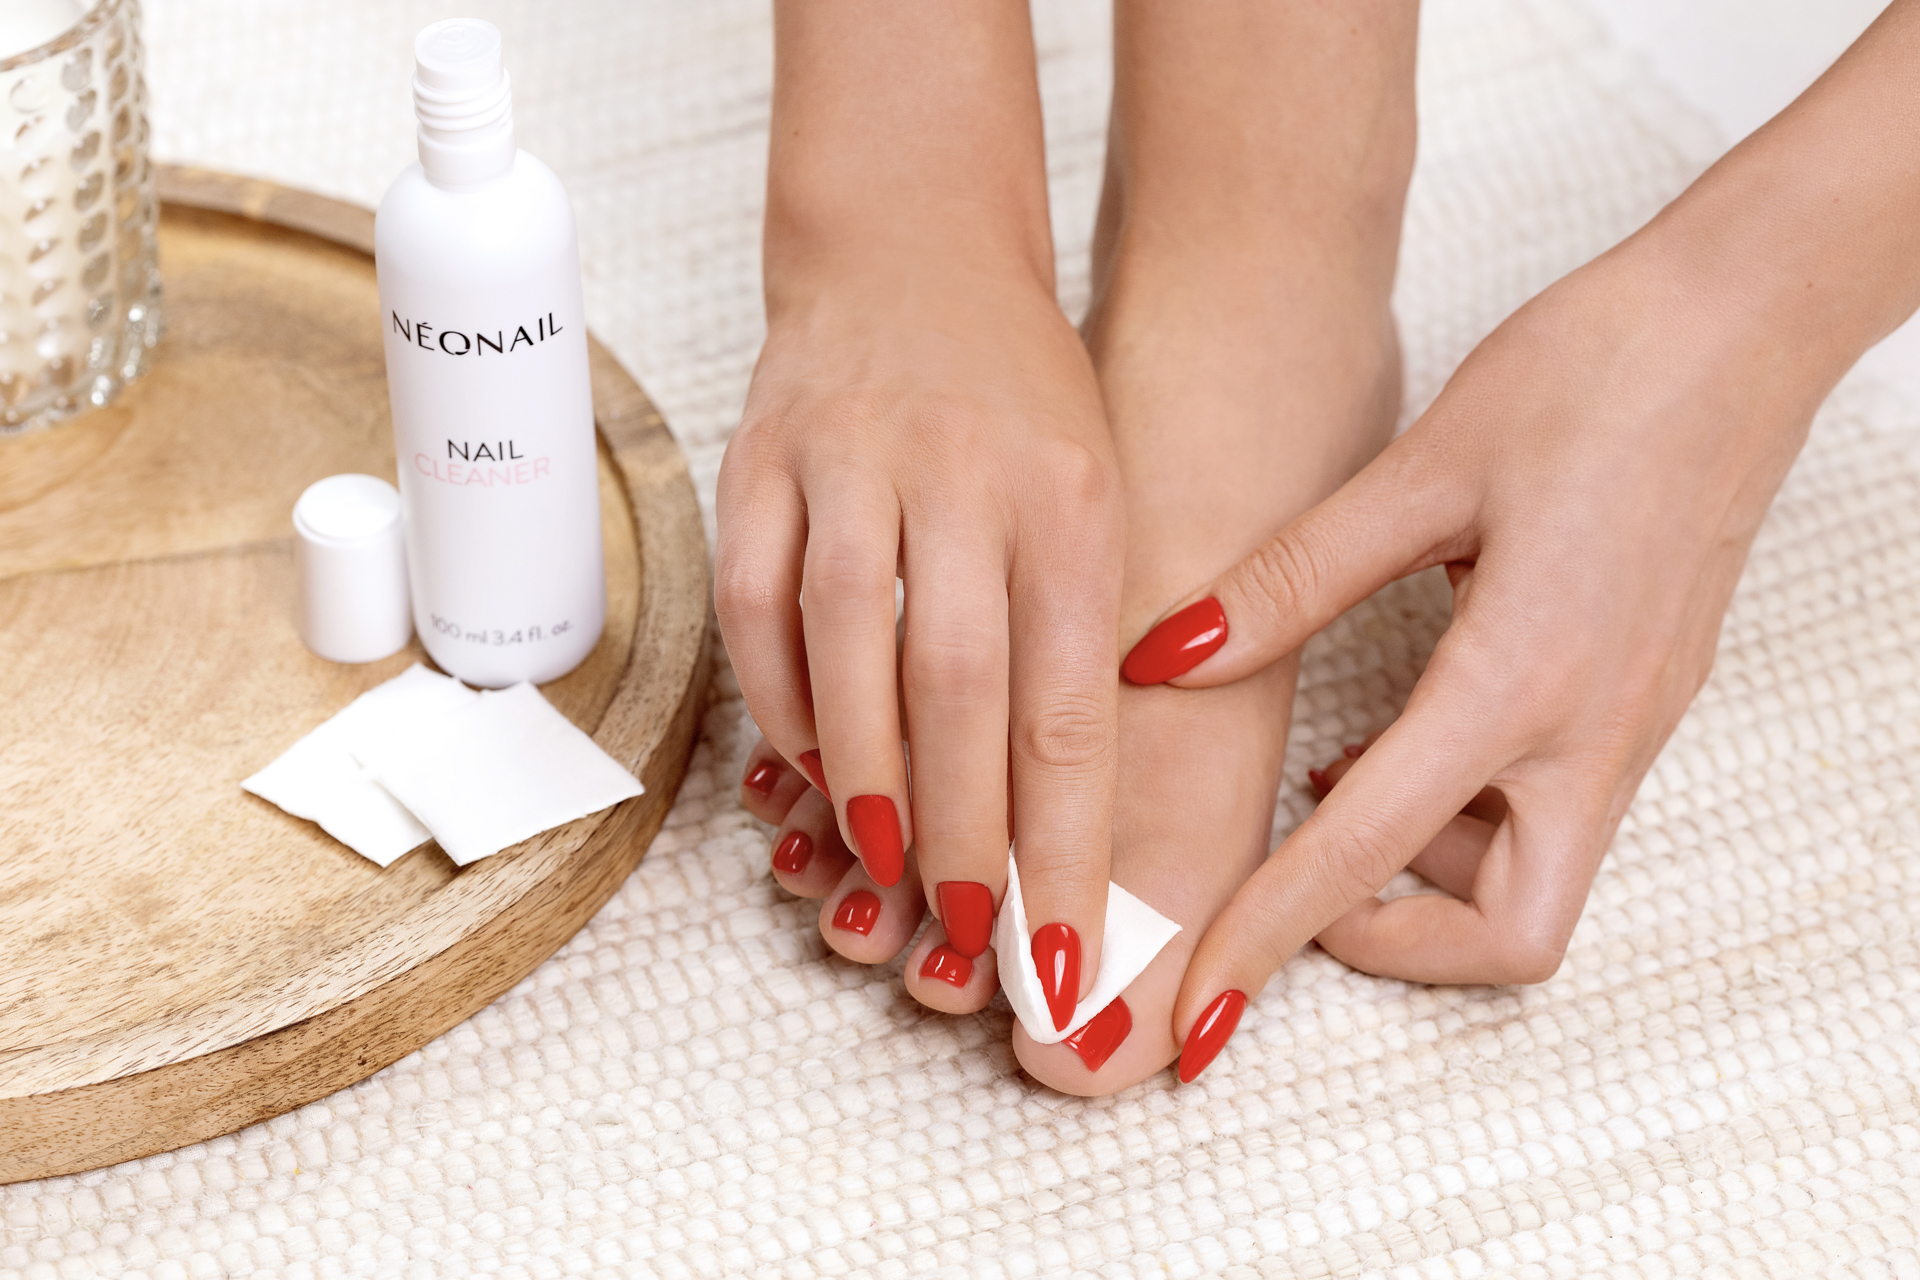
7. Pedicure is ready, but take care of the skin around the nails. Apply Cuticle Oil on it and massage the cream with urea into your feet.
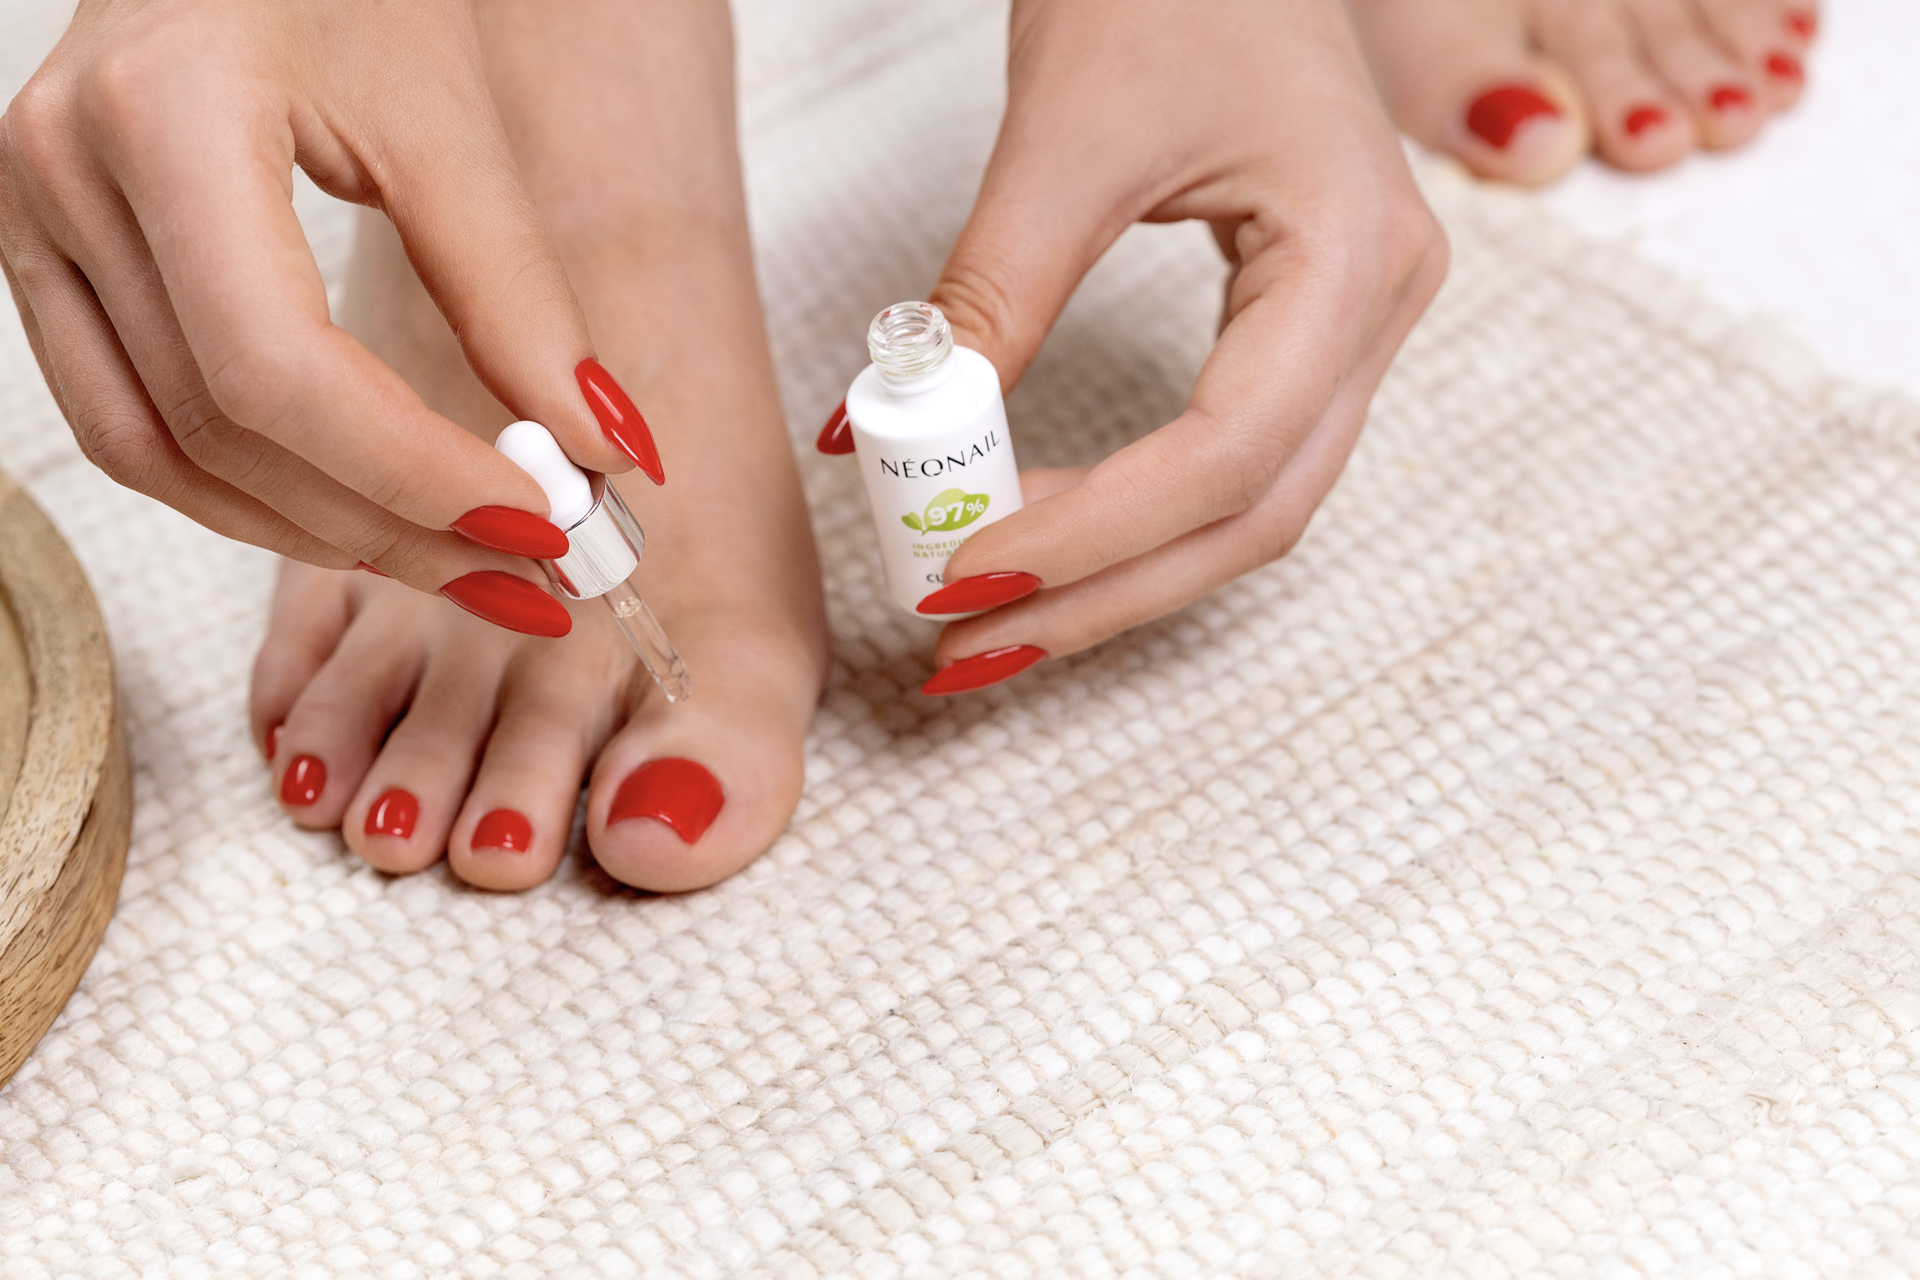
You can safely remove a pedicure made with hybrid varnishes at home. All you have to do is file the top layer of the hybrid top with a 100/180 file. When the entire nail is matte, reach for foil with a cotton pad - Nail Foil Wraps. Wrap cotton pads soaked in Acetone around the nail and wait about 10 minutes. Use a wooden stick to remove styling residues and smooth the surface with a 100/180 grit polisher.

PEDICURE WITH SIMPLE VARNISHES
1. Put on the separators and clean the nails with a cotton pad soaked in SIMPLE Nail Cleaner Proteins .
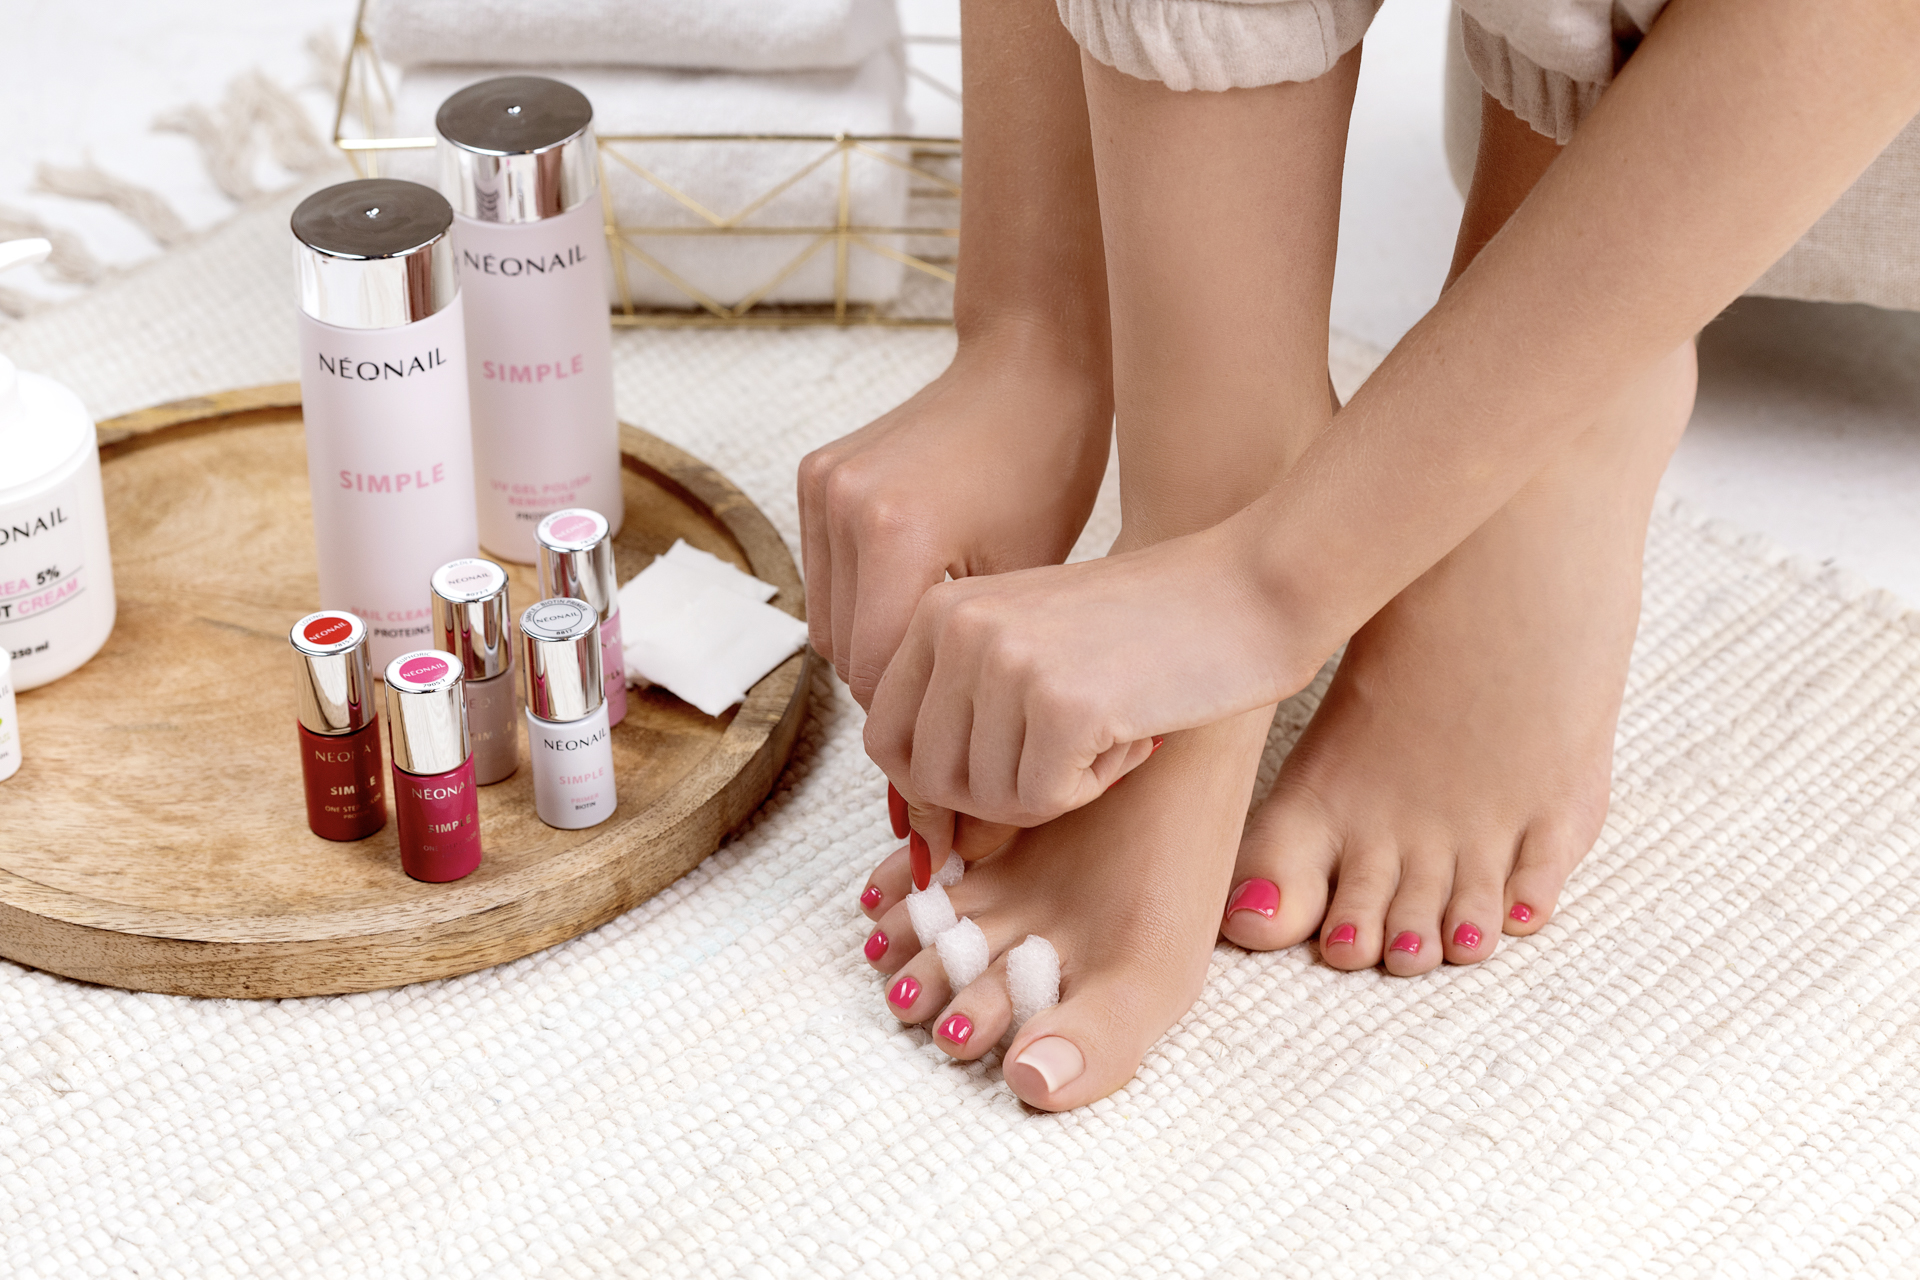
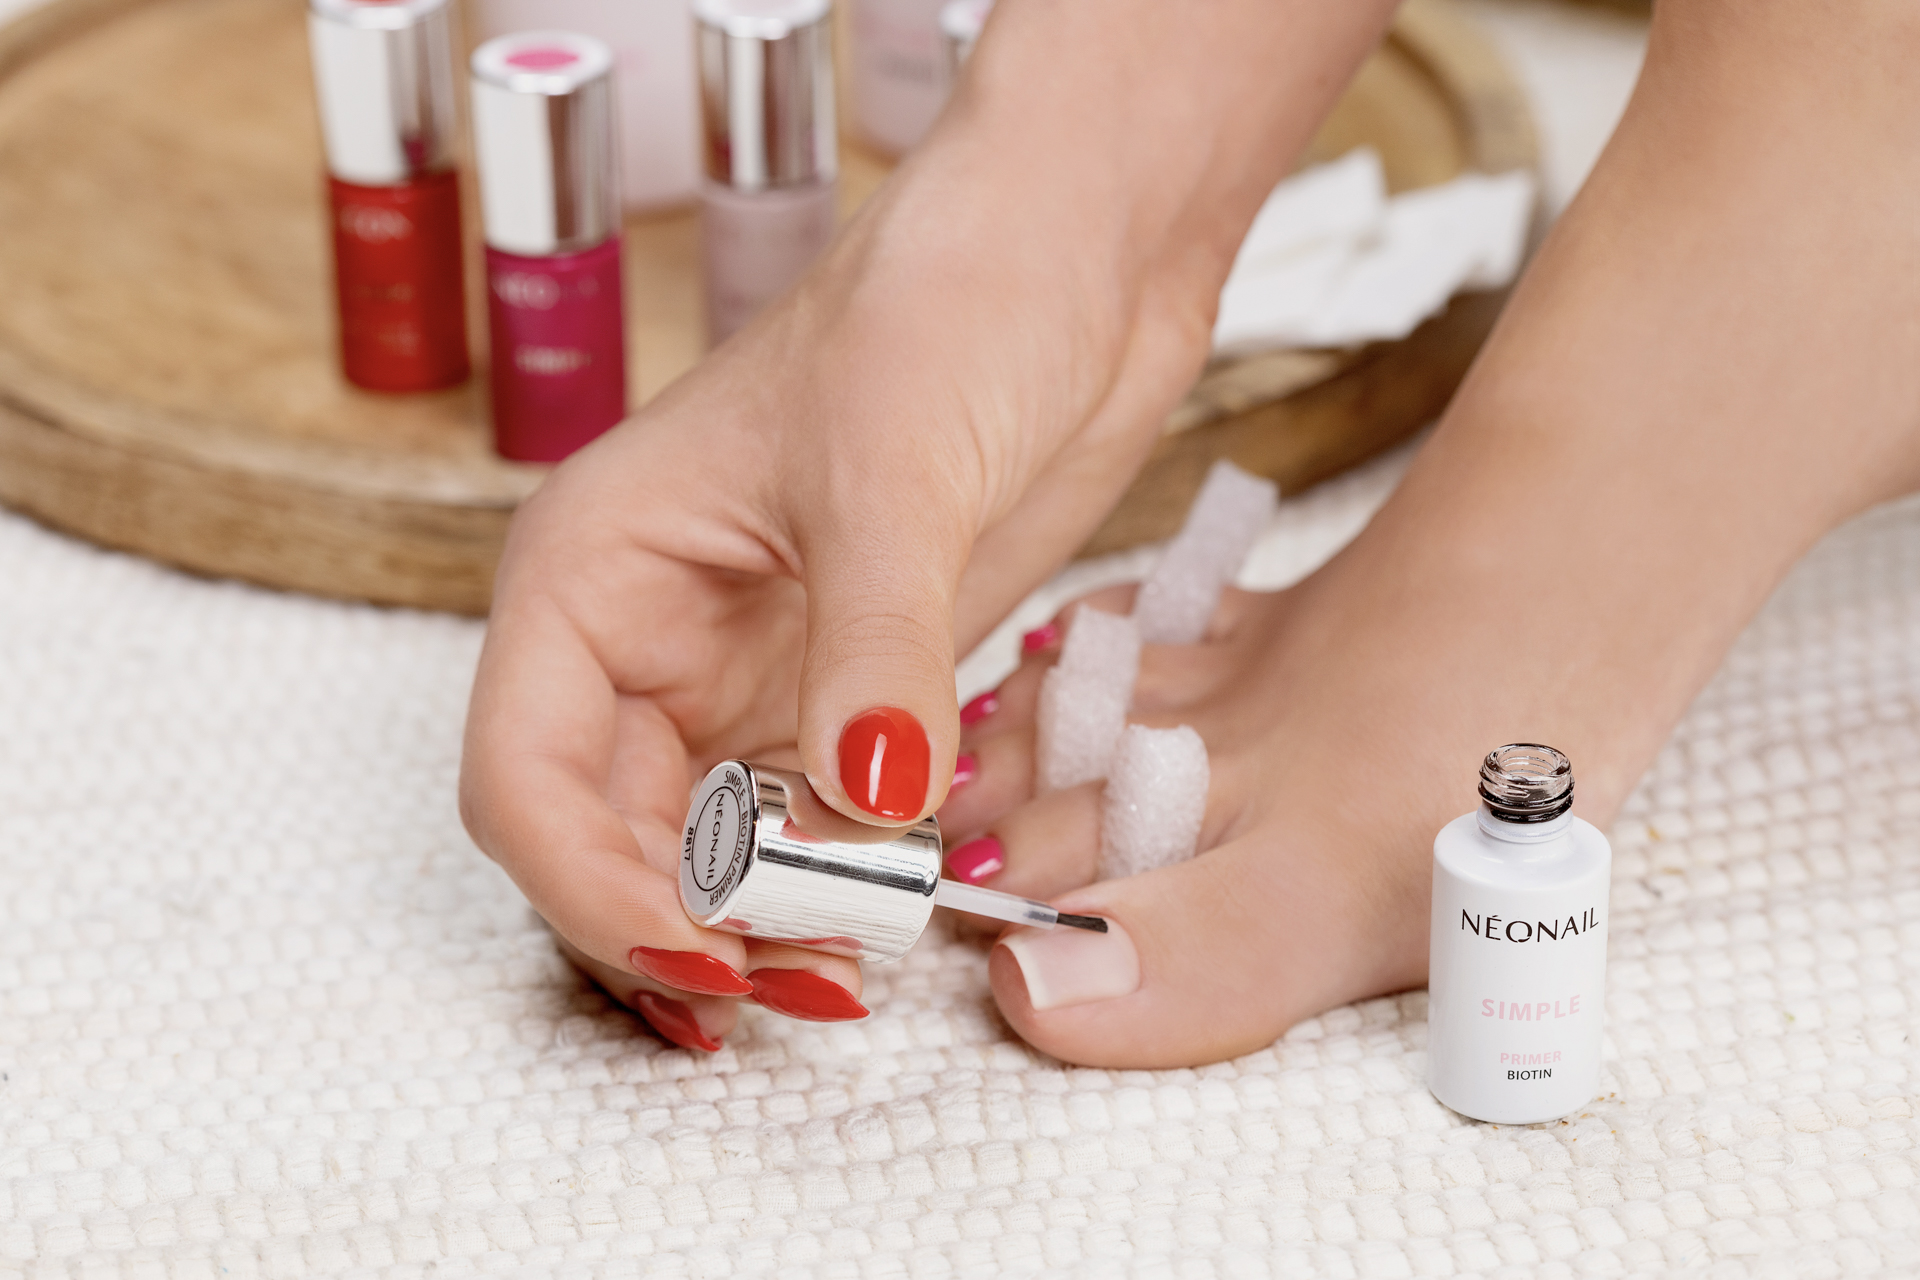
2. Apply SIMPLE Biotin Primer , which acts as a double-sided tape and perfectly combines the nail polish with the nail.
3. Apply a thin layer of your favorite SIMPLE 3in1 polish and cure in the lamp according to the table.
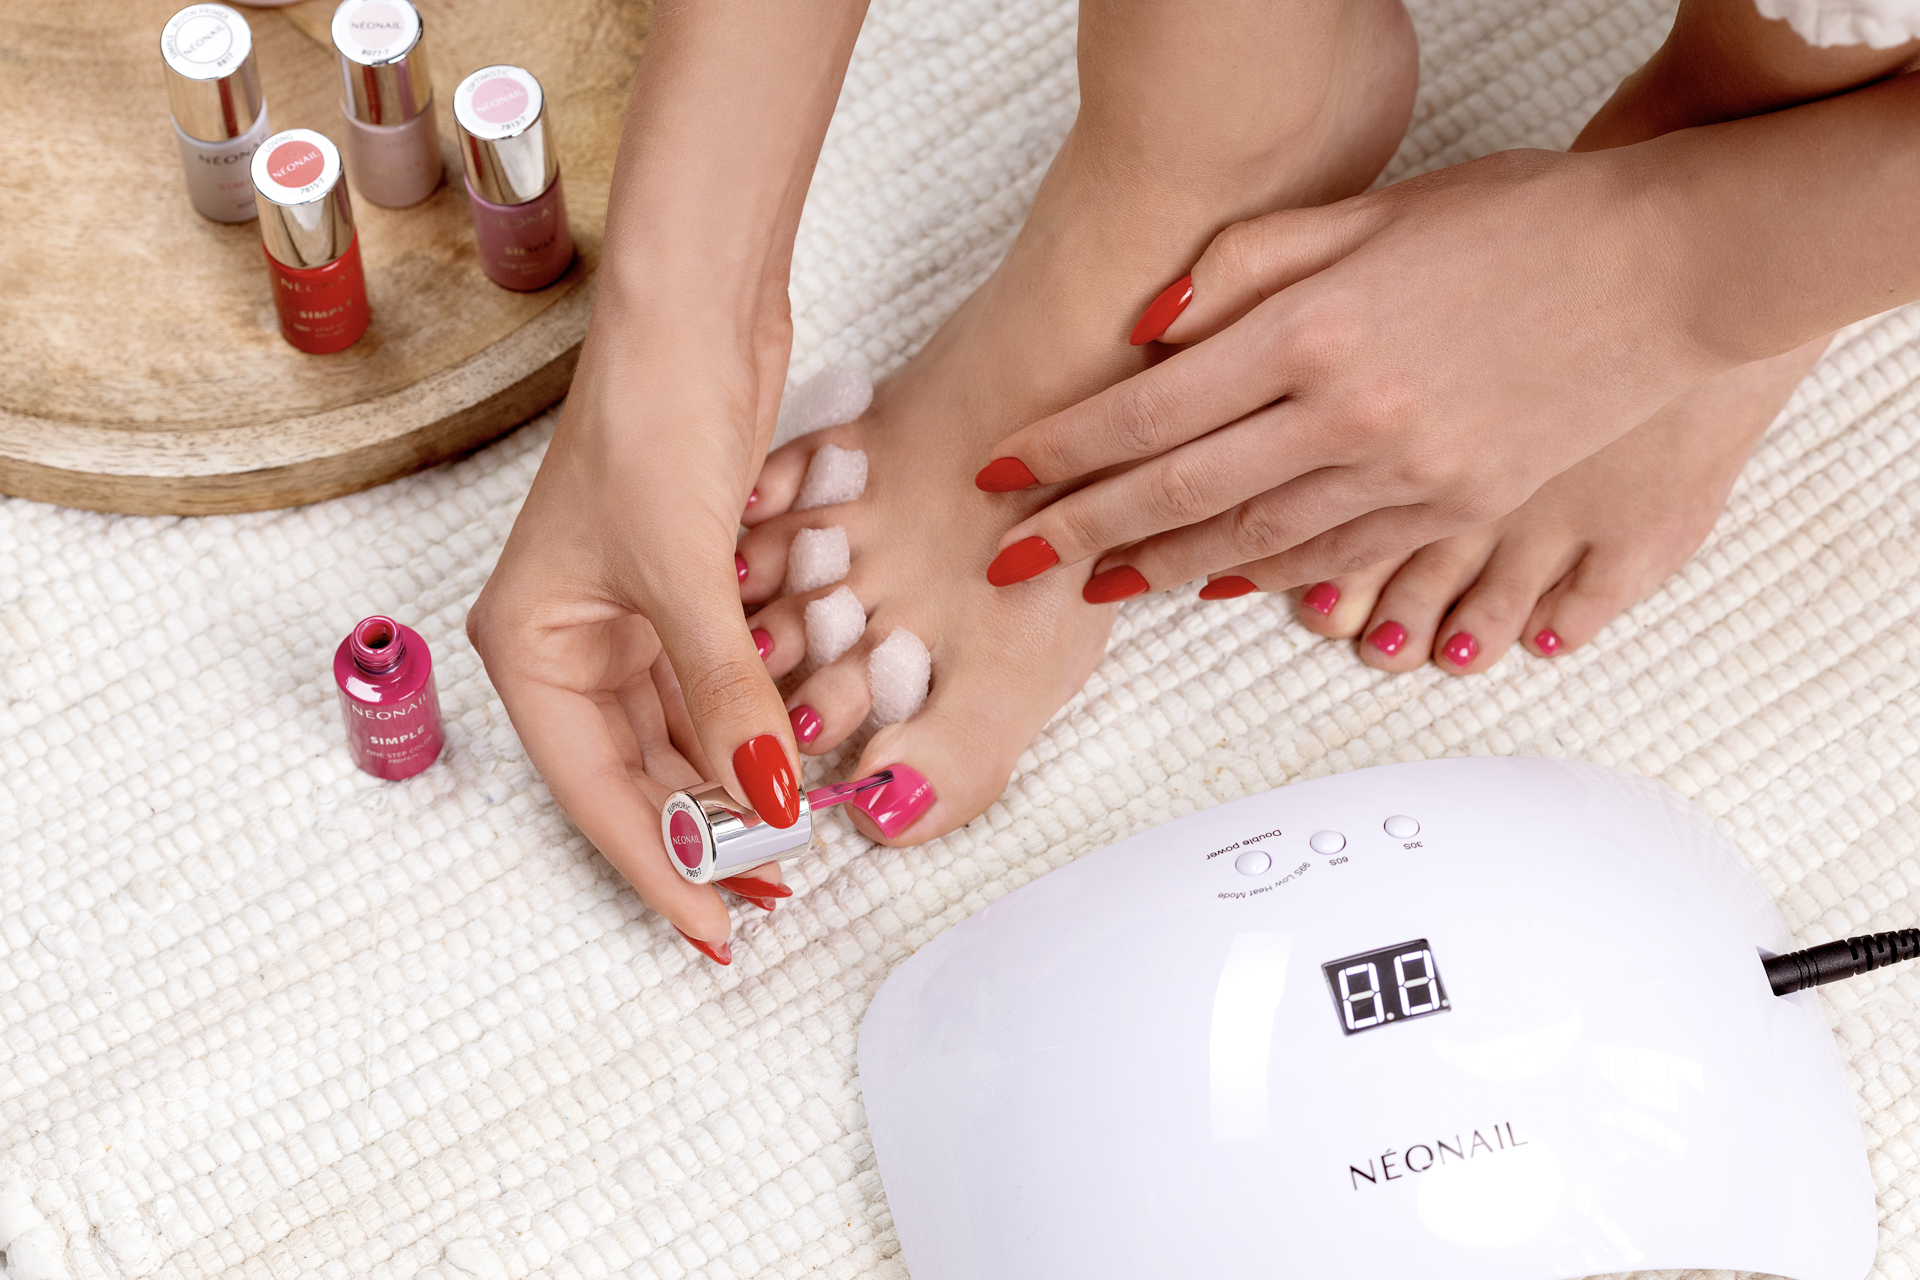
4. Apply the second layer of SIMPLE 3in1 varnish and cure in the lamp according to the curing table.
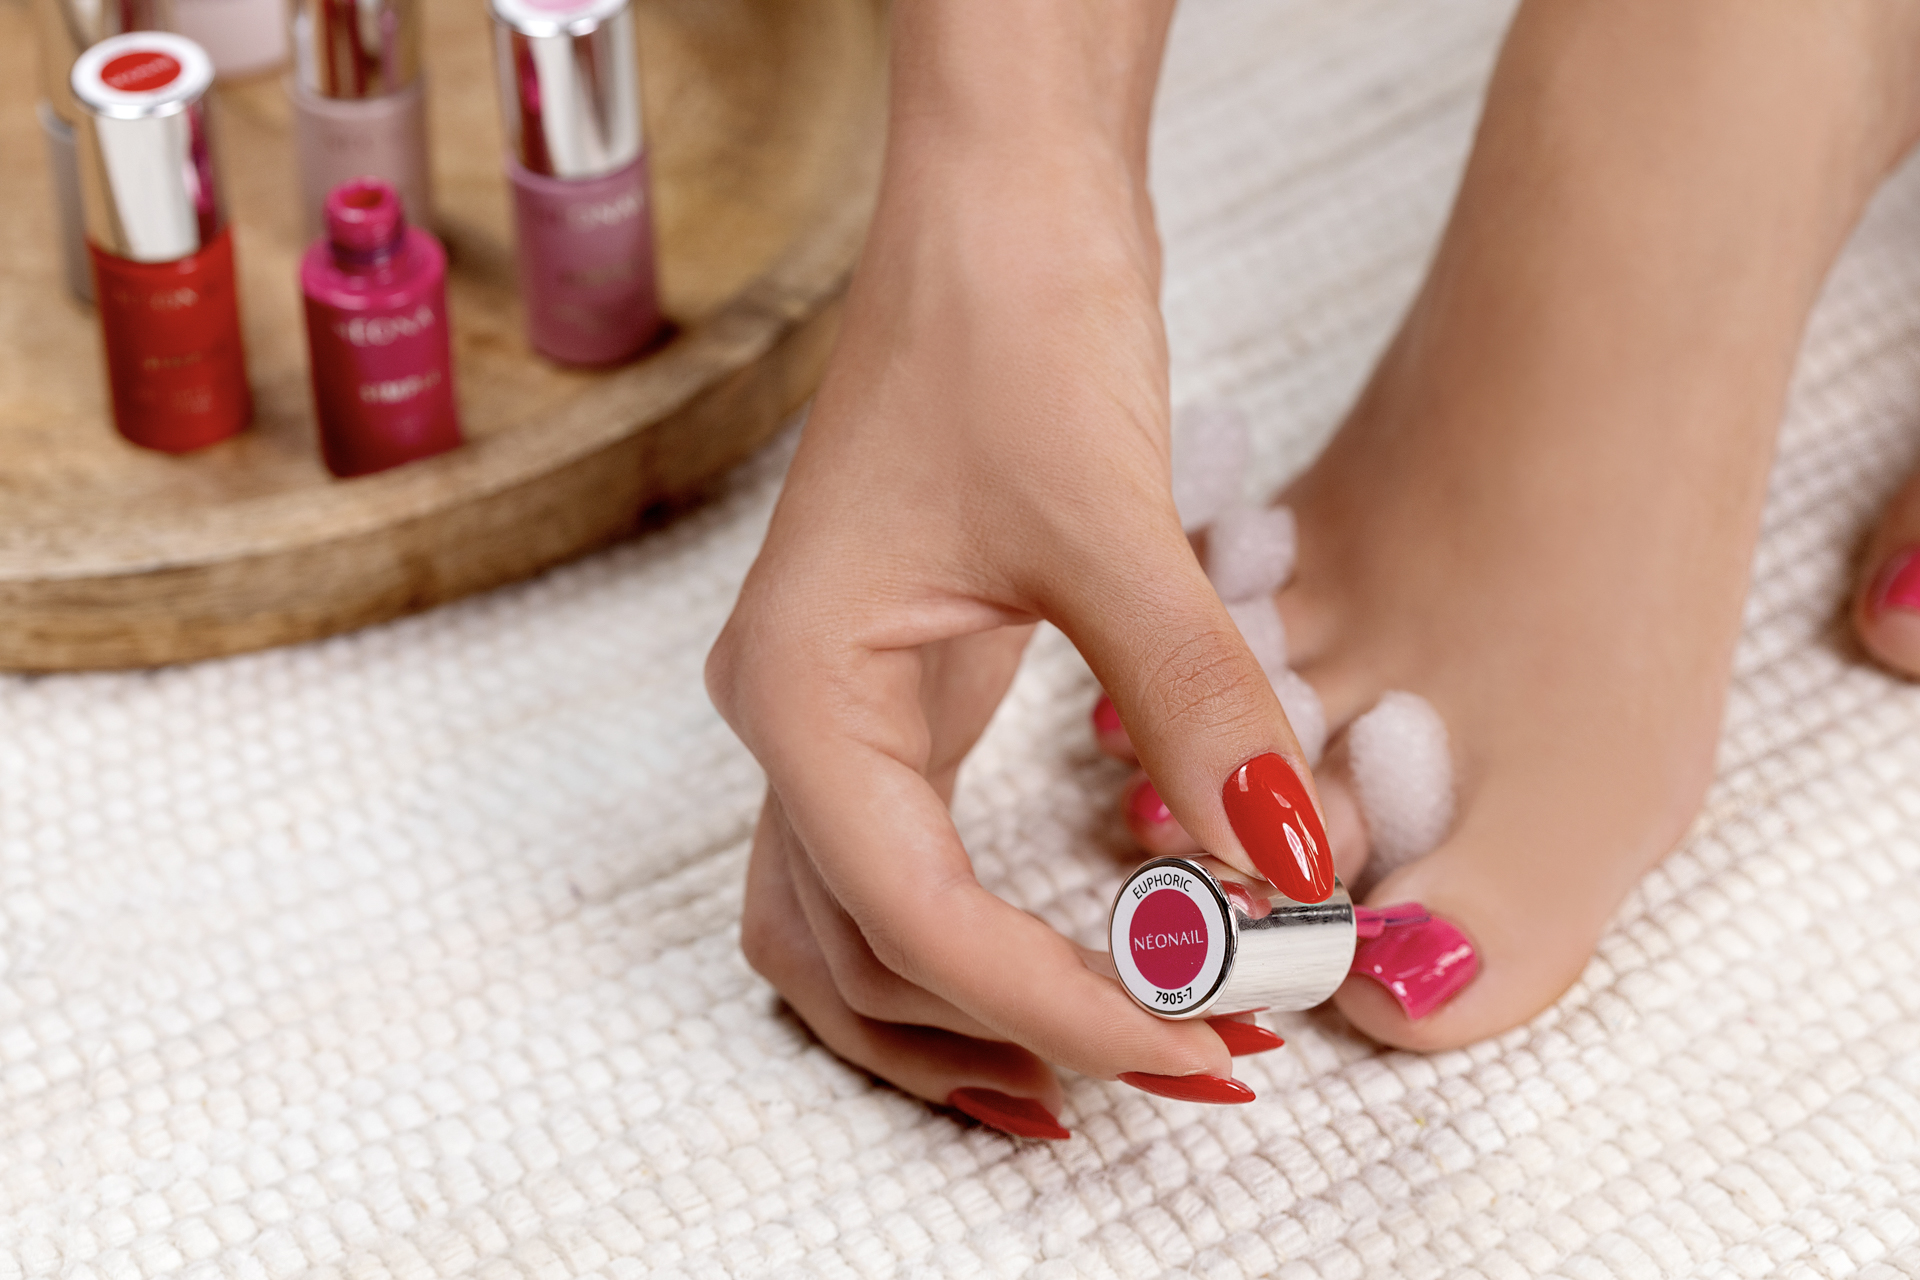
5. Done! Do not wash the nails with a cotton swab with Cleaner, wait about a minute and apply olive oil on the cuticles, and massage the cream with urea into the feet.
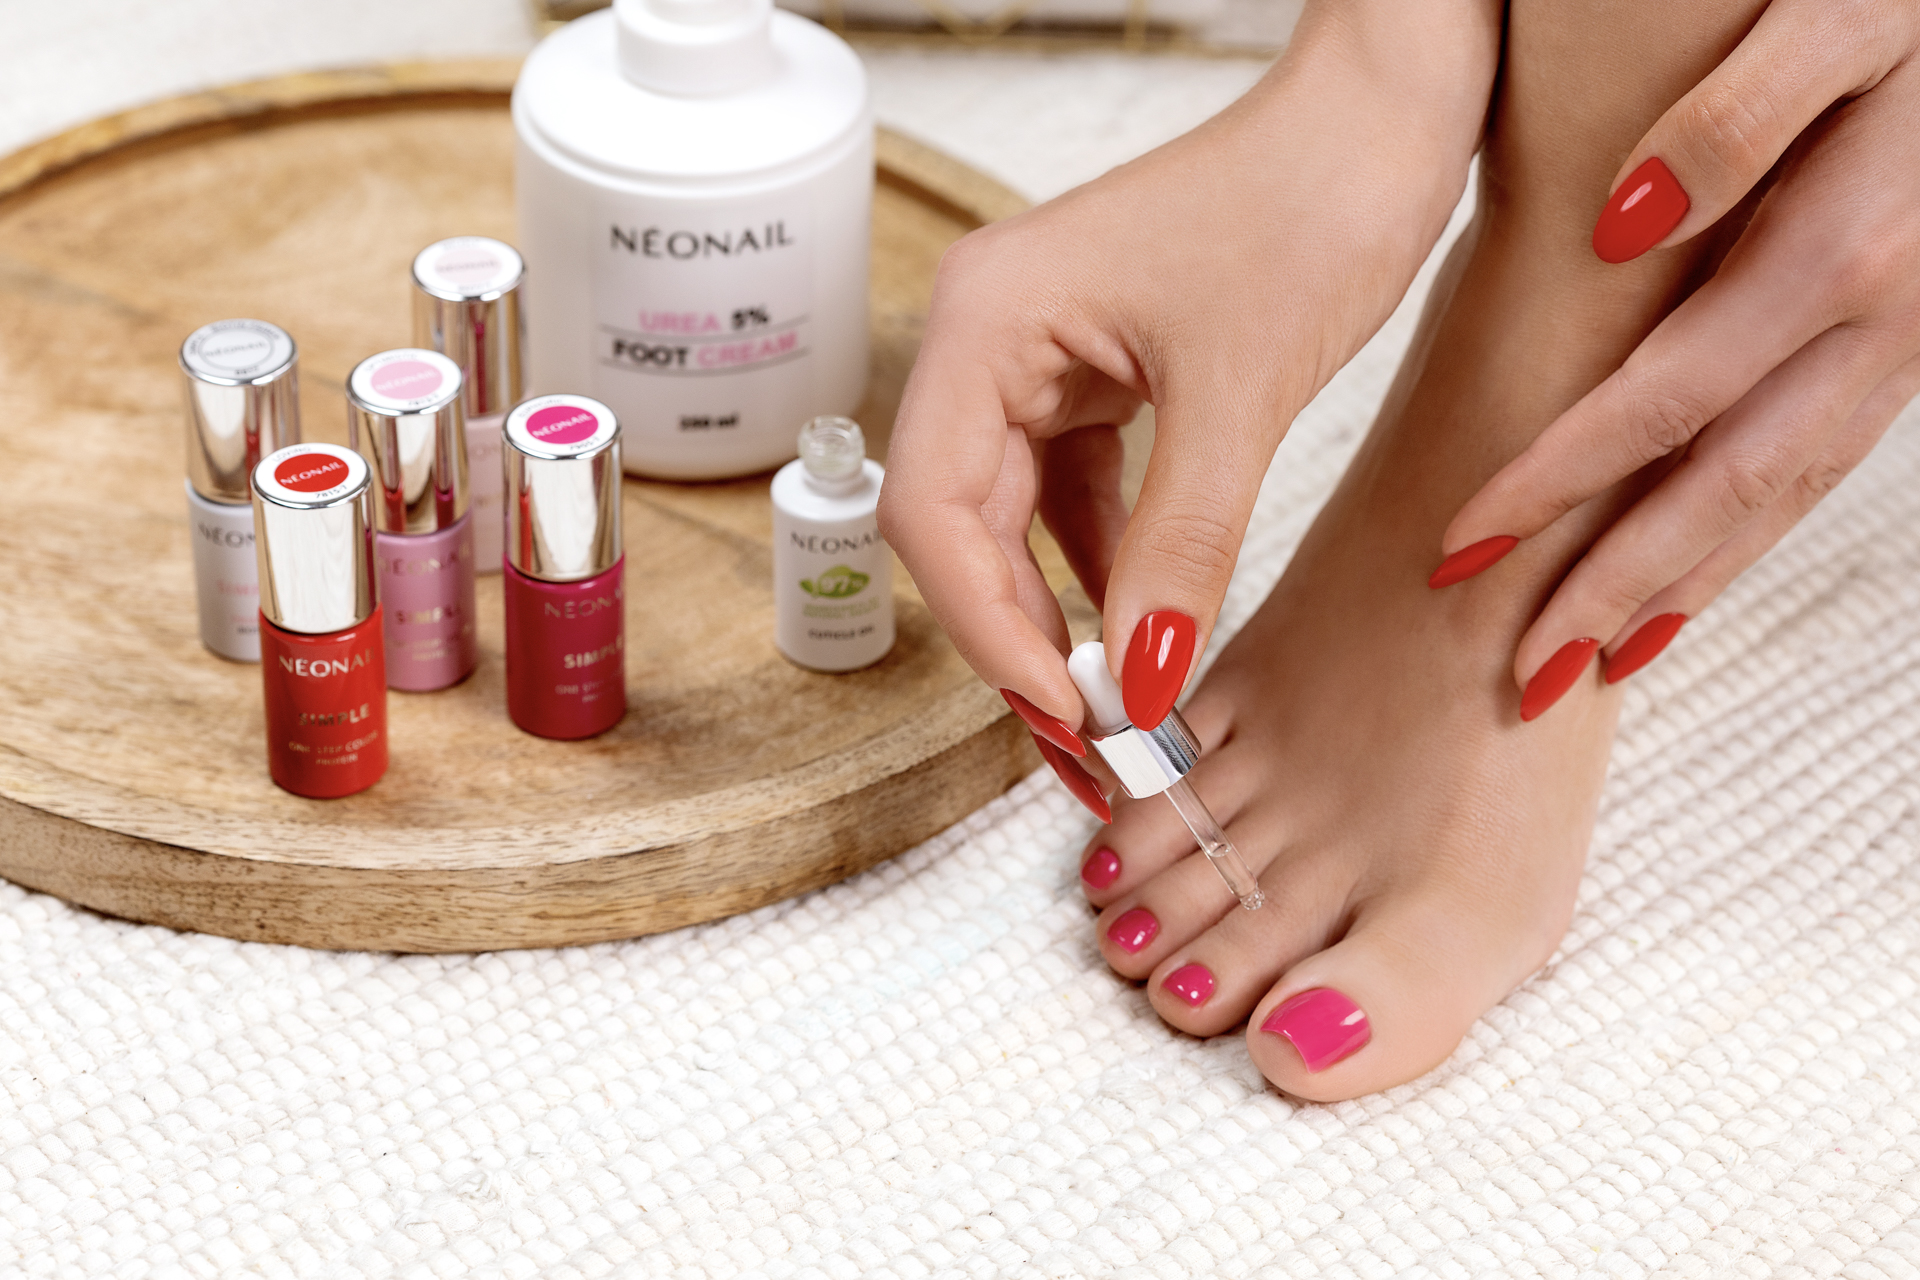
You can also remove styling made with SIMPLE 3in1 nail polishes yourself at home.
PEDICURE WITH VEGAN CLASSIC VARNISHES
When your feet are prepared and your nails are prepared:
1. Put on the separators and clean the nails with a cotton pad soaked in Cleaner .
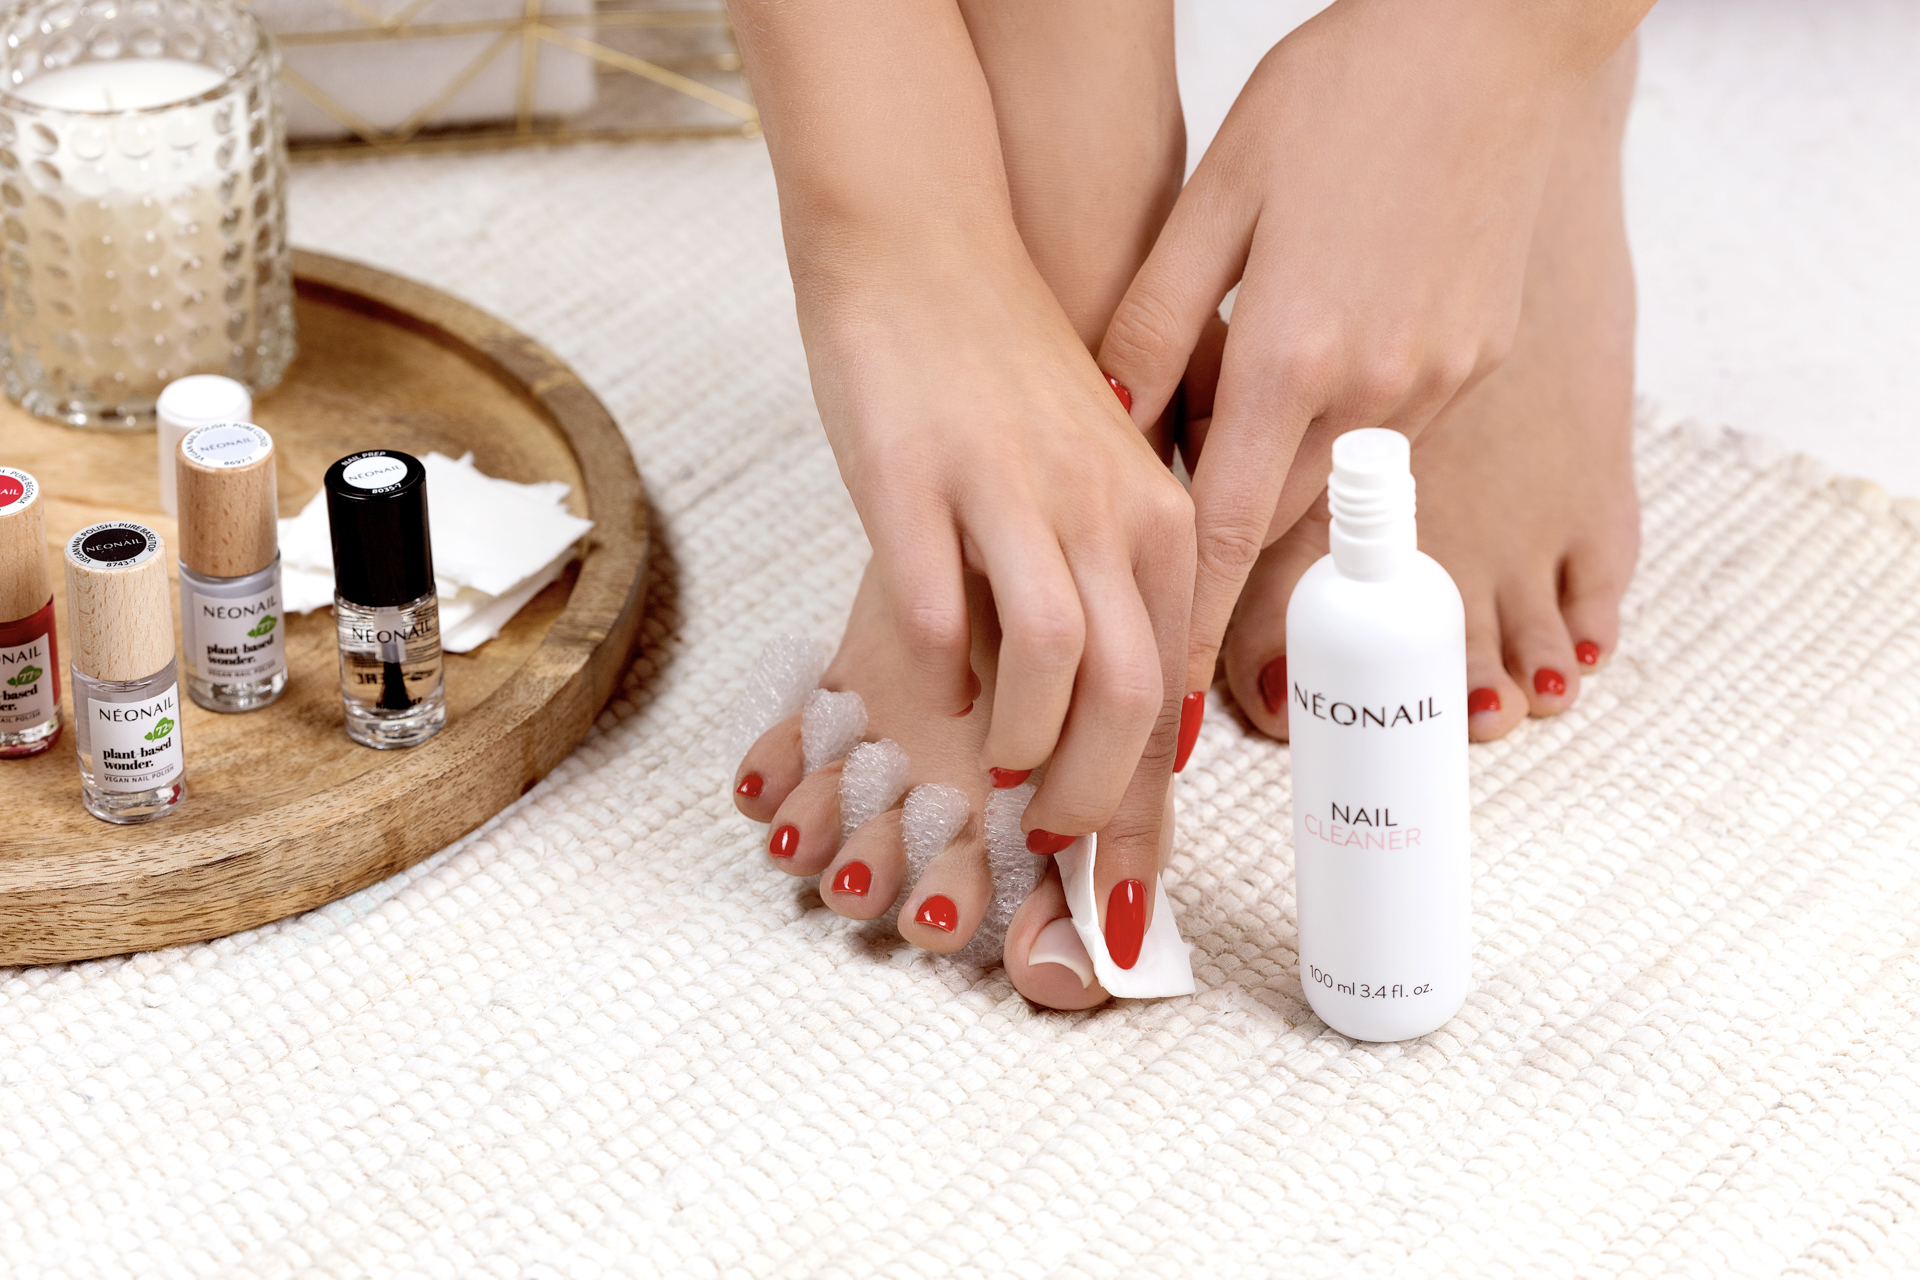
2. Degrease nails by applying Nail Prep. Wait until the product evaporates.
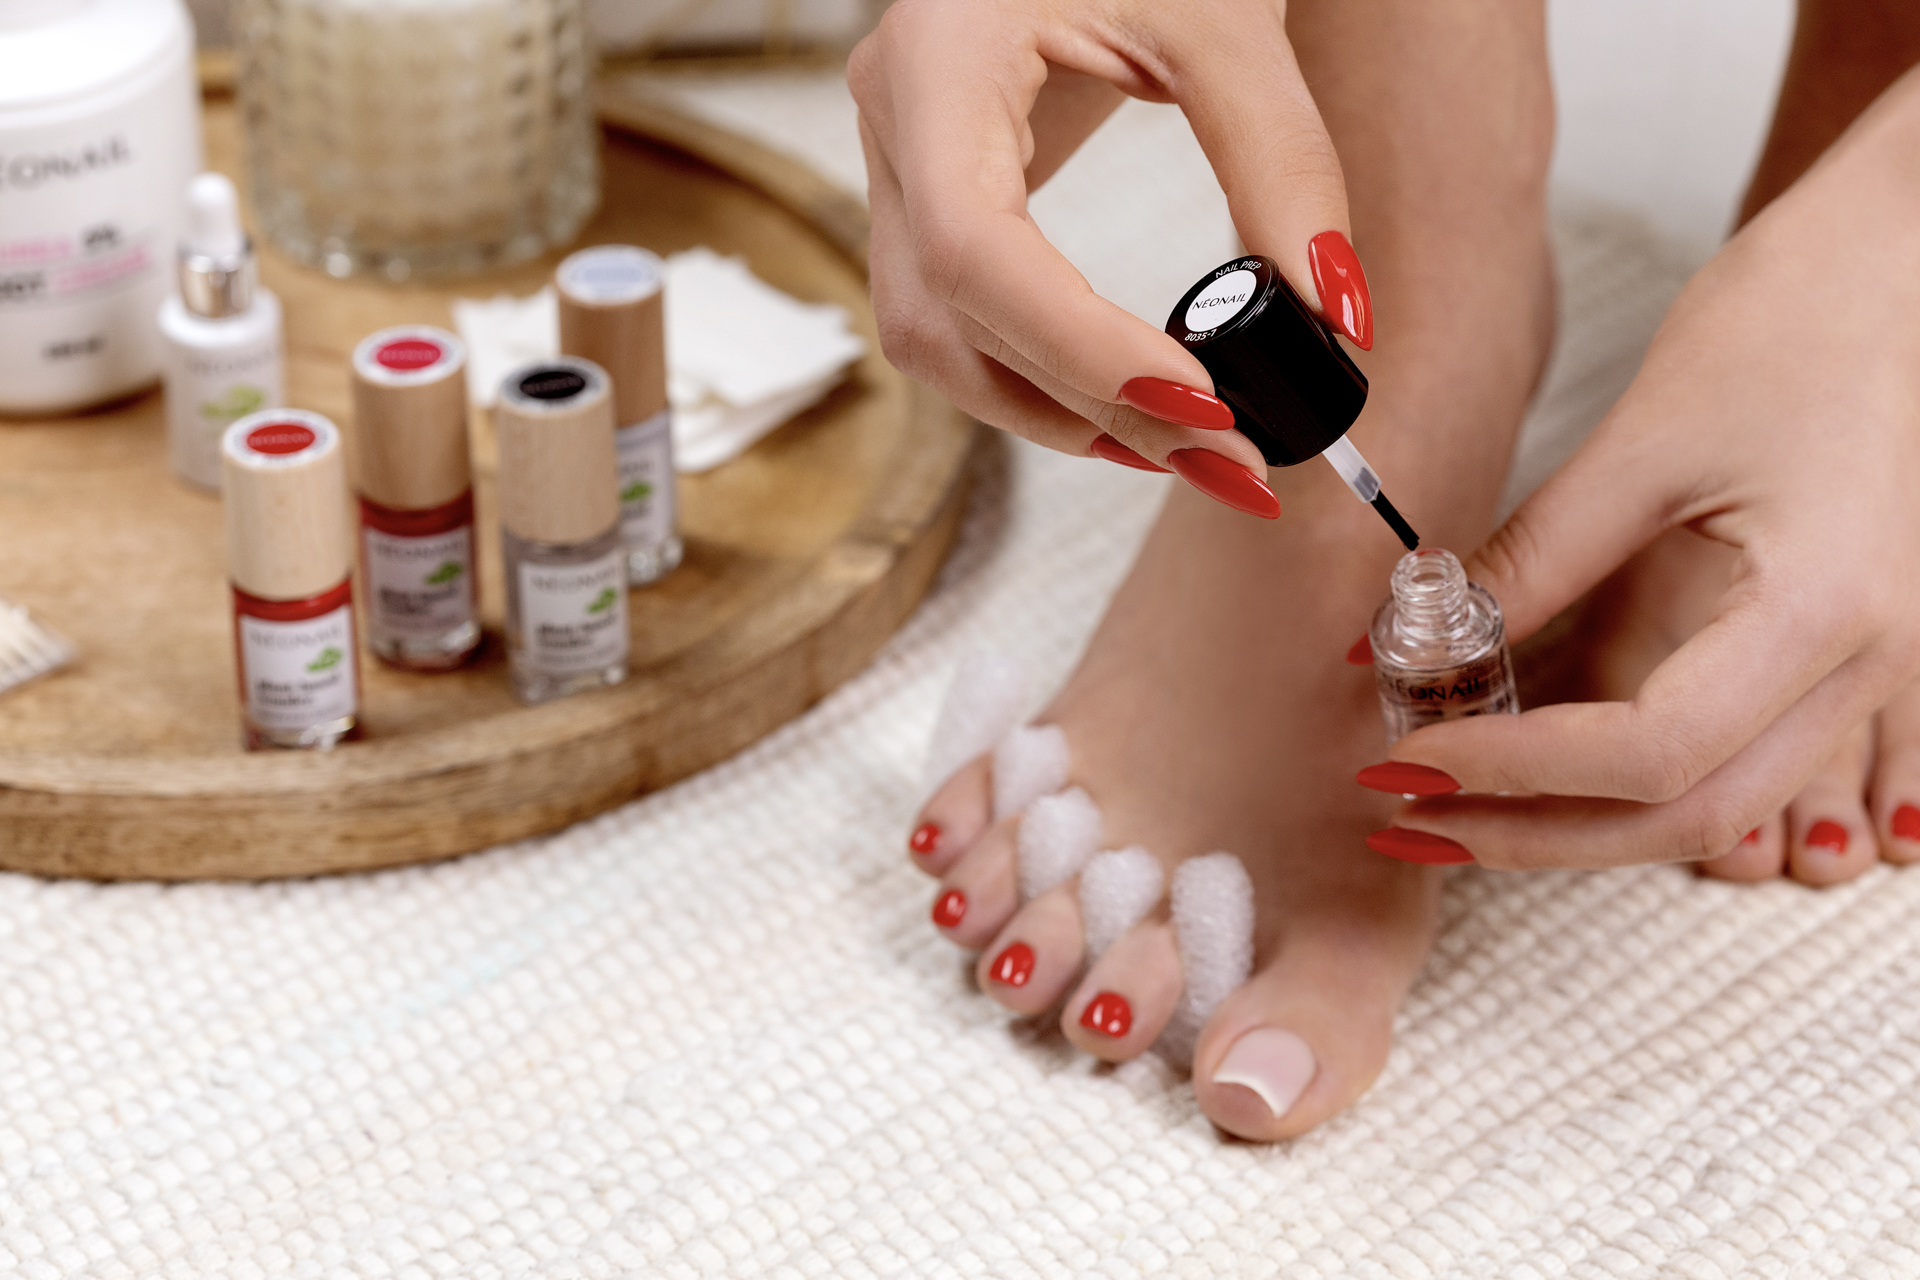
3. Apply a thin layer of PURE BASE/TOP and wait 10 minutes for the varnish to dry.
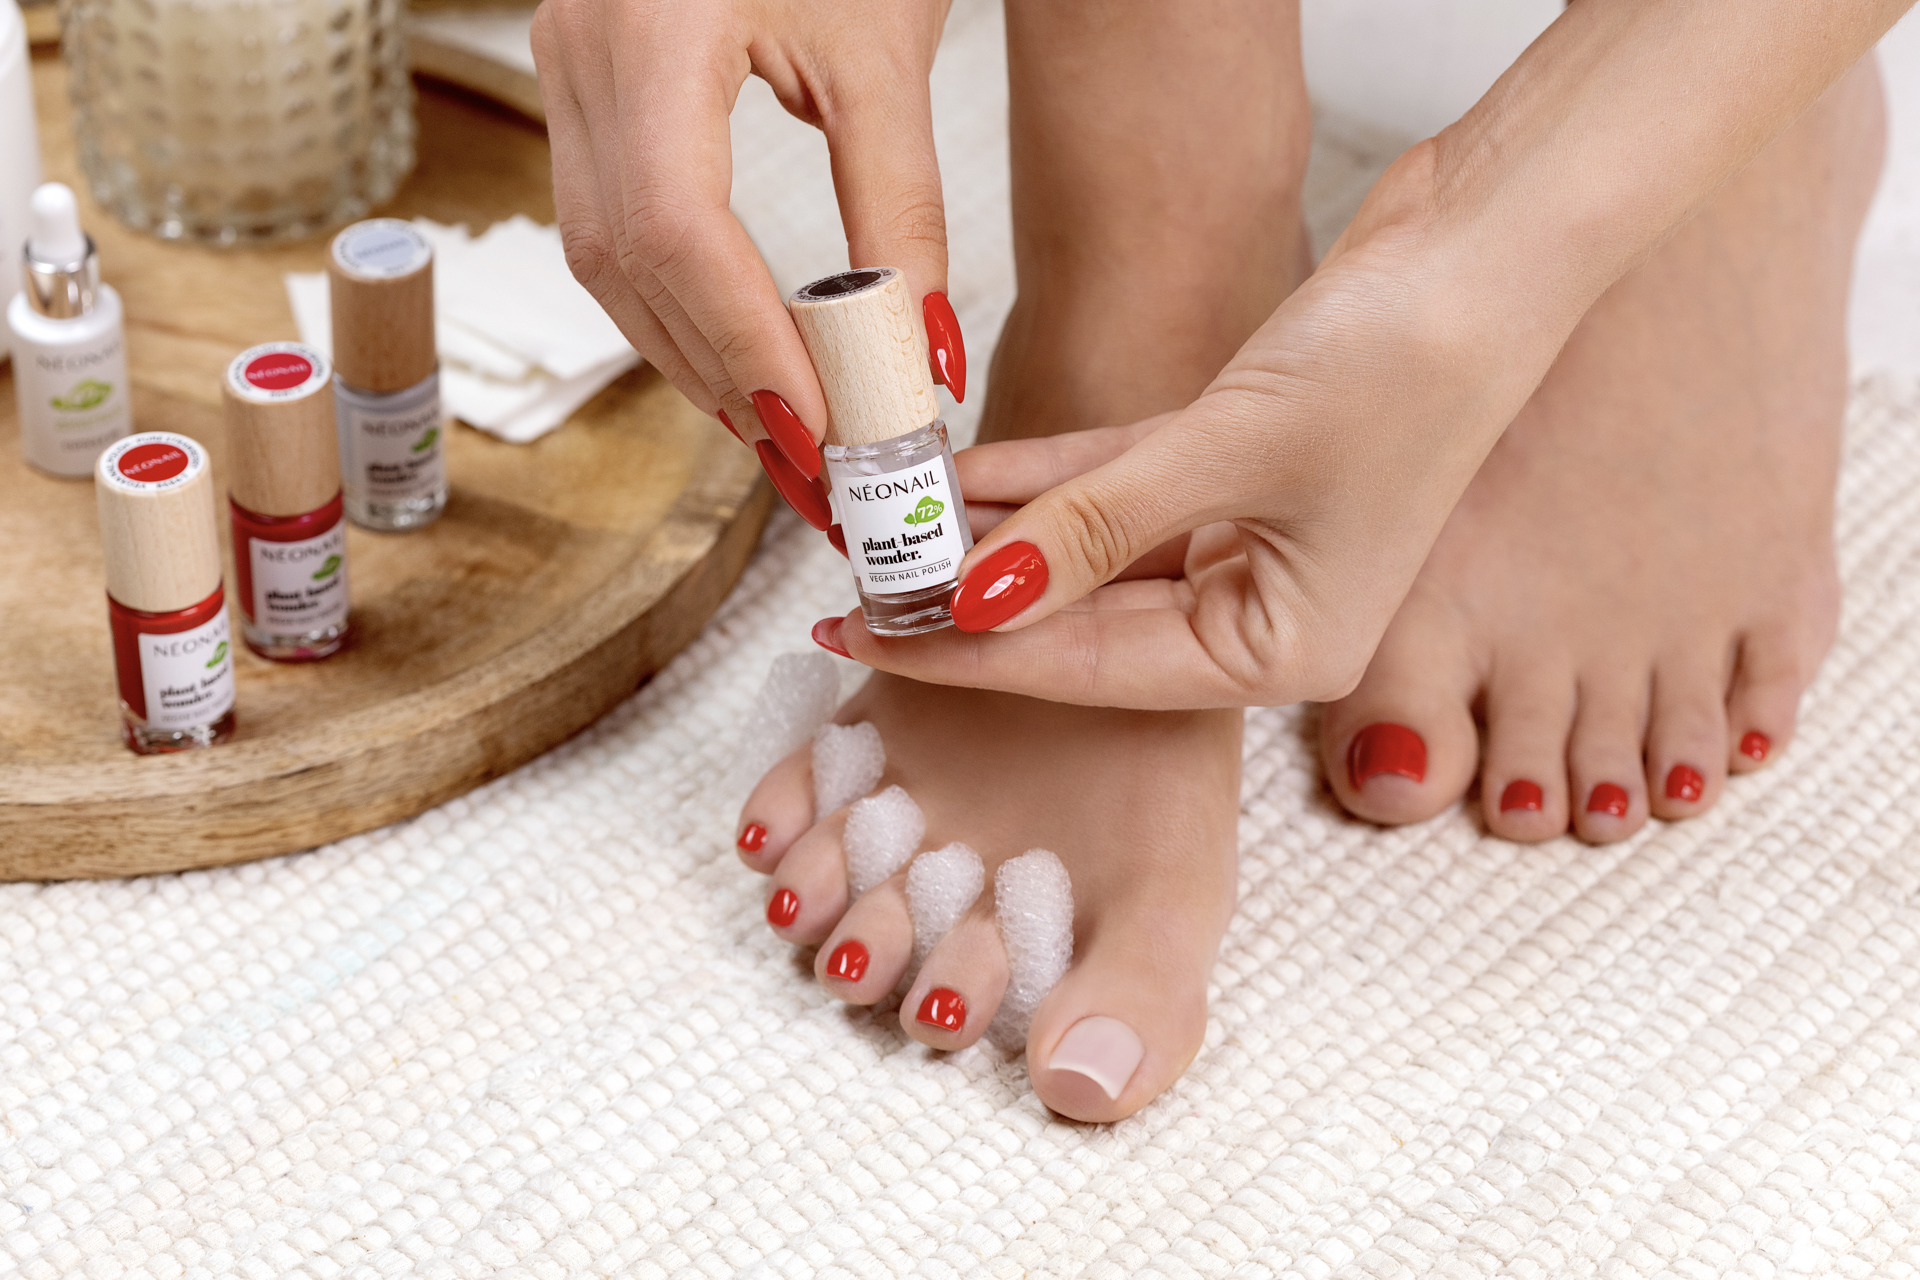
4. Time for color - apply a thin layer of your favorite plant-based wonder color and wait 10 minutes for the product to dry.
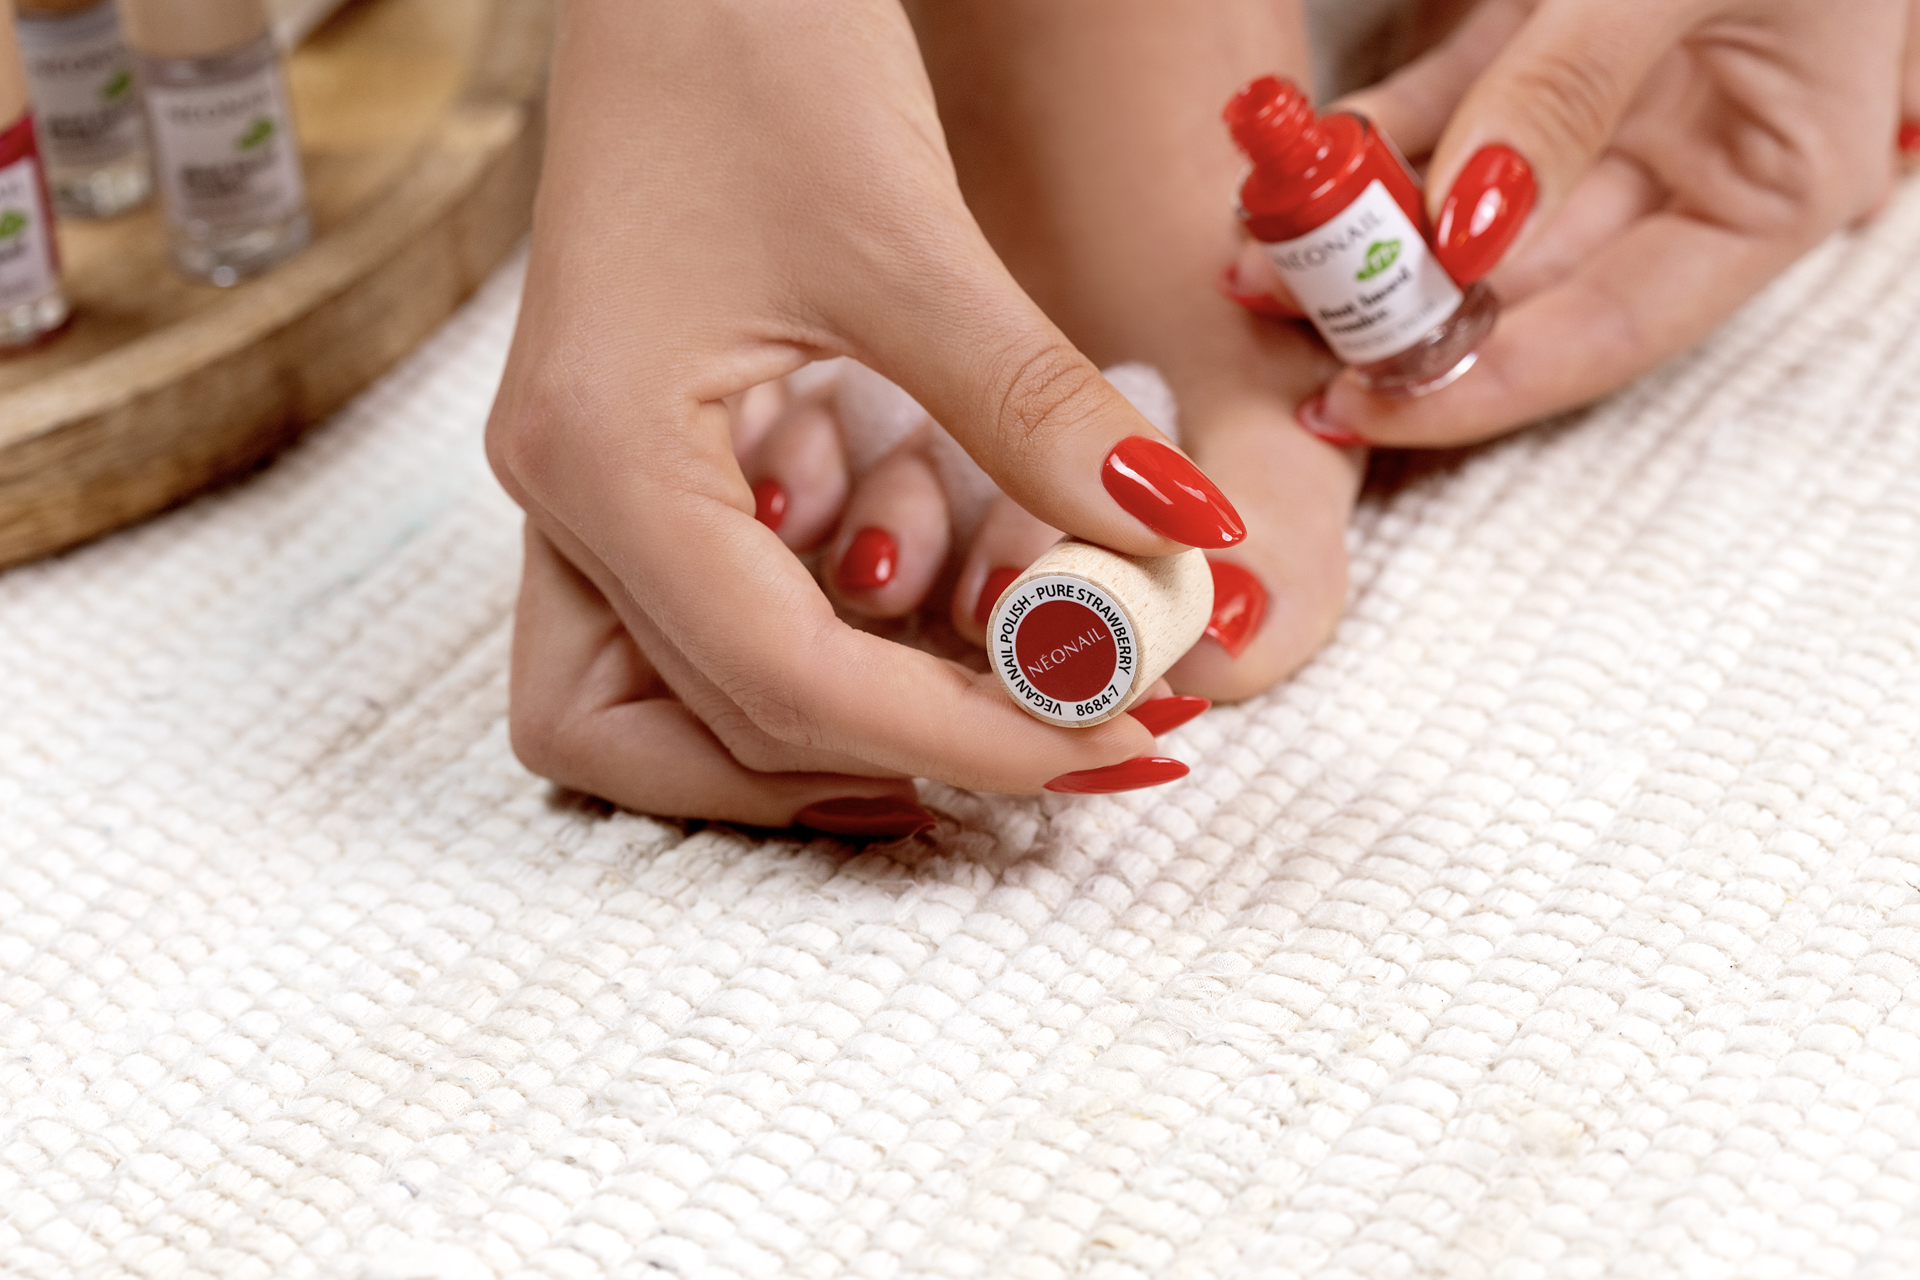
5. Apply a second layer of color and wait 10 minutes for it to dry.
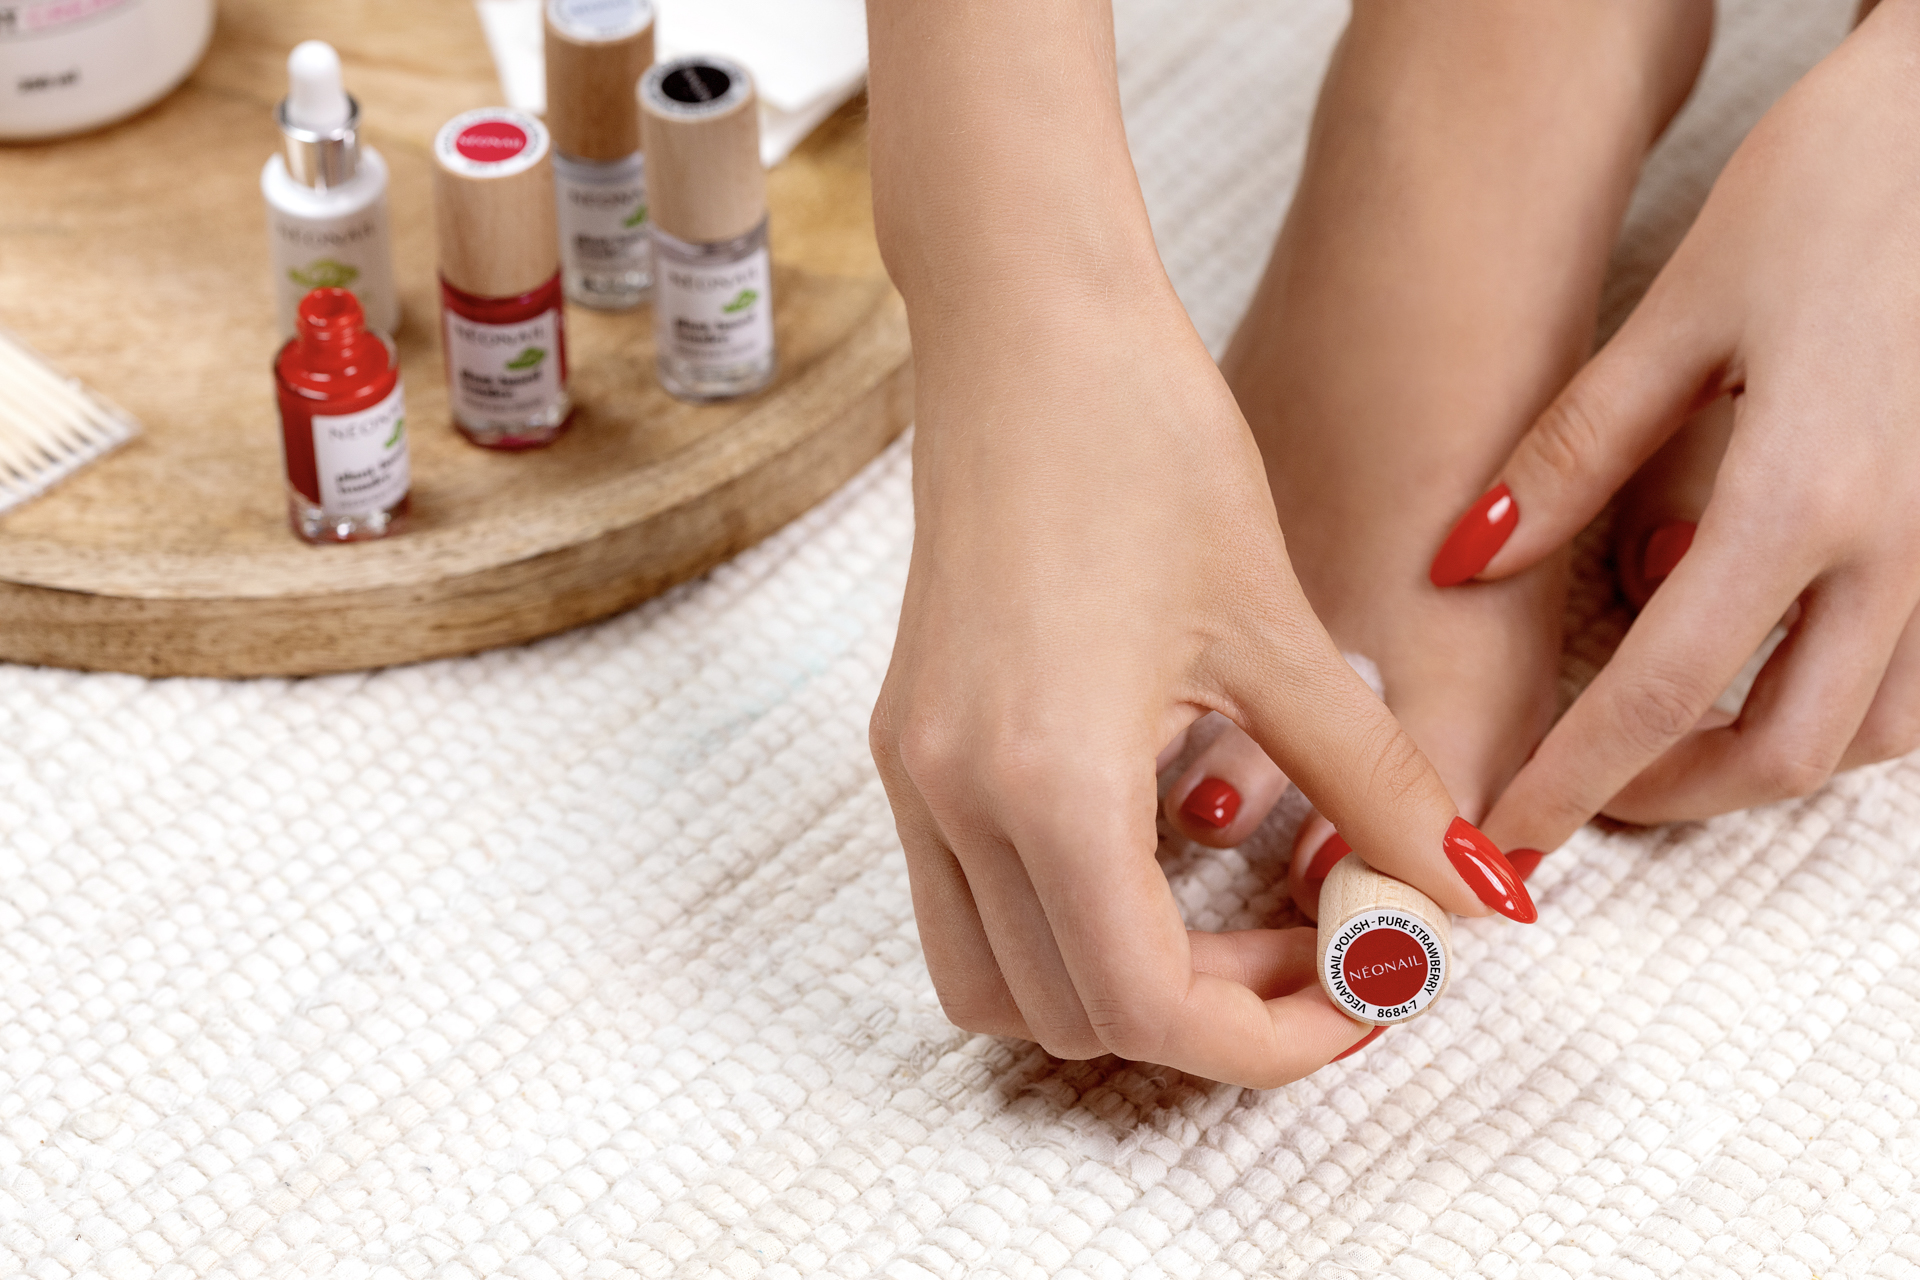
6. Protect the styling with a layer of PURE BASE/TOP and wait 15 minutes for it to dry.
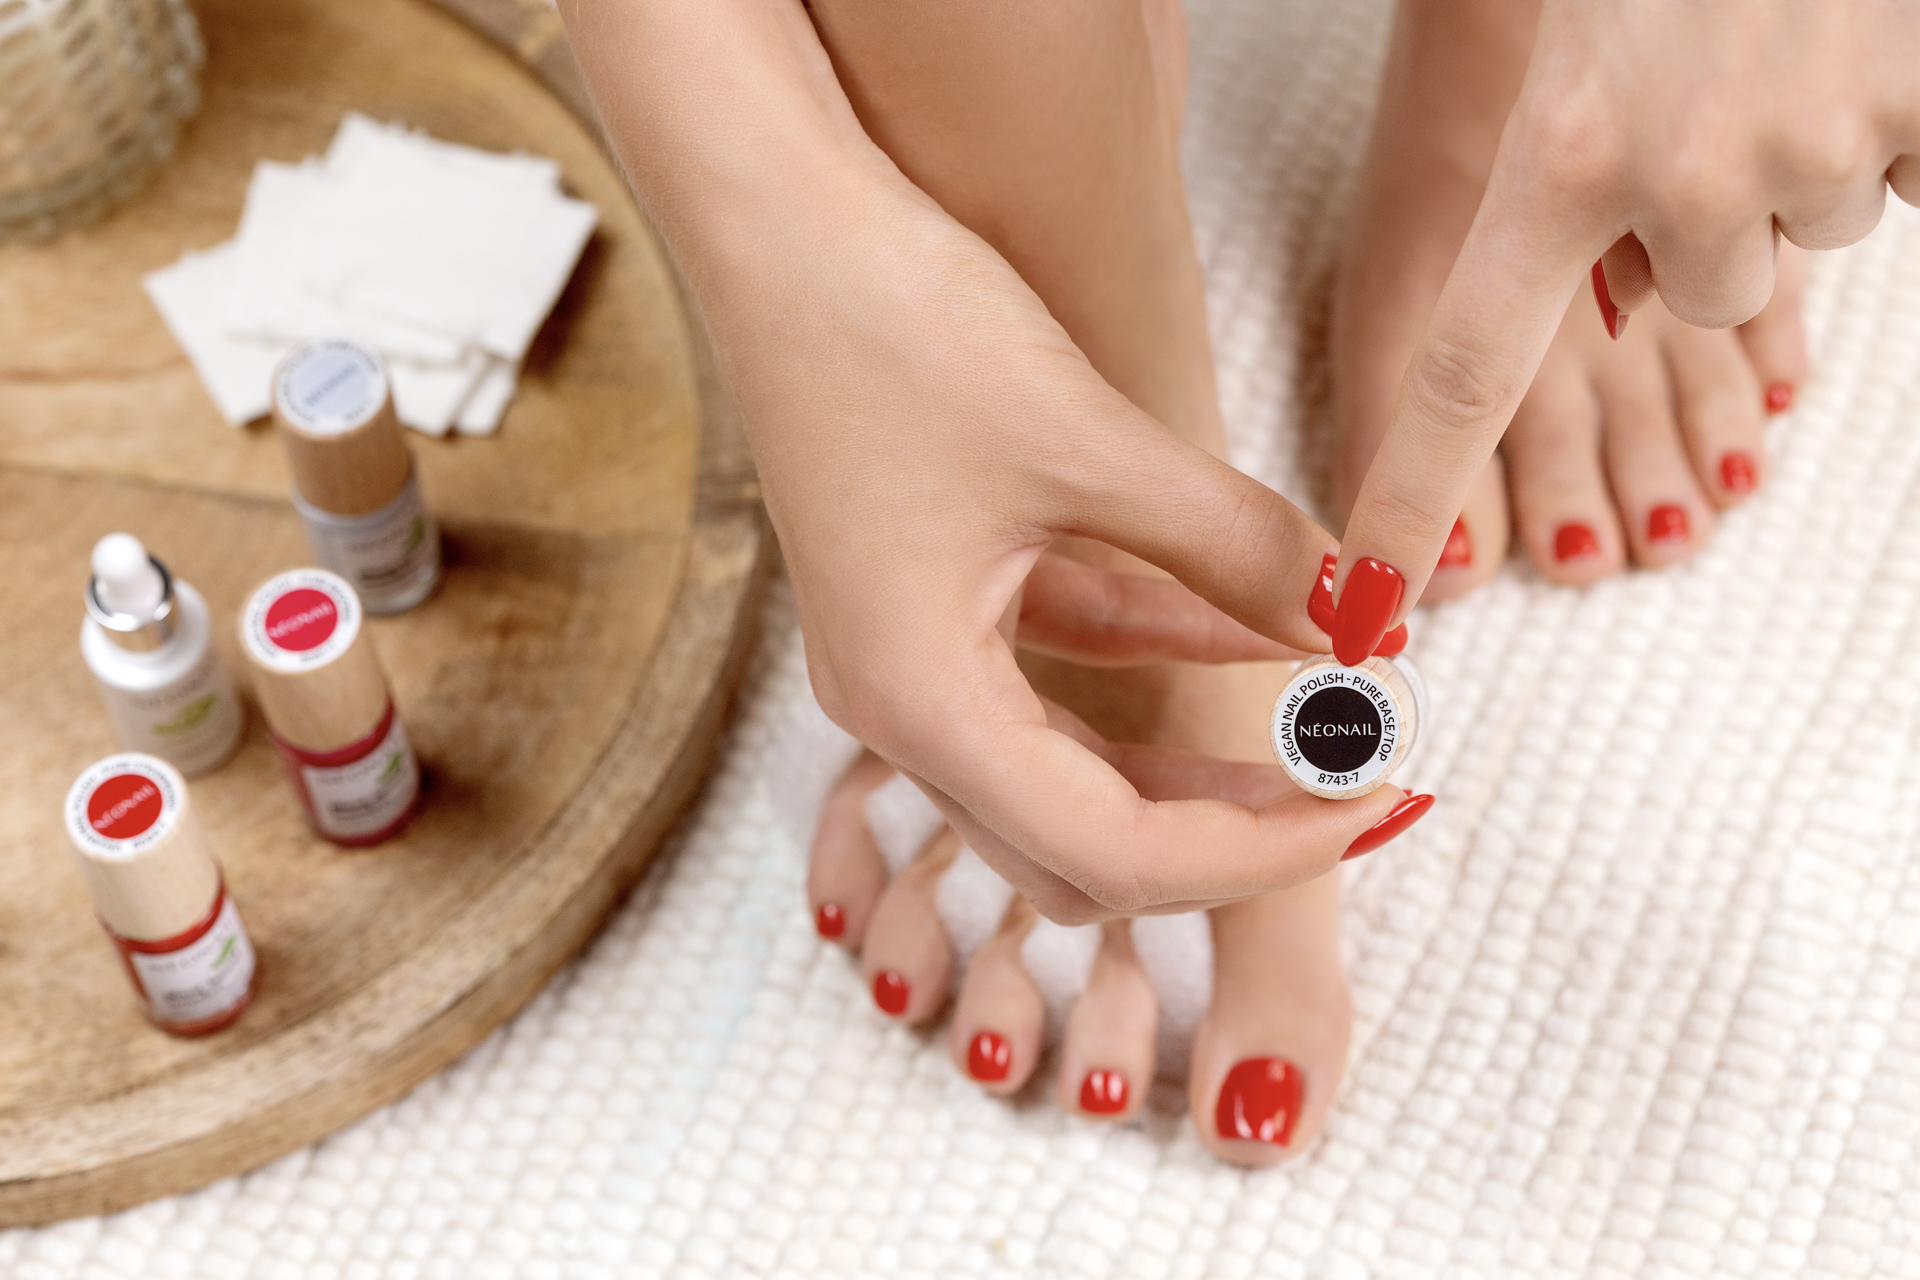
7. Finally, apply Cuticle Oil and massage the cream with urea into the feet.
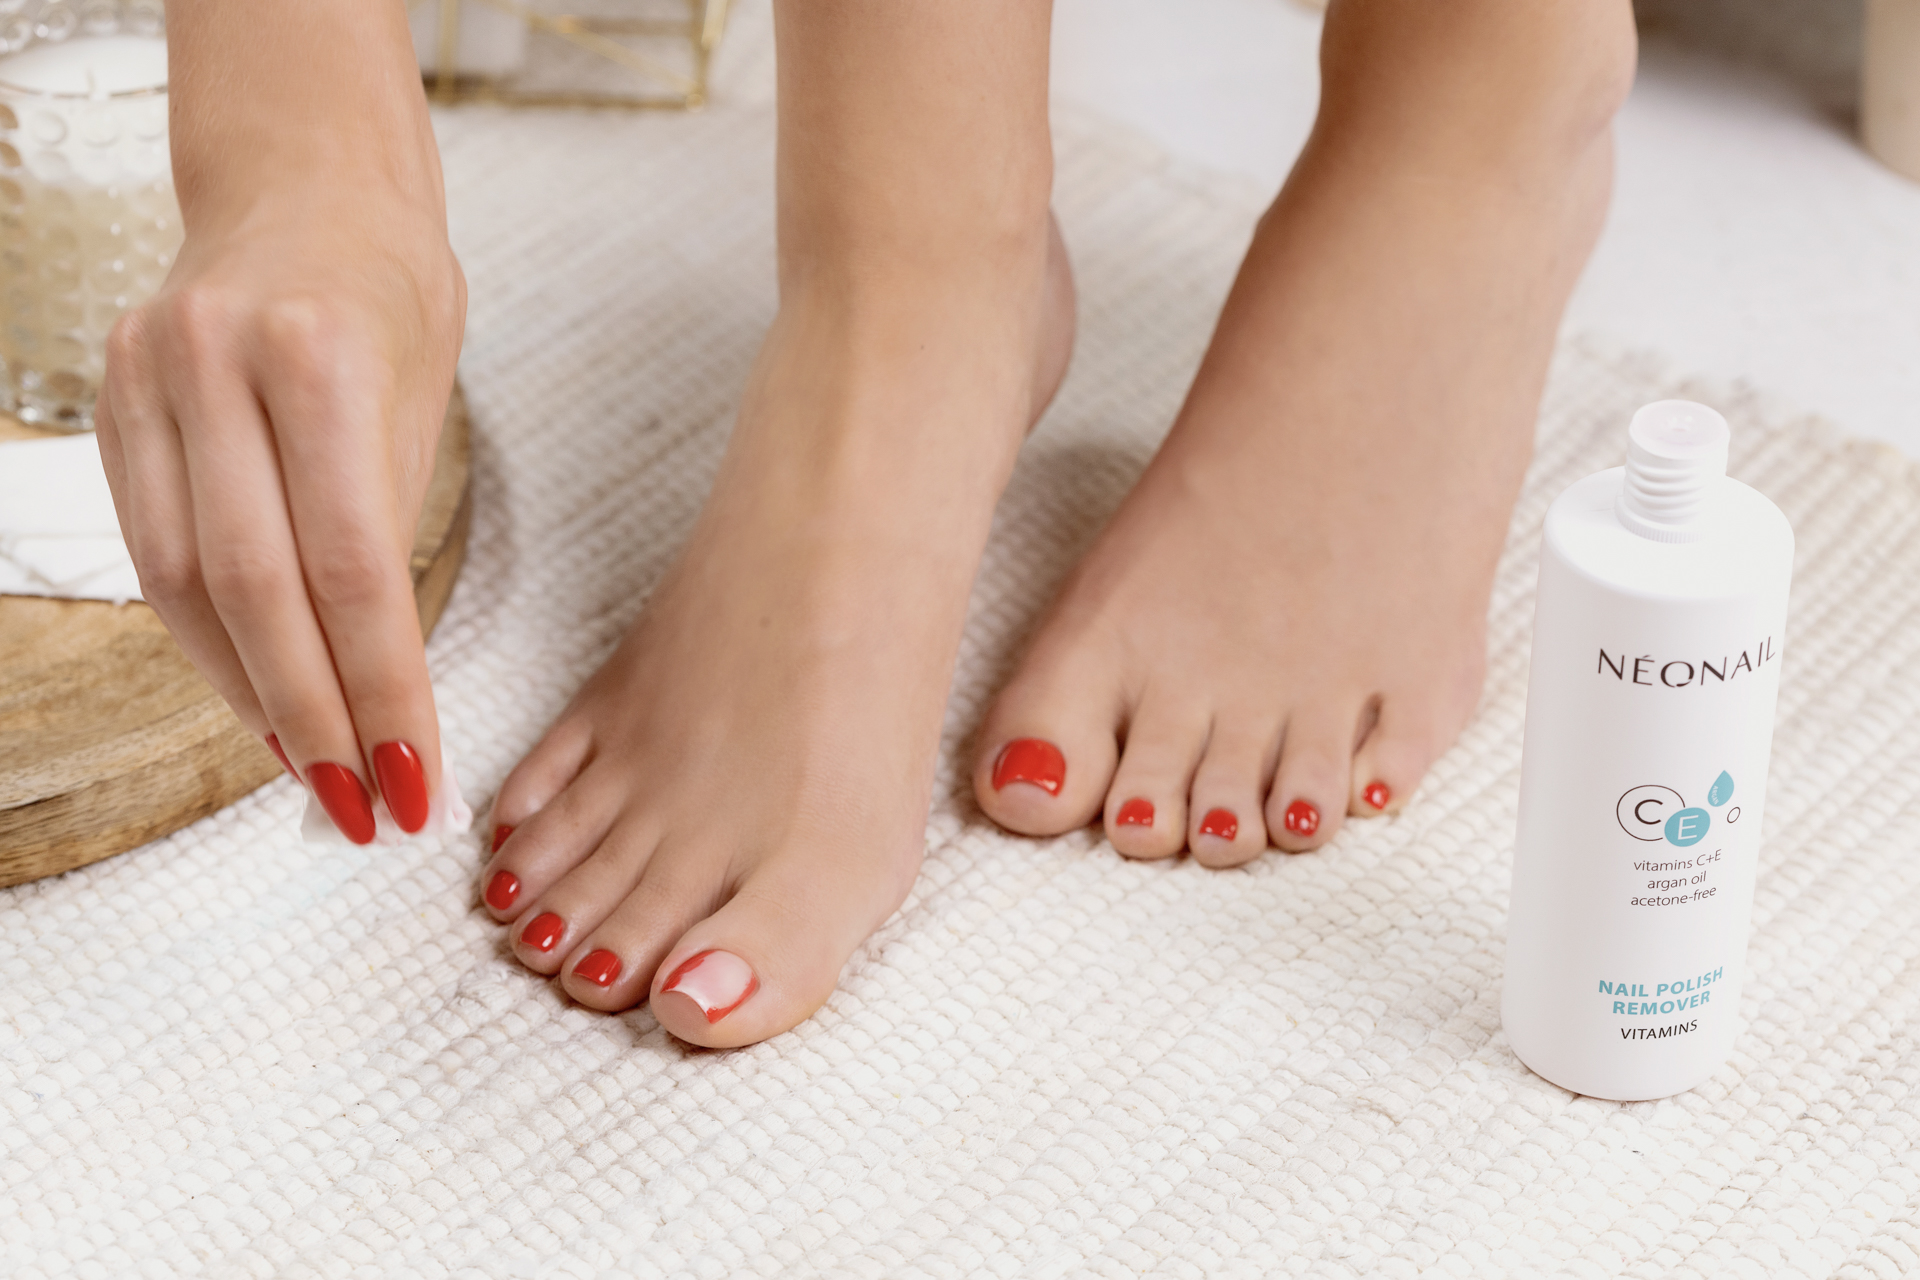
8. To remove a pedicure made with classic varnishes, it is enough to soak a dust-free cotton pad with Nail Polish Remover and gently wash the nails with it to remove the varnish.
Get inspired with NEONAIL

